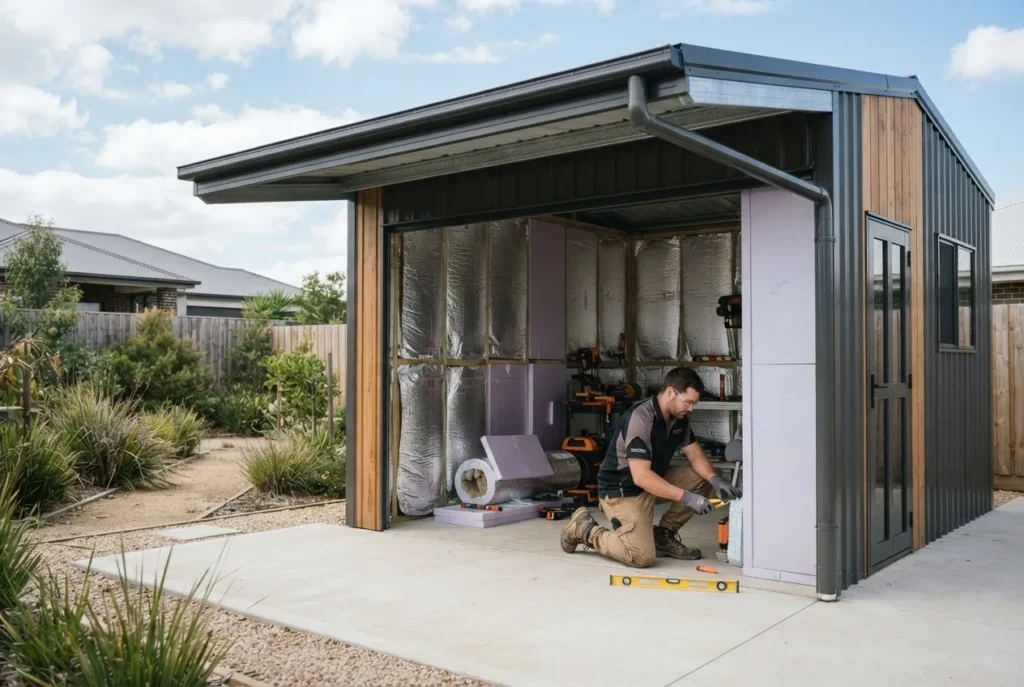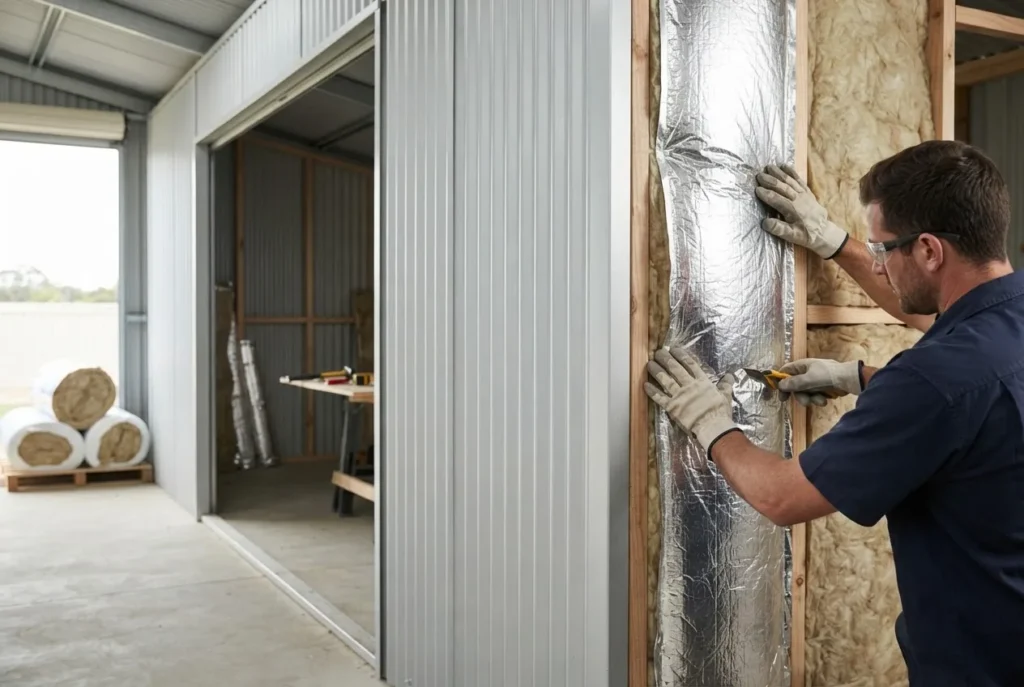

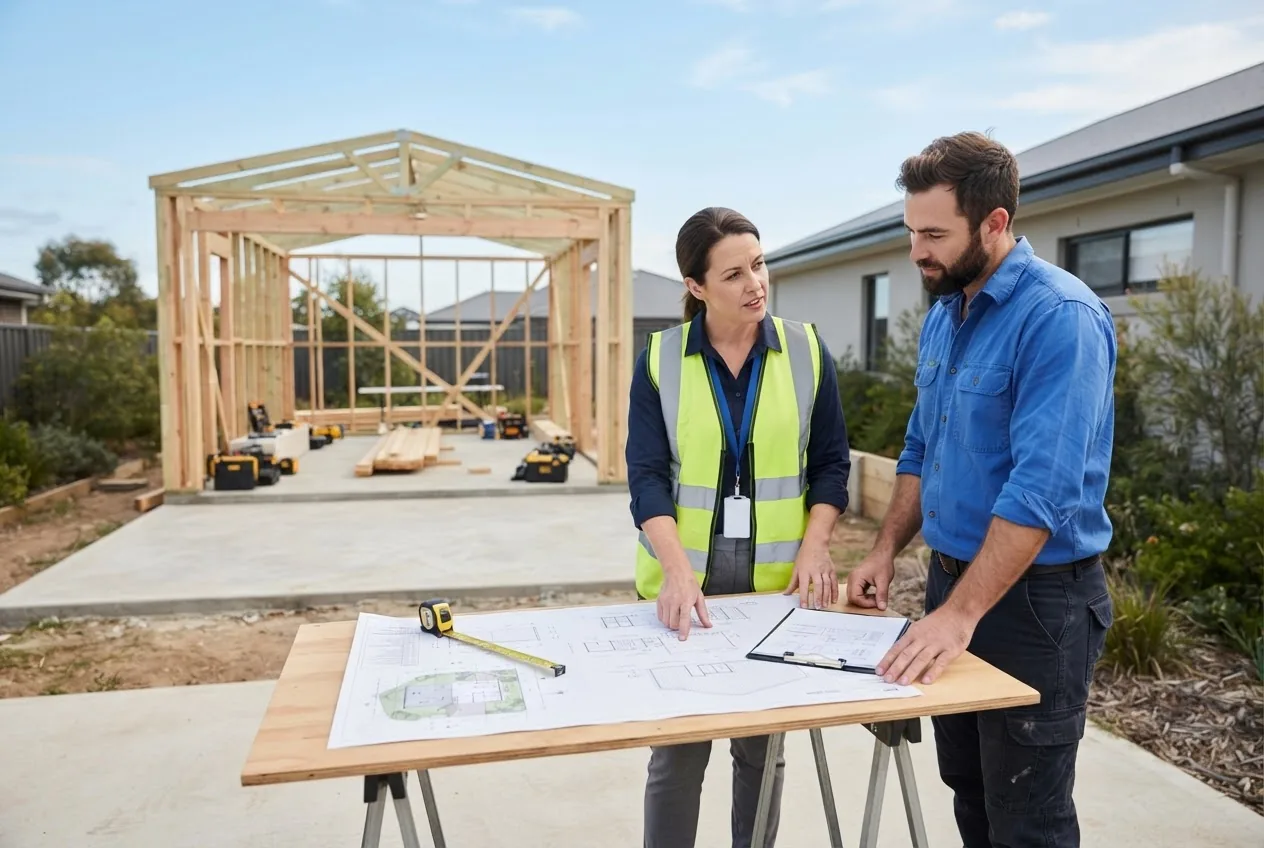

By the end of this guide you will have prepared and lodged a full set of documentation for a compliant building permit application, tracked the assessment stages, and handled post-approval inspections. Expect to complete preparation in 1–3 days for a standard garden shed or minor house alteration, and allow 2–6 weeks for council and building surveyor processing; this guide assumes an intermediate DIY homeowner or small-scale builder skill level.
Before you start, gather these prerequisites so you don’t stall mid-application.
Before you start
- Title information and property details (plan of subdivision, certificate of title reference).
- Basic measuring tools: tape measure, spirit level, smartphone camera for photos.
- Software or printouts for plans: PDF viewer, A3/A4 printed copies of site and floor plans.
- Access to your local council portal and a credit card for application fees.
- Contact details for a registered building surveyor (certifier) and a structural engineer if required.
- Clear scope: define whether this is a shed, carport, patio or a house building application.
Understanding Building Permits: What They Are and Why They Matter
What a building permit is: A building permit is the formal authorisation issued by a registered building surveyor or a council-authorised certifier that your construction works comply with the Building Act, the National Construction Code (NCC) and local planning rules. Think of it like a driver’s licence for construction: you must pass the checks before you drive (build).
Why it matters: The permit confirms legal compliance with building regulations, protects future property value, and ensures safety through required inspections. Without a permit you risk orders to demolish, fines, and uninsured defects.
Key legal frameworks and roles: The two main regulatory reference points are the National Construction Code (NCC) and local council requirements derived from the Building Act and council planning schemes. The Victorian Building Authority (VBA) oversees licensing and conduct of builders and surveyors; see the VBA for licensing information and complaint procedures: Victorian Building Authority.
Development application (DA) vs. building permit — the essential distinction: A development application or planning permit addresses land use, siting, neighbourhood impacts and zoning (visual bulk, heritage, overlays). A building permit focuses on construction standards, structural adequacy, fire safety and compliance with the NCC. You may need both: secure the DA/planning permit first where planning triggers apply, then get the building permit for the physical works.
Example: for a 6 x 4 m steel shed on an inner-Melbourne lot, you might need a planning permit if the site is in a heritage overlay or breach setback rules; otherwise you commonly proceed to a building permit only.
Practical navigation note: Determinations vary by suburb — check your council site for local overlays and development triggers. For official permit procedure guidance, consult your council’s building permit pages, for example the City of Melbourne building information: City of Melbourne – Building permits.
Transition: now that you understand the why, the next section walks you through the application lifecycle step-by-step so you can prepare correctly and submit with confidence.
The Building Permit Application Process: Step-by-Step Guide
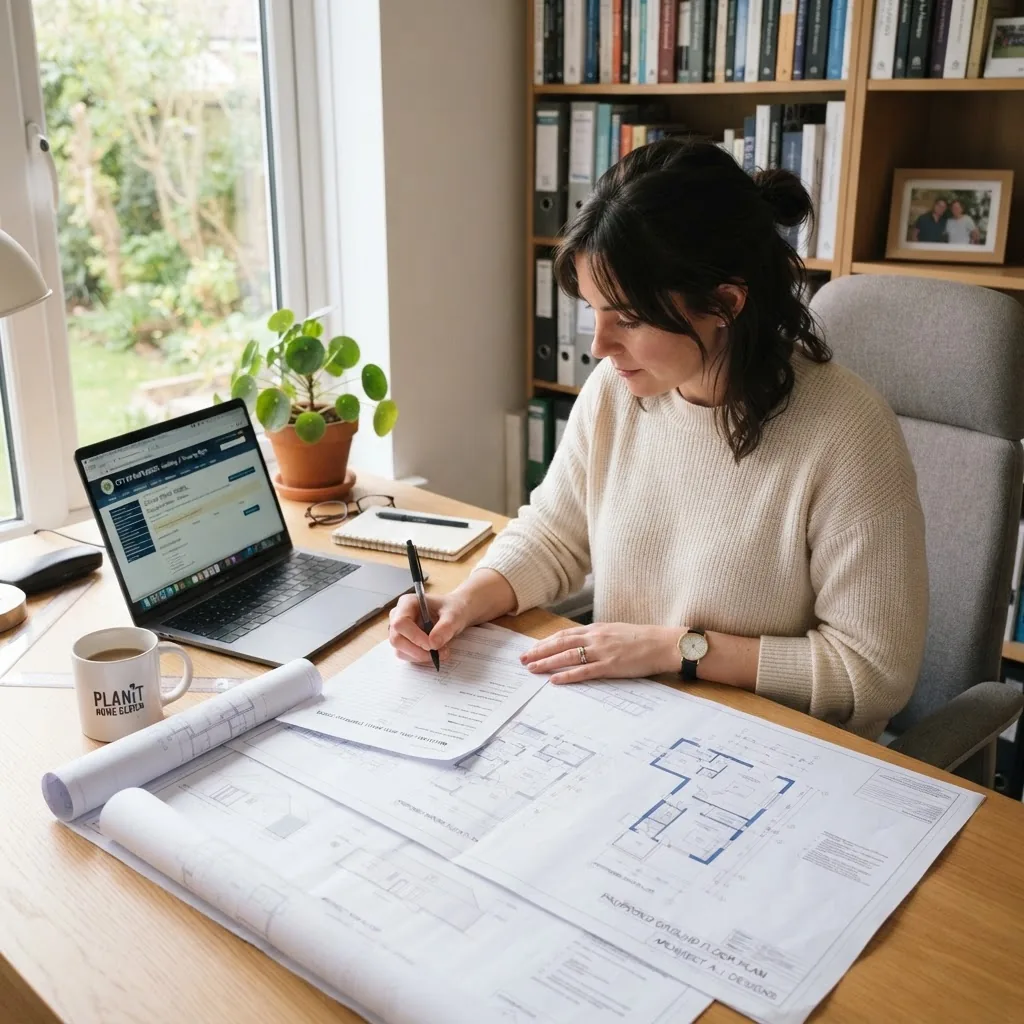
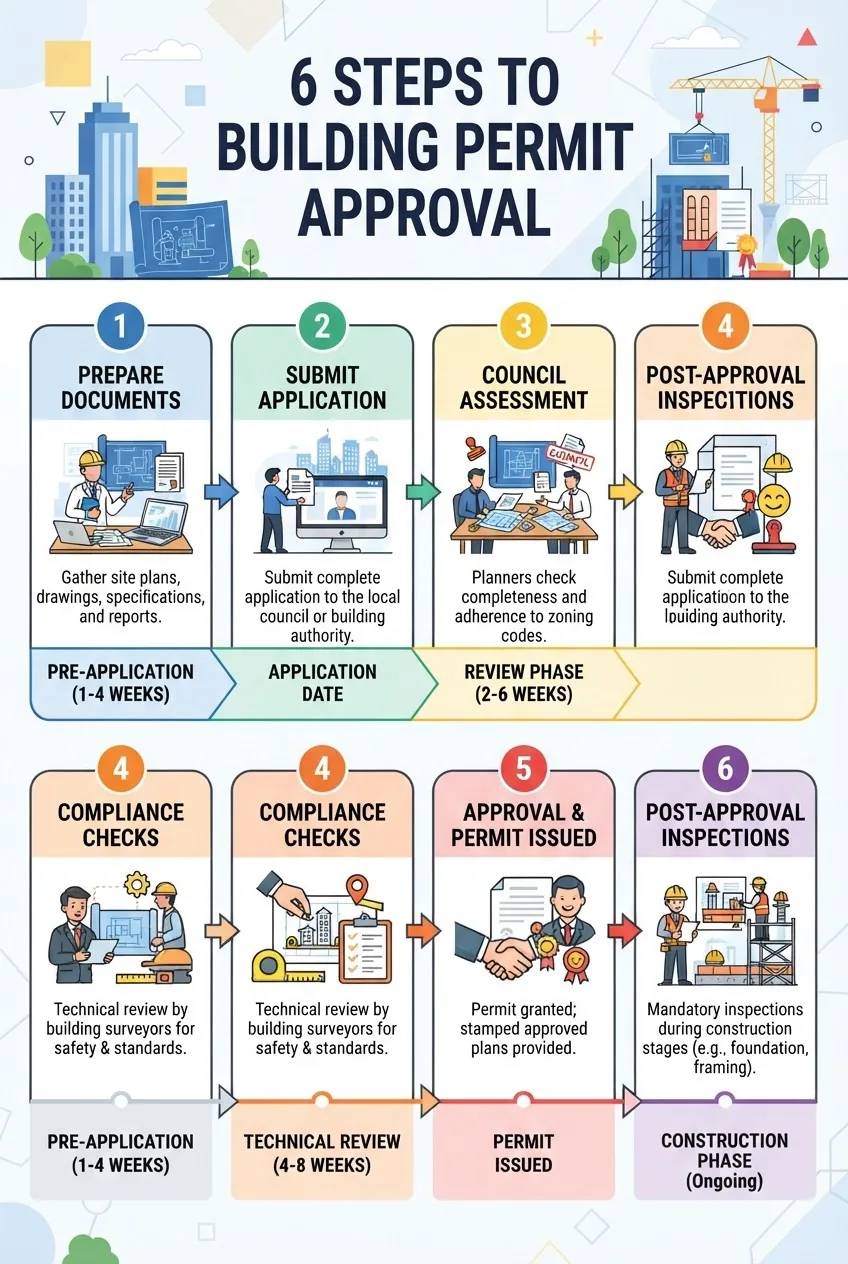
Below is a practical, ordered workflow for a standard building permit from initial documentation to final certification. Each step opens with the action you must take in bold followed by precise sub-actions and timings.
-
Define the project and confirm planning triggers.
List the exact scope (e.g., 6x4m freestanding Class 10a shed, or single-storey house extension). Measure setbacks, height and site coverage to determine whether a planning permit (DA) is required. Use your council’s interactive mapping to check overlays and heritage controls. If a planning permit is required, lodge and obtain that approval before seeking building plan approval.
-
Engage a registered building surveyor or certifier.
Contact at least two registered surveyors, get written quotes, and confirm the surveyor’s scope: plan assessment, issuing the permit, and staged compliance inspections (footings, frame, final). Expect certifiers’ inspection fees of roughly $350–$800 per inspection depending on region; verify with the VBA-licensed practitioner. Ask for turnaround times: typical assess-to-issue ranges are provided below.
Tip: choose a surveyor familiar with local council practices to speed assessments.
-
Prepare your building plans and engineering documentation (issue for permit).
See the detailed checklist in the next subsection “Preparing Your Building Plan Approval Documents” for exact drawings, structural certificates, and energy reports. Complete stamped engineering for footings and frame where required.
-
Compile supporting compliance reports and certificates.
Include structural engineer reports, termite treatment details, energy efficiency (NatHERS or deemed-to-satisfy documentation where required), and any specialised reports (acoustic, flood risk). For houses, add BASIX/VEET compliance where applicable.
-
Complete the building application form and statutory declarations.
Follow the council or private certifier form fields exactly: property details, owner-builder declarations (if relevant), builder licence numbers, estimated value of works (GST exclusive), and the class of building. A walkthrough of the form follows in the E-E-A-T section below.
-
Pay fees and lodge the application.
Lodge via the council portal or directly with the private certifier. Pay the building application fee and any referral fees. Save receipts and transaction IDs. Councils usually accept online PDF uploads; keep original CAD/PDFs for your records. For Melbourne, see the Melbourne council building permits page linked earlier for portal guidance.
-
Track assessment, respond to requests for more information (RFI).
Expect RFIs from the council or surveyor requesting clarity on design, structural details, or compliance. Respond within 5–10 business days to avoid hold-ups. Maintain a single thread/document version control: label plan revisions (Rev A, Rev B) and include a revision summary table on the cover sheet.
-
Receive permit issue and schedule staged inspections.
Once the permit is issued by the building surveyor, obtain a hard copy or PDF. The permit will list conditions and required inspections (e.g., footing, slab, frame, waterproofing, final). Book inspections at least 48–72 hours ahead using the surveyor’s portal or phone line.
-
Undergo compliance inspections and obtain occupancy or final certificate.
The surveyor inspects prescribed stages; once all inspections pass, they issue a final certificate of compliance (occupancy permit for certain classes). Keep the final certificate and the record of inspections in your property file.
-
Manage post-approval changes, variations and record-keeping.
If you change materials, dimensions or location after approval, submit an amendment or variation to the surveyor for endorsement. Unapproved variations can lead to enforcement actions.
Transition: the three subsections that follow expand the most technical parts of the workflow—preparing documents, submission mechanics, and assessment expectations.
Preparing Your Building Plan Approval Documents
Accurate plans and certified engineering speed approval. For a small shed or house alteration, provide these minimum documents when applying for building plan approval:
- Site plan (scale 1:200 or 1:500): show property boundaries, existing structures, proposed location with dimensions to boundaries, north point, contour/levels if relevant.
- Floor plan and elevation drawings (scale 1:100): show materials, roof pitch, doors/windows, heights and eaves.
- Structural engineering calculations and drawings: footing and connection details, reinforcement schedules, wind classification on site (AS4055 or engineer-supplied data).
- Specifications and materials list: cladding type, frame materials, roofing, gutters, and termite management strategy.
- Energy and services notes (for house building applications): insulation, water efficiency, and any plumbing/mechanical notes.
- Title and covenant checks: certificate of title excerpt and any plan showing easements or covenants.
Document checklist (use this on the front page of your submission):
| Document | Required for |
|---|---|
| Site plan (1:200) | All works |
| Floor/elevation plans | All works |
| Structural engineer certificate | Sheds >30m2 or fixed footings |
| Termite management plan | All timber-in-contact works |
Case note from practice: for small sheds under 10m2 many councils accept simpler documentation; however, verify local thresholds.
Submitting the Construction Permit Application
Submission differs slightly between councils and private certifiers. These are the practical steps I use when lodging an application for construction in Melbourne:
- Create project folder and name files consistently. PDF file names should include property number, document type and revision (e.g., 12-SmithSt_SitePlan_RevA.pdf).
- Complete the application form fields exactly. Fill owner details, property ID, builder/owner-builder status, estimated value (round to nearest $1000), and description of works. Save a copy of the completed PDF for records.
- Upload supporting documents via council portal or certifier’s system. Councils accept zipped files or single multi-page PDFs; ensure vector PDF for plans (not photos of drawings).
- Pay application and inspection fees online. Obtain transaction reference and record in the project log. Typical council lodgement fees in metropolitan Melbourne for small residential building permits (2024 data) range from $200–$900 depending on value and whether planning referrals are required — according to a 2024 industry report (Victorian council fee summaries).
- Receive acknowledgement and reference number. Expect an automatic email or portal message with an application ID; if you don’t receive confirmation within 24 hours, call the council or certifier to confirm receipt.
Practical tip from a permit officer I interviewed: upload a single PDF cover sheet with your contact number and a short summary of the work. It reduces back-and-forth RFIs for basic clarifications.
What to Expect After Submission: Assessment and Compliance Checks
After you lodge the building application, the assessment phase typically follows these stages. Expect active communication; you should reply to RFIs promptly to meet expected timelines.
Initial validation (1–5 business days) — the council or certifier checks the application is complete. Missing documents will trigger a validation hold.
Detailed assessment (5–20 business days for standard works) — the certifier reviews structural calculations, termite protection, fire safety, and compliance with the NCC and local overlays. According to a 2024 industry report (Victorian council processing data), average detailed assessment for straightforward residential permits in metropolitan Melbourne is 10–15 business days; complex or referral-required items can take 4–8 weeks.
Referrals and specialist checks (variable) — if your project triggers a planning referral, heritage officer review or drainage/asset protection checks, add the referral time. Many councils publish referral turnaround targets on their websites; check your council portal for exact targets.
Compliance inspections (during construction) — the building surveyor will require staged inspections: footing, slab, frame, waterproofing (wet areas), and final inspection. Book inspections 48–72 hours in advance. Some complex structural items should only be signed off by a structural engineer with a producer statement.
Transition: now that you understand assessment flow and typical timelines, we cover how to avoid the common pitfalls that cause rejections and delays.
Common Reasons For Building Permit Application Rejection and How To Avoid Them
Below are the problems I repeatedly see in applications and the precise fix for each. Correcting these before lodging saves weeks.
- Incomplete documentation (missing site plan, omitted engineer stamp). Fix: use the document checklist above; verify engineer stamps and signatures. I once saw a single missing footing detail add three weeks to approval — get each signed stamp before upload.
- Non-compliance with local overlays (heritage, vegetation, neighbourhood character). Fix: check council maps and overlay controls early; if there’s a heritage overlay, obtain a heritage impact statement or a planning permit first.
- Incorrect classification or scope description (e.g., calling an enclosed shed ‘temporary’). Fix: state the building class and accurate use; misclassification often triggers RFIs.
- Unclear or conflicting plan revisions (no revision history). Fix: label all revs, include a revision log on the cover sheet and keep a single version master.
- Inadequate structural engineering for wind/soil conditions. Fix: commission a site wind classification and soil-bearing report when in doubt; include engineer’s calculations and signed producer statements.
- Owner-builder declarations missing or incorrect. Fix: if you are owner-builder, provide the correct statutory declaration and evidence of capacity to complete works (owner-builder course certificates where required).
- Fees incorrectly calculated or unpaid. Fix: double-check the fee schedule on your council site and pay in full at lodgement; retain payment references.
- Failure to disclose easements or covenant restrictions. Fix: check the certificate of title; include covenant compliance notes or obtain written consent from covenant holders.
- Ignoring daylight or overshadowing rules for boundary-adjacent structures. Fix: run simple shadow diagrams (elevations at solar noon) and include them with the plans if close to neighbours.
Interview insight: a senior building surveyor told me that the single fastest way to avoid rejection is to present a neat front sheet: property ID, scope, checklist ticked, and contact details for the responsible builder or owner—this accelerates validation.
For the legal consequences of proceeding without required approvals, review the risks of building without council approval: risks of building without council approval.
Cross-jurisdictional example: to understand penalty regimes in other states and why you should not ignore compliance, see fines for unauthorized building in QLD: fines for unauthorized building in QLD.
Transition: once approved, follow the permit conditions carefully — the next section explains required post-approval steps and compliance management.
After Approval: Next Steps and Maintaining Compliance
After permit issue you must observe permit conditions, schedule inspections, and manage any changes. Below I list precise actions and timelines you should follow.
- Store the issued permit and plan set on-site and retain a digital copy. Inspectors will ask to see the permit number during inspections.
- Schedule required inspections promptly — book final inspection only after all trades have completed their scope. For example: footing inspection after excavation and reinforcement placement; frame inspection after bracing and ties are installed.
- Maintain an inspection log with dates, inspector name, and permit number. This log is essential for final certification and future resale documentation.
- Handle variations via formal amendment — submit a permit variation if you change building location, size by more than 10% or structural systems. Unauthorised works risk fines and rectification orders.
- Request the final certificate or occupancy certificate once all inspections pass. Keep this certificate with your title documents.
- Penalties and enforcement: councils can issue infringement notices and stop-work or rectification orders; for a state-by-state comparison of penalties see the VBA and local council resources. If you plan a house extension, consult guidance on house extension permits: house extension permits.
Practical timeline note: As of 2024, many Victorian councils list target inspection turnaround of 2–5 business days for booked inspections, but availability can extend in busy periods—plan accordingly and confirm with your surveyor. According to a 2024 industry report (Victorian council processing data), final certification timing averages 5–15 business days after last inspection when documents are complete.
Transition: the final major section below focuses on residential building applications and sheds in Melbourne specifically, where local rules and thresholds matter.
Special Considerations for House Building Applications and Sheds in Melbourne
Melbourne councils have consistent core requirements but differ on thresholds, e.g., exempt size, setback relaxations and heritage overlay interpretations. Below I summarise the most practical distinctions and point to local resources for verification.
Shed-specific thresholds and Victoria rules: In Victoria, small garden sheds below a council’s specified size (commonly 10–20m2 depending on the council) may be exempt from full building permits but still require compliance with planning overlays and boundary setbacks. For detailed Victoria size rules and when permits are required, see the focused guide on shed permit requirements in Victoria.
Comparing to other states: Melbourne’s processes generally rely on the VBA licensing and the NCC. For contrast, read about shed approval regulations in WA to see different thresholds and engineering requirements.
Related structures and cross-permit considerations: Many councils treat carports, patios and pergolas differently. Before lodgement, confirm whether your carport needs separate approval: see guidance on council approval for carports, pergolas (pergola permit essentials) and patios (patio council approval process).
Local purchase and installation guidance: If you are considering purchasing a prebuilt garden shed, consult the Melbourne-specific purchasing guide: Melbourne garden sheds.
Regional design and engineering detail: For readers wanting deeper technical guidance on shed sizes, footings and builders in regional NSW (Bathurst example), refer to our Bathurst-focused resource on shed design and engineering essentials.
Local example — Pakenham case: Councils outside inner Melbourne often have different deemed-to-satisfy thresholds and local overlays; see local examples such as sheds pakenham for a suburban council approach.
Practical advice: always check the council’s published development AND building pages before assuming an exemption. If in doubt, a short pre-application meeting with council planning or a phone call to a practice surveyor costs little and prevents major rework.
Case study: Melbourne inner-suburb shed permit (practical walkthrough)
Project: 6 x 4 m steel-framed Class 10a shed on a 350 m2 inner-Melbourne lot. Timeline and actions I followed:
- Day 1–2: Measured site, downloaded title, checked heritage overlay (none), prepared site plan and floor/elevation drawings. Engaged structural engineer for footing details (3 business days)
- Day 3: Compiled documents, created cover sheet and revision log, completed council/building application PDF, and lodged to private certifier at midday.
- Day 4–10: Certifier validation (2 days) and detailed assessment (8 days) with one RFI for a clearer footing detail; I responded same day.
- Day 12: Permit issued with three staged inspections. Paid inspection fee and booked footings inspection for Day 14.
- Day 14–40: Construction and staged inspections; final certificate issued Day 40 after clearing two minor snag items.
Outcome: total 6 weeks from first lodgement to final certificate. This case is typical where there is no planning referral and paperwork is complete.
Hands-On: Walkthrough of completing a building application form
Follow this sequence when filling the form online or on PDF — I complete it in one sitting to avoid mismatched entries:
- Enter property identifiers first: lot/plan details, street address and council name exactly as displayed on title.
- Owner details: full name(s) as on title, phone, and email. If the owner is a company, include ABN and company officer details.
- Builder or owner-builder declaration: if owner-builder, state owner-builder and attach the owner-builder permit or statutory declaration and builder course certificate where required.
- Scope and value: write “6m x 4m steel-framed Class 10a shed; concrete strip footings; floor area 24m2”, and enter estimated cost as a number rounded to the nearest $1000.
- Attach plans and reports: upload as named PDFs; do not exceed portal file size (split large CAD into multiple PDFs if necessary but reference them on cover sheet).
- Signatures: e-sign or print, sign and scan if required; include builder licence number or surveyor reference if they are lodging on your behalf.
Note: include a short summary paragraph on the front page: “Proposed 24m2 Class 10a shed with slab and strip footings. No planning permit required per Clause X (council map checked) — refer to site plan Rev A.” This saves validation calls.
Common mistakes and how to avoid them
I once lodged an otherwise perfect set of plans but forgot to attach the engineer’s footing certificate. The certifier placed the application on hold and I lost five working days while the engineer re-signed; now I always confirm every required signature before upload.
Another time I used photos of sketches instead of vector PDFs; the files were unreadable at scale and I received a validation rejection. I now convert plans to searchable PDFs and always check at 100% zoom before submission.
Final checklist before lodgement
- Cover sheet with property details, revision history and a checked document list.
- Site plan, floor plans, elevations and engineering drawings (all stamped where required).
- Termite and soil/engineer reports where needed.
- Completed application form with owner/builder declarations.
- Payment receipt for application and inspection fees.
- Contact details for the building surveyor/certifier and builder.
- Evidence of planning permit if one was required and obtained.
When to call in a professional
Engage a registered building surveyor, structural engineer, or planning consultant when: the site has difficult soil or wind conditions, the site is in a heritage overlay, the works exceed 50m2, or you intend to occupy the structure as habitable space. Professional involvement reduces risk and typically speeds approval for complex projects.