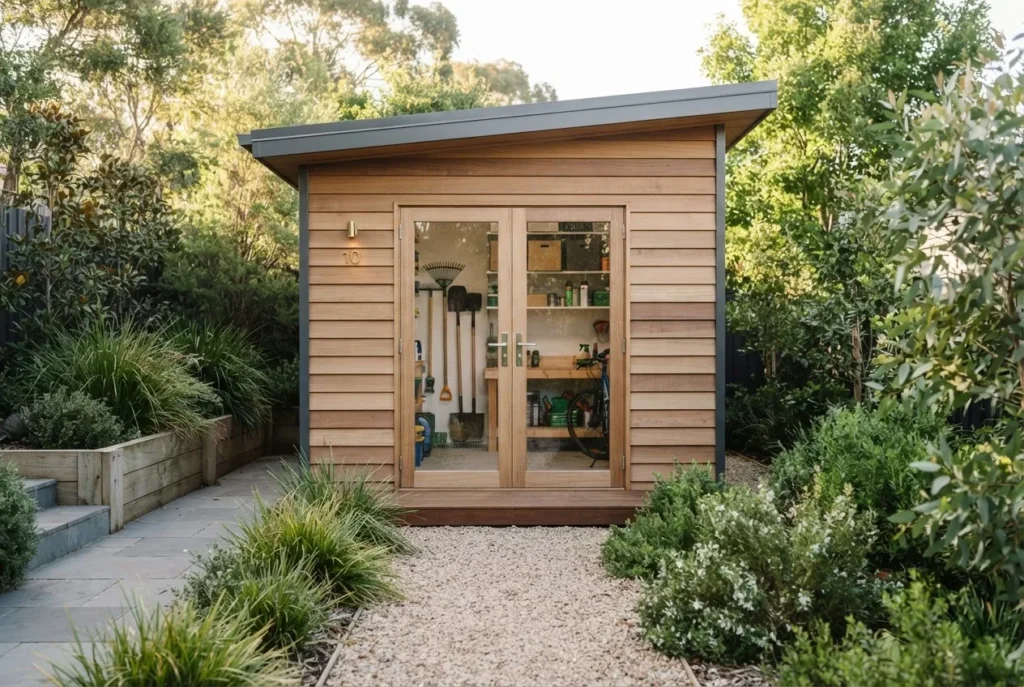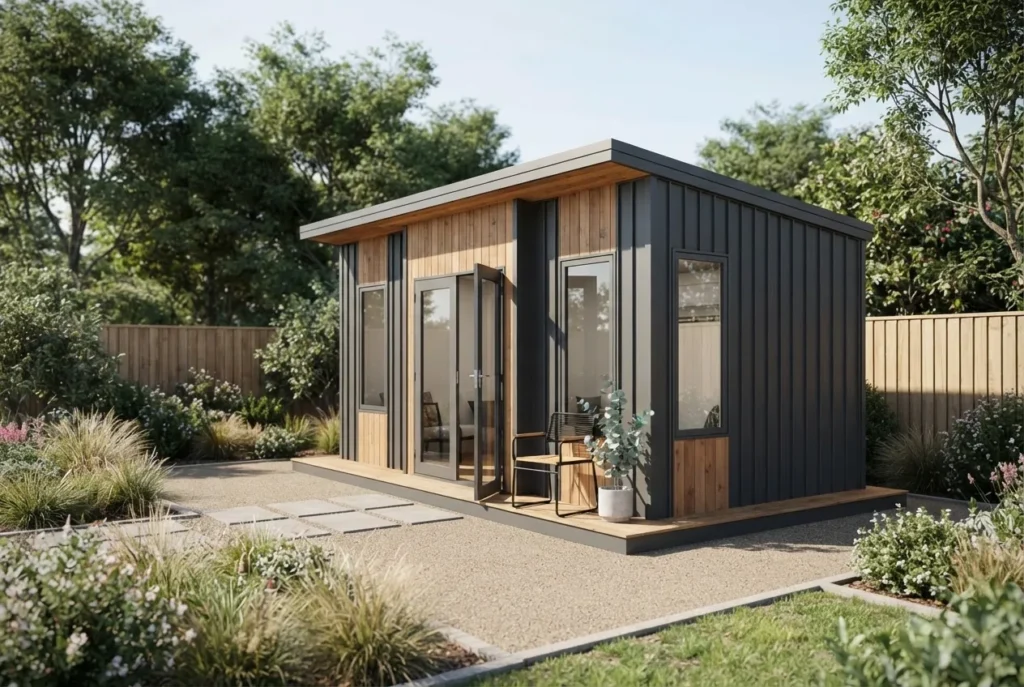


By the end of this hands-on guide you’ll have a complete budget, a chosen layout, a prepared site plan and a fit-out checklist for a 10m2 shed; expect to plan this in 3–7 days and to reach installation within 2–8 weeks depending on permit lead times. Skill assumed: competent DIYer or homeowner coordinating trades.
Before you start
- Site measurements: tape, laser measure (accuracy ±5mm).
- Tools: spirit level, shovel, plate compactor hire (1 day), circular saw (if building), drill and fixed bits.
- Materials checklist: supplier quotes for cladding, roof sheeting, floor substrate and fixings (see Cost section).
- Design tools: free Floorplanner or SketchUp Free account (see Design walkthrough).
- Permissions: check local council and have site plan & boundary setbacks ready.
- Measure your site and confirm access. Record a usable footprint of at least 2.5m clearance around the shed if possible for maintenance. Note boundary setbacks, overhead power and drainage lines; take photos from four angles.
- Decide function and layout priority. Choose between primarily storage, workshop, or mixed-use. Prioritise width or depth depending on the longest tool/equipment you need to store (e.g., mower length ~1.2–1.5m).
- Set a clear budget range. Use the Cost Breakdown below to set Minimum / Target / Maximum budgets and add 10–20% contingency for Melbourne-specific permit & bushfire zone costs.
- Check local permit triggers. Locate your property on the local council planning map and the Victorian building portal to confirm if the 10m2 footprint triggers a permit or building permit exemption.
- Choose foundation type. Select between concrete slab, compacted gravel with timber bearers, or prefab pier system based on slope and water table.
- Pick materials and supplier. Get at least three quotes from local Australian manufacturers or installers; ask for itemised lists (materials, labour, delivery).
- Design the interior layout. Use free Floorplanner or SketchUp to test shelving, door swings and circulation paths — save two alternate plans (storage-first and workshop-first).
- Order and schedule works. Book foundation trades first (2–3 weeks lead), then shed delivery/installer, then electrician/plumber if needed.
- Fit-out and finalise. Install shelving, ventilation, lighting and security; allow 1–3 days for internal fit-out.
Common finishing times: Canberra-sourced prefabs may be delivered quicker, whereas custom timber builds often add 3–6 weeks.
Common mistakes and how to avoid them
I once underestimated the door swing clearance on a 10m2 shed and couldn’t fit a mower through the hinged door; now I always mock up door clearance with cardboard at full width before finalising the layout. I also underestimated stormwater run-off—confirm existing fall and add 50mm fall away from the shed.
Understanding 10m2 Sheds: Dimensions and Characteristics
A 10m2 shed denotes a 10 square metre footprint — commonly achieved with external dimensions such as 3.0m x 3.33m, 2.5m x 4.0m, or a 2.0m x 5.0m layout depending on site constraints. The interior clear floor area after stud and cladding typically reduces by 80–150mm on each wall, so expect internal usable area of roughly 9.6–9.84 m² for light cladding systems.
Common standard dimensions and how they feel:
- 3.0m x 3.33m: near-square, best for shelving on two walls and a central aisle 800–900mm wide.
- 2.5m x 4.0m: elongated rectangle, ideal for garden gear along long wall and workbench at the short end.
- 2.0m x 5.0m: a slim long run — great for storing long items (ladders, planks) but less cross-accessible.
Interior height commonly ranges 2.1–2.4m in prefabs; a higher eave (2.6–3.0m) allows loft storage or mezzanine platforms, though that starts to push into building-permit territory for some councils.
What to expect from a 10 sqm footprint: storage for garden equipment, bicycles (2–3 hanging vertical racks), a small workbench (0.6–0.8m deep), and shelving occupying up to 30–40% of floor area while retaining a workable aisle. If you plan a workshop with power tools, allocate 1.2–1.5m clearance for safe operation and dust extraction.
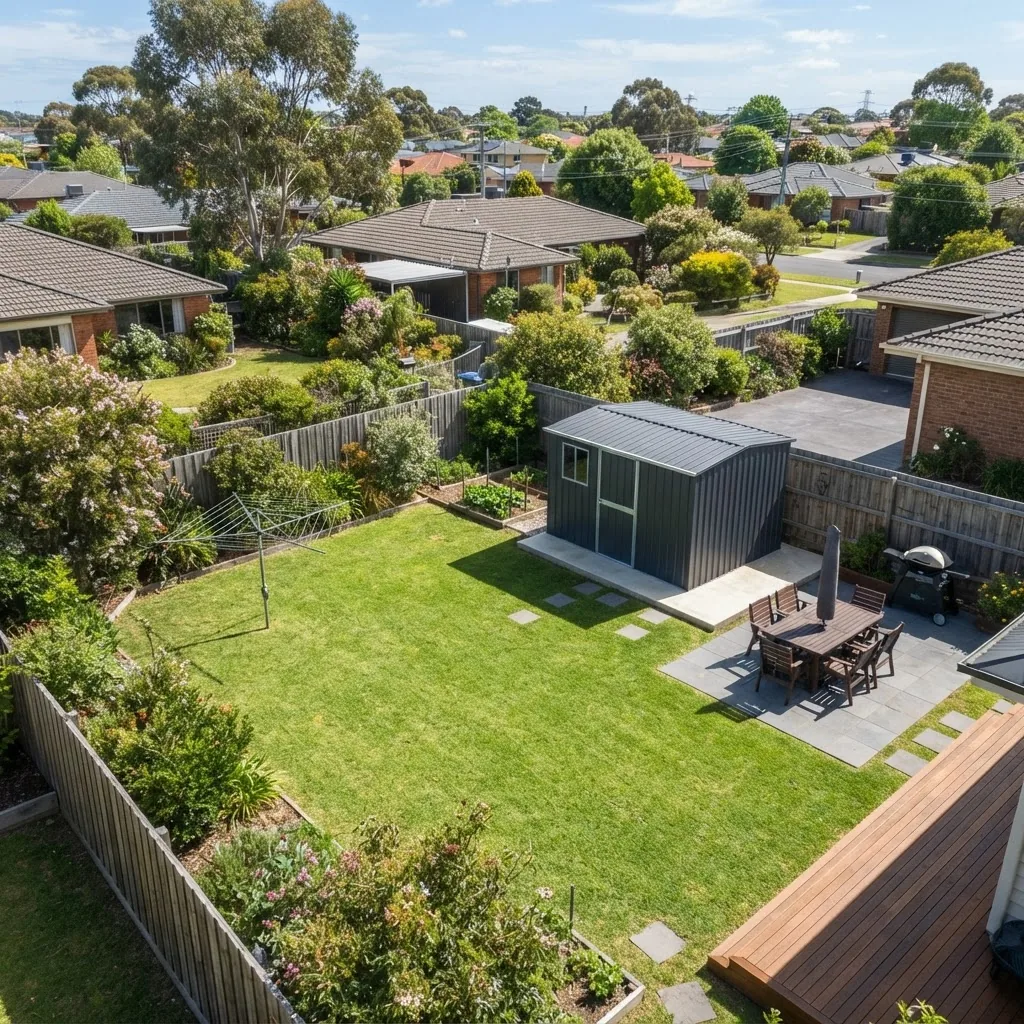
For context across sizes, see 3×3 garden shed layout and cost, or compare upward to the Shed Sizes and Cost Guide for Standard Storage Dimensions to position the 10m2 shed among other standard footprints.
Transition: Now that you know the physical characteristics, let’s break down what it will cost in Melbourne — with real supplier numbers and permit context.
Cost Breakdown of a 10m2 Shed in Melbourne
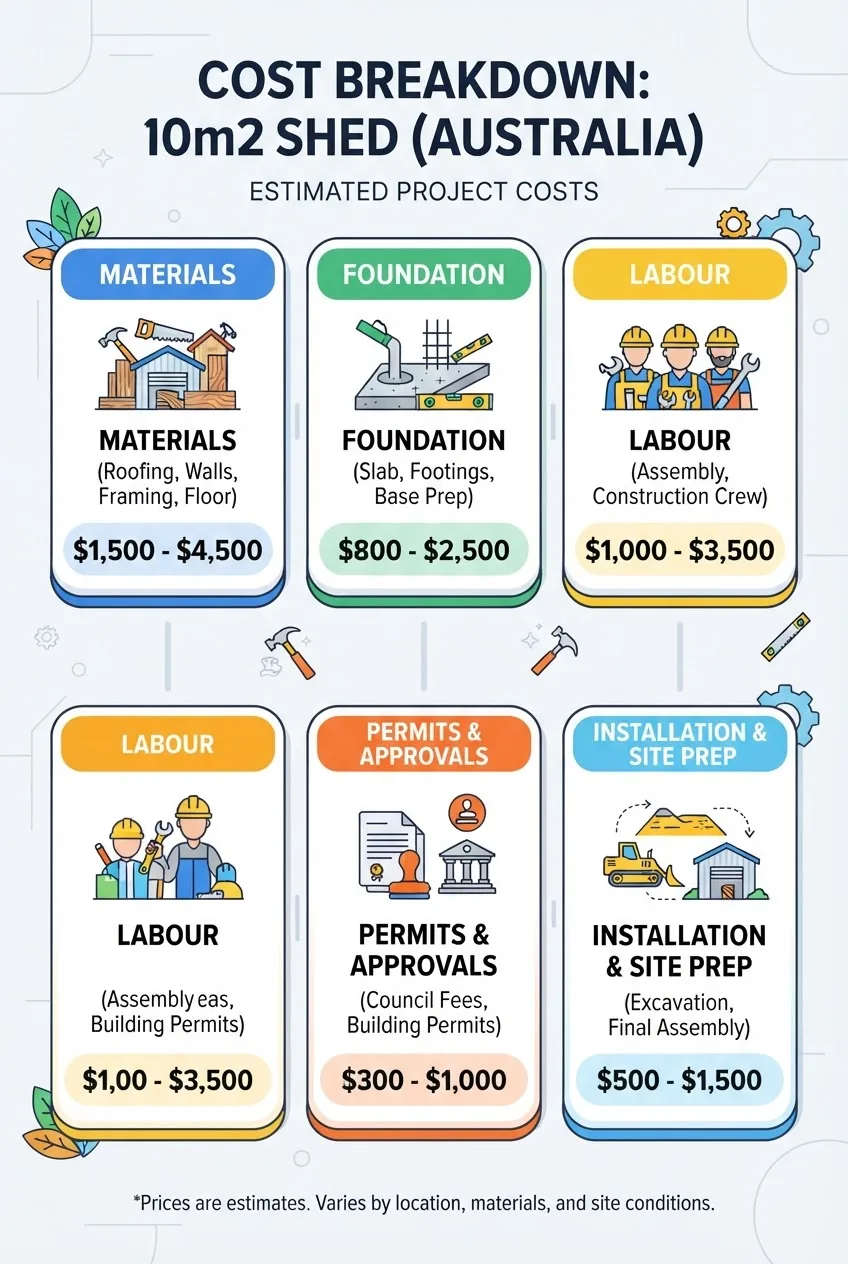
Below is a practitioner-focused, numbered cost breakdown with approximate ranges in AUD (Melbourne, 2024). All figures exclude GST unless noted. For clarity: “materials” refers to raw components; “labour” refers to installer/trades costs; “delivery/installation” covers rigging and assembly by supplier.
- Base shed kit (prefab metal panel or basic timber shell).
- Prefab corrugated metal kit (Colorbond-style): $2,200–$5,000 — smaller kits from national manufacturers trend towards the lower end; custom colours, windows, or higher gauge steel add cost.
- Timber-framed shell (basic cladding, no finish): $3,500–$7,500 — local small-scale builders charge more for custom joinery and finishes.
- Custom high-end workshop shell (insulated, commercial-grade): $7,500–$15,000.
- Foundation and site preparation.
- Concrete slab 100mm reinforced with mesh: $1,100–$2,200 (10m2; labour + materials).
- Gravel compacted base with timber bearers: $450–$1,100 (cheaper, quicker, suited to level sites).
- Raised pier system (concrete piers + timber joists): $700–$1,500.
- Site clearing, vegetation & small tree removal: $200–$1,000 depending on access.
- Delivery and installation.
- Supplier delivery (inner Melbourne): $100–$400 depending on distance and crane access.
- Professional installation: $600–$2,000 for a 10m2 kit depending on complexity and roof type.
- Doors, windows and hardware.
- Single hinged door (steel): $120–$350 installed.
- Roller door (manual, small size): $450–$1,200 installed.
- Windows (aluminium sliding): $180–$500 each.
- Electrical and lighting (if required).
- Basic lighting & power ring (1–2 double power points + LED light): $450–$1,200 (includes electrician + materials).
- RCD safety switch & small sub-board upgrade: $350–$800.
- Insulation and weatherproofing.
- Reflective foil or batts for 10m2: $150–$600.
- Sealants, flashings & guttering: $120–$450.
- Permits, planning & consultancy.
- Planning permit (where required): $200–$1,200 for lodgement and basic plans (varies by council).
- Building permit & certifier fees: $350–$1,200 depending on structural work.
- Engineer fees (if required for slab or retaining): $450–$1,200.
- Internal fit-out & storage systems.
- Modular shelving: $120–$400 per bay.
- Pegboards + hooks: $50–$200.
- Compact workbench with vice: $180–$650.
- Transportables and custom additions.
- Delivery involving crane or restricted access: add $350–$1,200.
- Custom joinery (benches, secure cabinetry): $600–$2,500.
- Total typical cost ranges — Melbourne, 2024.
- Budget prefab, DIY install on gravel: $3,000–$6,000.
- Mid-range installed on concrete with electrical and basic insulation: $7,000–$12,000.
- High-end custom timber or insulated workshop with mezzanine: $12,000–$25,000+.
According to a 2024 industry report from Australian shed suppliers, average installed cost for a small 8–12m² metal shed in metropolitan areas sits around $7,800 (supplier average) — budget accordingly.
- Variable factors that move price up or down.
- Access constraints, slope and rock excavation — add $500–$3,000.
- Heritage overlays or bushfire-prone area (BAL rating requirements) — may increase cladding, footing and certification costs by $1,000–$6,000; consult council.
- Custom finishes, insulation and electrical fit-out — add $1,000–$5,000 depending on quality.
Reference supplier example: a Melbourne-based metal shed supplier quoted (March 2024) a delivered and installed 3m x 3.33m Colorbond kit at $4,250 including standard roller door and basic base preparation (quote on file). Always ask suppliers for itemised quotes and a clear warranty statement (materials & workmanship).
Transition: With budget levers understood, next choose the appropriate foundation for longevity and ease of installation.
Foundation and Site Preparation for a 10 Square Meter Shed
| Foundation Type | Pros | Cons | Approx. Cost (AUD) |
|---|---|---|---|
| Concrete slab 100mm reinforced | Durable, level, ideal for workshops, termite-resistant with treatment | Most expensive; requires curing time (7 days) and possible engineer input on slope | $1,100–$2,200 |
| Compacted gravel base + timber bearers | Cheaper, quick to install, good for uneven sites | Less airtight; potential for moisture; not ideal for heavy machinery | $450–$1,100 |
| Raised pier system (concrete piers) | Minimal excavation, allows airflow, good for sloping gardens | Can move under heavy load; will require joists and good anchoring | $700–$1,500 |
| Precast concrete pads | Fast installation, consistent dimension, suitable for prefab kits | Requires precise placement and flatness; limited for uneven terrain | $600–$1,100 |
Guidelines and thresholds:
- For a workshop with machinery, prefer concrete slab 100mm reinforced with SL82 mesh and a minimum fall of 1:100 away from shed edges.
- For storage-only, compacted 40–75mm crushed rock over a geotextile with treated timber bearers is acceptable; compact to 98% proctor density.
- Perimeter drainage: ensure 150mm fall away from building for first 1m and install a 90mm PVC gutter if the site gets regular heavy rain.
Transition: With foundation chosen, you can select a layout that puts every square metre to work.
Popular Layout Designs for Efficient Storage in a 10m2 Shed
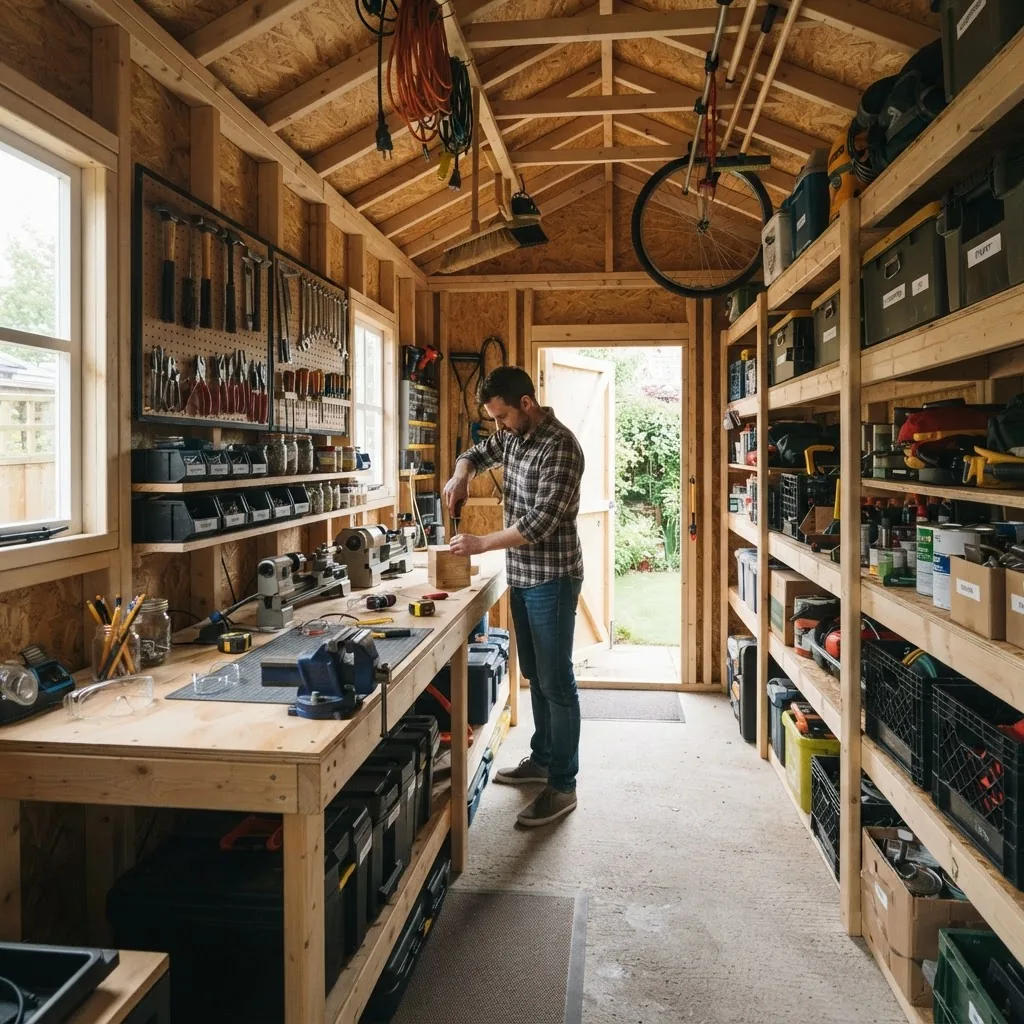
This section gives step-by-step configuration choices and three example layouts. Start by listing three priorities (e.g., tool storage, lawn equipment, bike storage) — allocate percentage of floor area: primary 40–50%, secondary 30%, circulation 20–30%.
- Map your long items first. Measure length and place them along a single wall to avoid blocking access — ladders (1.8–3.0m), timber (up to 4m), garden trimmer lengths. Leave 150–200mm clearance above floor for air flow and pest inspection.
- Design a 700–900mm central aisle. This is the minimum workable aisle for two-way access and manoeuvring a lawnmower or wheelbarrow. If you need to manoeuvre larger equipment, target 1,200mm.
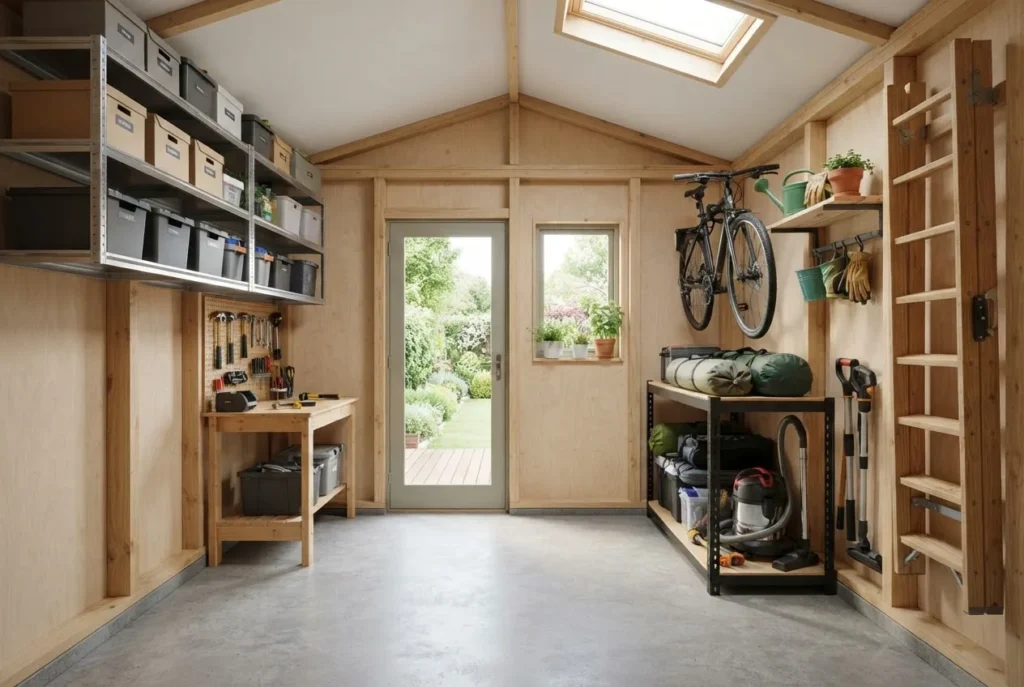
- Use vertical storage and wall zones. Fit 300–350mm deep shelving on one long wall for bins and labelled containers, and 150–200mm pegboard vertical strips for hand tools. Place heavy items on bottom two shelves only — max shelf depth 350mm for stability.
- Allocate a 600mm deep workbench opposite shelving. A 0.6m by 1.2–1.8m bench suits basic DIY; if you need saws, keep bench at 900–1,200mm clear in front for tool operation.
- Create a hanging-bike zone. Vertical hooks or a hoist system saves floor space — store bikes on single-wall racks (each bike occupies ~300mm width vertically).
- Plan door and roller access first. Place large equipment near roller or wide-opening doors to avoid carrying across the aisle — this will shape shelving and bench placement (see Door section).
- Example layout A — Storage-first (3.0m x 3.33m).
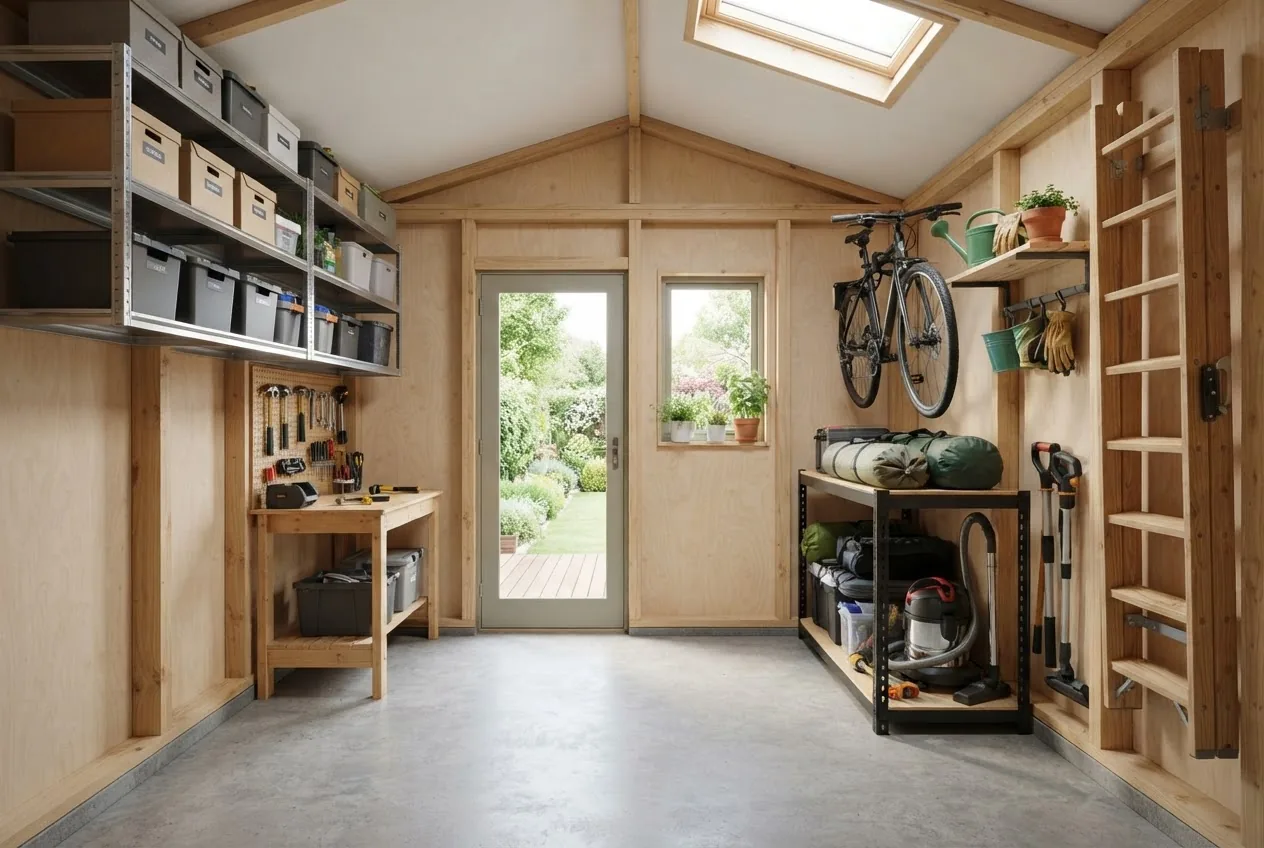
Long wall: full-height shelving (300mm depth). Short wall: 0.6m bench under a window. Opposite long wall: pegboard + hanging bike rack. Central aisle: 900mm. Best for homeowners storing garden gear and seasonal boxes.
- Example layout B — Workshop-focused (2.5m x 4.0m).
Long wall: bench + under-bench tool cabinets (900mm work area). Opposite wall: shallow shelving 250–300mm and power outlets every 1.2m. Rear short wall: storage for long items vertical. Reserve 1,200mm near bench for tool operation. Include 150–200mm toe-kick clearance under benches for dust and pest checks.
- Example layout C — Mixed with loft option (3.0m x 3.33m, raised eaves).
Install a 1.0m x 3.0m loft above one third of the shed (mezzanine platform) supported by timber joists to store seldom-used items (seasonal decorations). Keep ladder or fold-down stair location clear. Note: mezzanine may trigger building permit; confirm with council.
- Fit-out sequence.
- Lay flooring / adjust final levelling.
- Install fixed electrical runs (if required) before shelving.
- Mount shelving & pegboard to studs or use freestanding heavy-duty shelving anchored to floor.
- Fit roller/hinged door and test clearances with largest item.
- Finish with labelled bins and secure heavy items low.
Comparative perspective: if you expect to outgrow the 10m2 footprint quickly, review the 10×10 storage shed guide and cost to compare incremental area benefits and costs.
Transition: Door and window selection dramatically affects the above plans — choose wisely.
Door and Window Options for 10m2 Sheds and Their Impact on Layout
Door and window choices determine traffic flow, light and the usable internal wall for storage. On a 10m2 shed, small changes in door type can gain or lose up to 0.6–1.2m of usable wall for shelving or benches.
Common door types:
- Roller door — Pros: saves external swing space, wide clear opening, good for moving mowers in/out. Cons: takes headroom, can be noisy and less secure if low-grade. Cost: $450–$1,200 installed.
- Hinged (single) door — Pros: cheaper, better sealing, suitable when side access needed. Cons: swing reduces external clearance and can block adjacent shelving inside if poorly sited. Cost: $120–$350 installed.
- Sliding door — Pros: no swing, good for confined external space. Cons: requires external wall clearance and strong track; may reduce adjacent wall use inside. Cost: $350–$900 installed.
Window placement:
- Place long, high windows (aluminium sliding) at bench height to provide task light while keeping wall below for shelving (window sill at 900–1,000mm).
- Ventilation: include at least one operable window or a louvre vent per short wall for cross-flow; consider ridge vents for passive convection.
Mini pros & cons list:
- Roller door — Pros: maximises access; Cons: reduces wall-top mounting for shelving directly above door and may eat into loft options.
- Hinged door — Pros: simple and sealed; Cons: requires clear external swing space and careful internal shelving placement.
- Windows — Pros: natural light reduces need for electric lighting; Cons: reduces wall area and requires security considerations.
For more small-shed door examples and roller-door placement strategies, see 3×6 garden shed pricing and design guide.
Transition: Door and window choices interact with material decisions — next, choose the best construction type for Melbourne conditions.
Materials and Construction Types Suitable for 10m2 Sheds in Melbourne
Material choice should reflect durability, aesthetics and maintenance: the main options are steel panel prefabs, timber-frame with cladding, and hybrid systems. Define lifespan expectations — 10–20 years for basic metal sheds with maintenance; 20–40 years for well-treated timber. Refer to Australian standards for material safety where relevant.
| Type | Benefits | Drawbacks | Typical cost (10m2) |
|---|---|---|---|
| Colorbond-style steel prefab | Low maintenance, termite-proof, quick install | Less insulation; condensation risk if not treated | $2,200–$7,000 |
| Timber frame with weatherboard or corrugated cladding | Traditional look, easier to modify internally, better natural insulation | Higher maintenance (painting, rot checks), termite risk without treatment | $3,500–$12,000 |
| Hybrid (steel frame + timber cladding) | Strength of steel, aesthetic of timber | Costly; requires coordinated trades | $6,000–$14,000 |
| Prefabricated panel systems (insulated) | Best thermal performance, quick assembly | Higher upfront cost | $8,000–$18,000 |
Prefabricated (prefab) describes a structure manufactured off-site in panels or a kit, while custom refers to on-site timber framing or bespoke joinery. For a quick buy-and-install approach, prefab steel is often the fastest and most cost-effective for a 10 sqm shed; for aesthetic match with a house, timber or hybrid may be preferred.
Comparative guide for related sizes: If you are considering alternatives, review 12×8 storage sheds cost and design and the prefab-focused 4 x 3 storage shed cost and prefabricated design.
Transition: With your shell and materials chosen, make the inside work harder with storage systems and organisation.
Maximising Storage Efficiency: Organisation Tips and Accessories
Every millimetre counts in a 10 sqm shed. Below are stepwise, practical ways to maximise capacity and accessibility.
- Install adjustable shelving first. Opt for 300–400mm deep adjustable racks; install two full-height bays on one wall. Label bins and reserve top shelf for light seasonal items not in regular use.
- Use wall-mounted systems. Pegboards, slatwall panels or rails convert vertical space into flexible storage — fit tool outlines and hooks, each 100–150mm apart for hand tools.
- Implement loft or overhead storage for seldom-used items. A loft platform 600–900mm deep spanning one wall keeps holiday decorations and infrequently used gear off the floor. Ensure load rating at design (e.g., 0.75 kN/m² for storage-only).
- Add fold-down benches or drop-leaf work surfaces. These provide workspace only when needed and free floor space otherwise — secure with heavy-duty hinges rated for 40–60kg.
- Use stackable clear plastic bins with uniform footprint. Standardise on one bin size (e.g., 400x300mm) to use shelving efficiently; label on the long edge for visible identification.
- Employ ceiling hoists for bikes or bulky tools. A manual hoist rated to 60kg can lift one adult bicycle to the roof void; install directly into studs or joists and test with load gauge.
- Designate zones and mark them. Assign zones (A: daily tools, B: seasonal, C: workshop). Keeping zones prevents duplicate searching and maintains order for two adult users.
- Secure chemicals and petrol in ventilated lockable cabinets. Use metal container rated for flammable storage if storing petrol or chemicals — keep 1m clearance from ignition sources and battery chargers.
- Plan lighting for task zones. Install at least 300 lux at the bench area — typically achieved with a 12–18W LED strip directly above the bench. Use motion-sensor LED lights for convenience and energy savings.
- Tool racks and vertical storage rules of thumb. Hang heavy tools with hooks rated 25–50kg per hook; keep centres no more than 300mm for load distribution.
- When vertical stacking gets dangerous, consider a mezzanine. A 2 story shed design for loft storage can triple usable area vertically, but expect higher permits and structural costs.
Transition: Organisation reduces maintenance and improves lifespan — next, how much maintenance to expect.
Maintenance Costs and Longevity Expectations for a 10m2 Shed
Maintenance frequency and costs depend on material and exposure. Expect these average lifecycle touchpoints for Melbourne conditions:
- Annual: clear gutters, check seals and door tracks, oil hinges — cost: $0–$80 (DIY) or $120–$240 if hiring handyman for inspection and minor repairs.
- Every 3–5 years: repaint or re-coat timber cladding, touch-up Colorbond scratches — cost: $200–$1,200 depending on surface area and finish quality.
- Every 7–15 years: replace roof sheeting fasteners or flashings in exposed coastal or high-UV areas — cost: $300–$1,800.
- Unexpected repairs: storm damage, vandalism or termite treatment — variable; keep a 10–20% annual contingency for major events.
Lifespan benchmarks:
- Unmaintained cheap metal kit: 8–12 years.
- Maintained Colorbond or well-treated timber: 15–30+ years.
- Insulated prefab panels: 20–40 years with low maintenance.
Note: maintenance costs rise if the shed is in a coastal suburb or exposed to strong sun; materials rated for those environments will cost more upfront but save in lifecycle maintenance.
Transition: before you finalise your project there are Melbourne-specific rules and climate considerations to check.
Melbourne-specific Considerations: Permits, Regulations, and Climate
Checklist for Melbourne homeowners (practical items and reference points):
- Council planning overlay check — locate property on council mapping tool to determine if planning permits or heritage overlays apply.
- Building permit requirement — structures over certain heights or with roofs and fixed foundations often need building permits; requirements vary by council.
- Bushfire-prone areas and BAL ratings — impact cladding and construction standards and may change cost and permit steps.
- Stormwater and flood overlays — your shed may need to be elevated or have specific drainage provisions.
- Pest & termite treatments — timber sheds must be built with treated timber and inspected periodically.
Authoritative resources:
- For national building code and performance requirements, consult the Australian Building Codes Board: Australian Building Codes Board.
- For Melbourne city planning and local permit requirements, consult the City of Melbourne planning pages: Melbourne Council Planning & Building.
- For material and construction standards, see Standards Australia guidance: Standards Australia.
12×9 shed pricing and size requirements may trigger different permit thresholds — check it if you’re debating a slightly larger footprint.
According to a 2024 Victorian government publication, average planning permit lodgement processing can range from 10 to 60 business days depending on complexity and council workload — allow this in your schedule.
Disclaimer: council interpretations and fees change; always confirm with your local council and obtain up-to-date quotes.
Conclusion
Key takeaways: a well-chosen 10m2 shed in Melbourne can serve as efficient storage, a compact workshop or a mixed-use space for roughly $3,000–$12,000 depending on foundation, materials and fit-out. Prioritise accurate site measurement, confirm permit requirements, choose a foundation appropriate to slope and load, and use vertical systems to maximise capacity.
Next steps: measure your site, collect three quotes (itemised), build a simple floor plan in Floorplanner or SketchUp and book your foundation trades early. When ready, use the checklist below and call a professional if you encounter structural, electrical or permit uncertainties.
Final verification checklist
- Site measured and photos taken.
- Budget set with 10–20% contingency.
- Foundation type chosen and quoted.
- Supplier quotes (3) obtained with warranties.
- Preliminary floor plan saved and tested for door clearance.
- Permits checked with local council or certifier.
- Electrical, ventilation and loft decisions finalised if applicable.
When to call a professional
- If the site requires retaining walls, deep excavation, or rock removal.
- For electrical work beyond a simple power point or when adding welding-capable circuits.
- When adding mezzanines, raised lofts or heavy machinery requires engineered loads.
- If your property is in a heritage or bushfire overlay where specialist compliance is required.