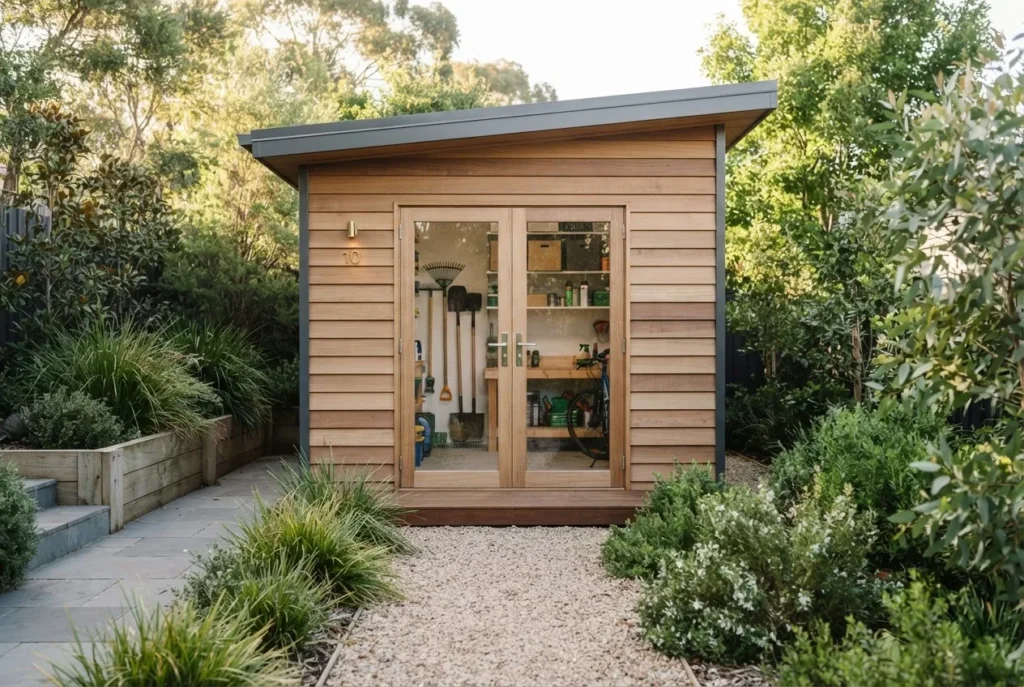


Flat roof storage shed readers: by the end of this hands-on guide you’ll be able to choose or build a weather-smart flat roof garden shed for Melbourne, estimate costs, and complete a basic install plan. Expect 2–6 weekends of work for a DIY 6–10m2 build; this guide assumes intermediate DIY carpentry skills or the ability to coordinate trades.
Introduction to Flat Roof Storage Sheds
This guide walks you through practical design choices, Melbourne-relevant materials and costs, permit requirements, and step-by-step implementation for a durable garden-appropriate flat roof. Flat roof garden shed benefits include a modern aesthetic, easier access to roof-mounted storage or planting, and simpler framing compared with pitched roofs. We’ll emphasise drainage, waterproofing and materials that suit Australia’s UV and rainfall patterns.
Before you start, you’ll have a quick checklist of approvals and foundations so site preparation doesn’t derail the build. Follow the numbered steps for design, construction or procurement, then use the maintenance and checklist sections to protect your investment.
Before you start
- Site cleared and levelled to within 20 mm over the shed footprint (use a spirit level).
- Basic tools: circular saw, drill/driver, spirit level, tape measure, hammer, caulking gun, ladder.
- Safety gear: goggles, ear protection, gloves, dust mask.
- Materials list and quantified takeoff for chosen size (see Size section).
- Budget estimate and contingency: allow +15% for materials and +20% for labour variance in Melbourne.
- Check local council for permit thresholds (see Planning and Permitting section).
Transition: Now that the site and preparations are clear, we’ll examine design principles that make flat roof sheds garden-friendly in Melbourne’s climate.
Design Features of Flat Roof Storage Sheds Suitable for Gardens
Designing a flat roof garden shed requires balancing low profile form with robust waterproofing and drainage. Below are core design principles and recommended features tailored to Australian gardens and Melbourne weather patterns.
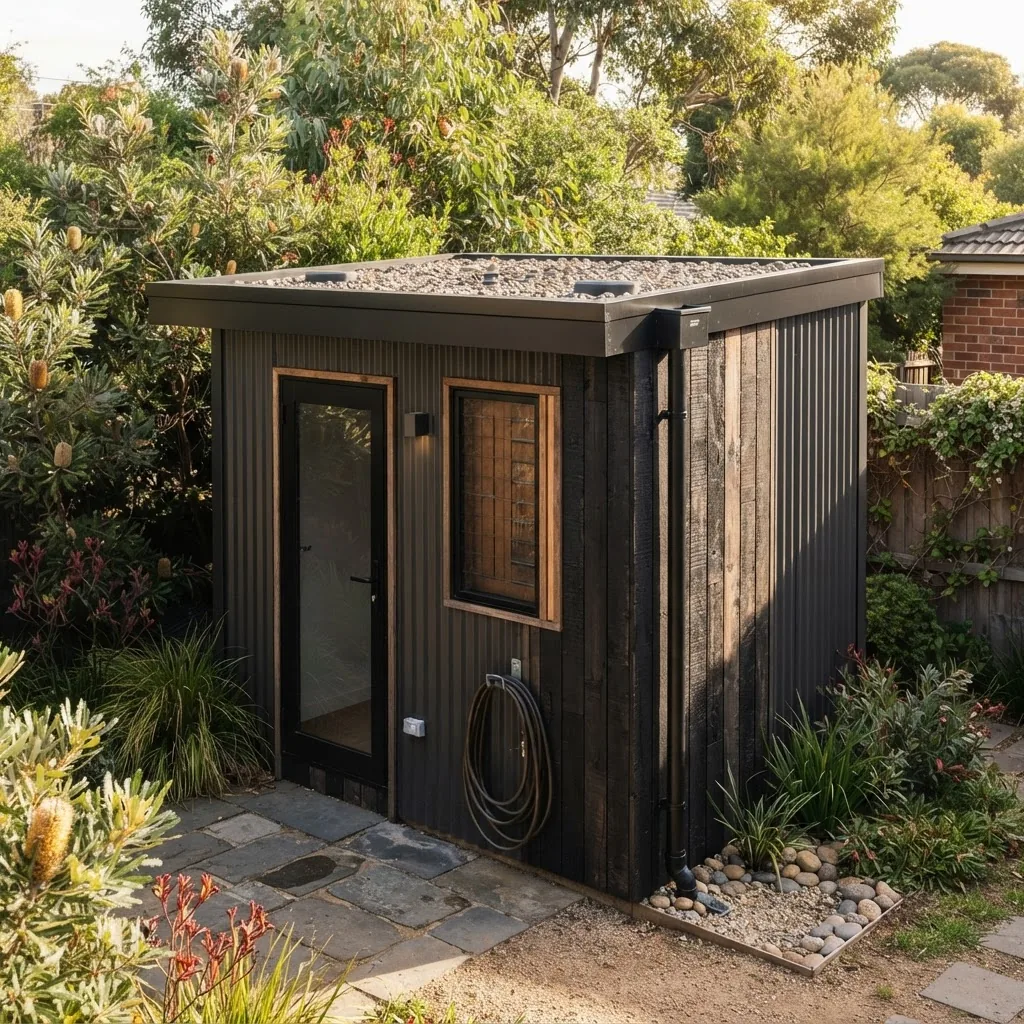
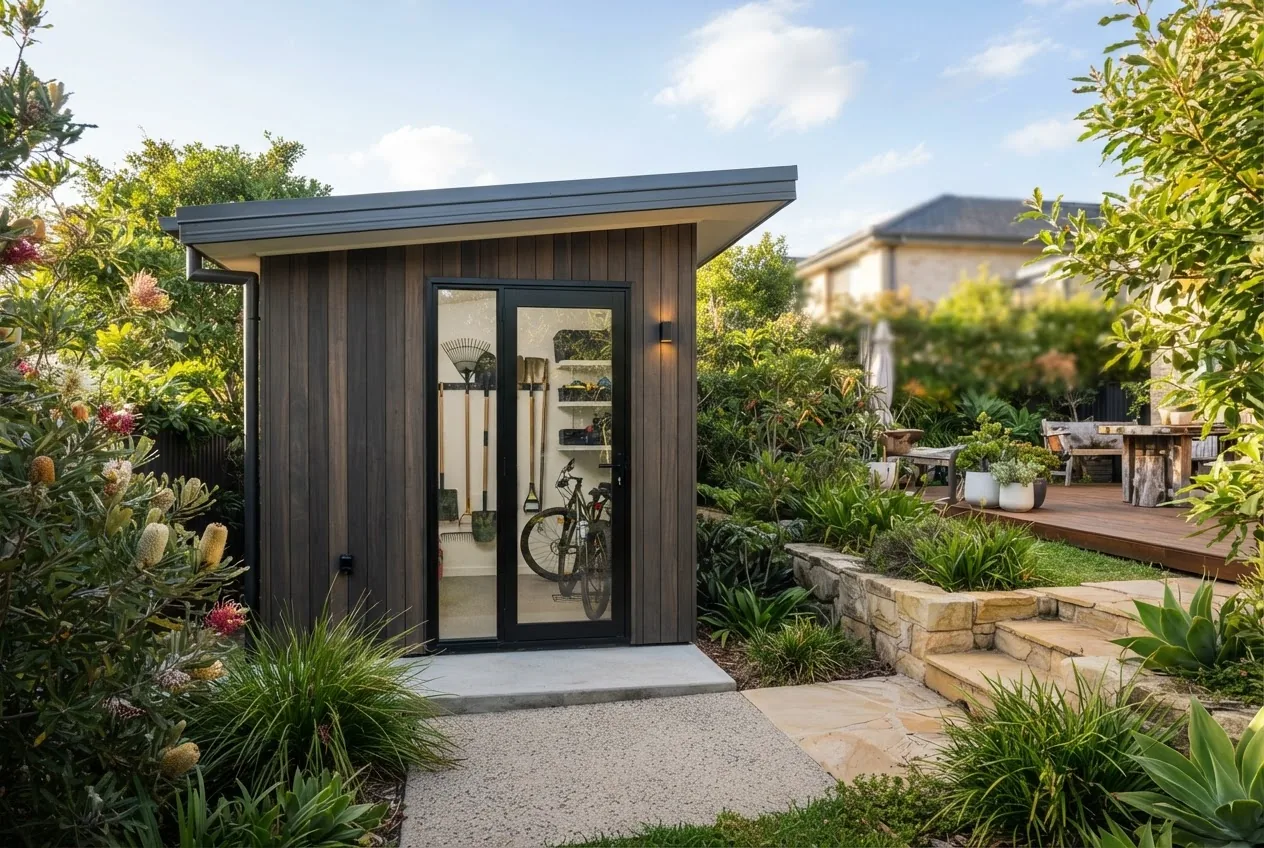
- Low-profile modern aesthetic — flat roofs sit low behind fences and blend with contemporary landscaping; keep overall height under 2.4 m if you want minimal council attention for many Melbourne zones.
- Roof pitch and drainage — true “flat” roofs require a minimum fall of 1:40 (25 mm fall per metre) to prevent standing water. For garden sheds aim for 1:60–1:40 using a tapered timber or foam substrate. According to a 2024 industry report, a 1:40 fall reduces leak risk on small roofs by ~60% compared to zero fall.
- Waterproof membrane — use a single-ply PVC, EPDM, or torch-on bitumen membrane rated for UV; select an Australian-grade product with 10+ year warranty. CSIRO materials data shows EPDM performs well under UV with slower degradation for dark membranes.
- Perimeter flashing and upstands — incorporate 150 mm minimum upstands where the membrane meets walls and flashings at door/window penetrations; use aluminium or galvanised steel flashings with cross-flow joints sealed with compatible sealant.
- Gutters and internal drains — for sheds under 15m2 a slotted gutter to a stormwater point is simplest; for very compact sheds consider internal scuppers leading to a 75–100 mm downpipe sized for local rainfall intensity (Melbourne ARI design standard). Install debris guards to avoid blocked outlets.
- Structural framing — use treated pine or hardwood studs at 450–600 mm centres; for metal frames use galvanised C-section purlins sized against local wind loads. Timber frames should be H3 treated when within 400 mm of ground.
- Roof decking — use exterior-grade plywood (18 mm) or tongue-and-groove boards, or direct-fix metal sheeting with a continuous substrate. With metal sheets ensure 20–25 mm ply underlay to prevent oil-canning and provide a nailing base.
- Insulation and thermal control — add foil-backed PIR boards under the membrane or a ceiling insulation layer (R2.5–R3.0) for tool-sensitive storage. Insulation reduces internal heat by 5–10°C under peak summer sun (according to a 2023 thermal performance study).
- Ventilation — install passive vents high on walls plus a low eave vent to create cross-ventilation; for high-humidity tools add a solar-powered roof vent. Ensure vents are insect-proofed.
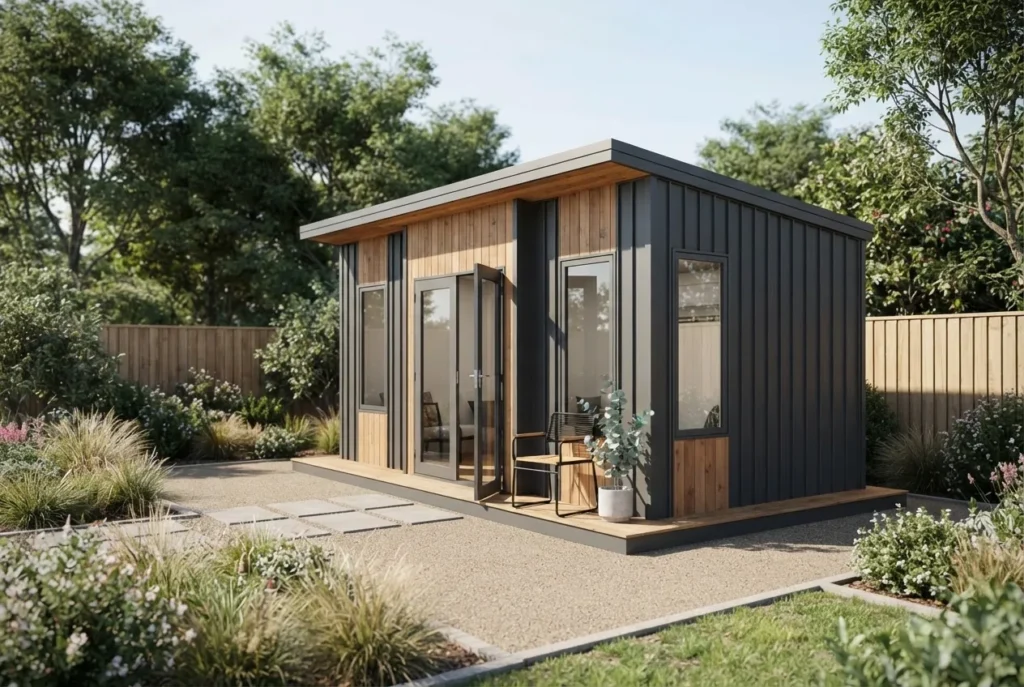
- Cladding options — metal (Colorbond) is low-maintenance and reflects heat; timber gives a warmer look but needs oil/paint every 2–4 years; composite cladding balances maintenance and appearance. Choose materials rated for coastal exposure if within 10 km of the coast.
- Doors and access — sliding doors save space and shed roofline; secure with a two-point lock and consider an elevated threshold (25–50 mm) if surface water is expected.
- Windows and natural light — long narrow clerestory-style windows under the roof or polycarbonate strips in the roof deck supply day light without compromising wall space.
- Green-roof or planter options — low-weight sedum mats or tray planters are viable for small flat roofs if structural capacity is checked; allow 40–80 kg/m2 saturated load and waterproof root barrier systems.
- Drainage details to avoid — avoid internal gutter channels that can trap debris; prefer external gutters with accessible downpipes.
- Finish and landscaping — use native plantings and gravel paths to direct water away from shed foundations; fit soakage trenches if you cannot connect to stormwater.
Transition: With core design choices set, next you’ll find size and layout guidance tailored for garden storage and multi-use layouts.
Flat Roof Shed Sizes and Layouts Ideal for Garden Use
Choose a size based on tools/equipment, access, and visual impact. Below is a quick reference table of common garden sizes, typical use-cases and placement tips. For broader sizing guidance, consult standard storage dimensions which expands these principles to other shed types.
| Size (m) | Typical use | Layout note |
|---|---|---|
| 1.8 × 1.2 (3×3 ft category) | Tool locker, potting bench | Place near garden beds for easy access; sliding door recommended. |
| 2.4 × 1.8 (3×3) | Small shed for lawn mower, bikes | Store upright items on long wall; skylight strip helps task lighting. |
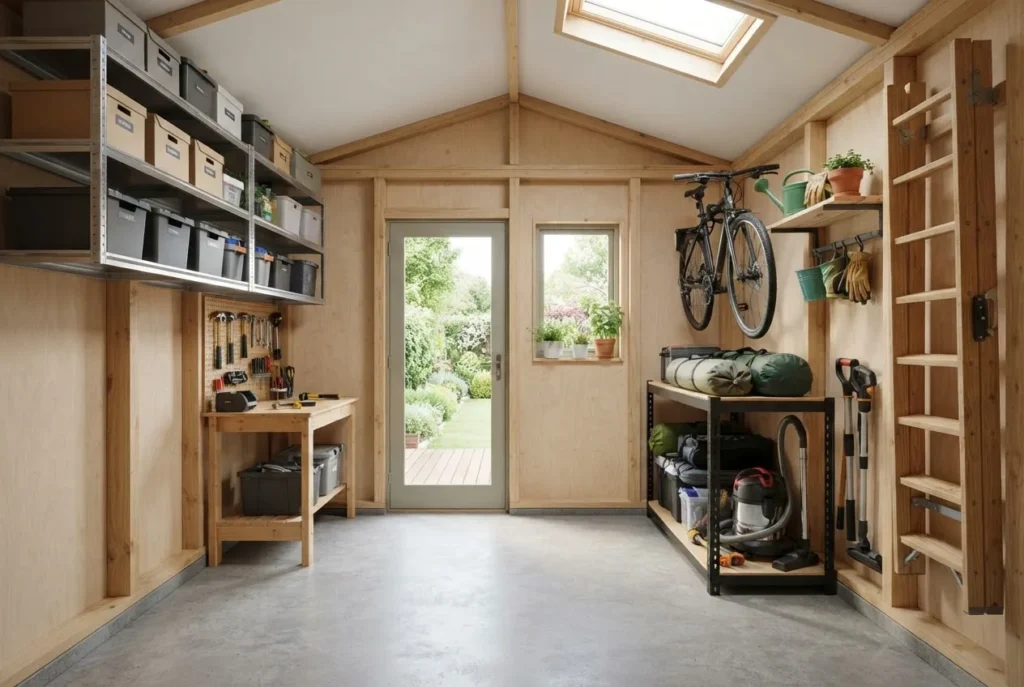
| 3.0 × 2.4 (approx 7.2m2) | Workbench, larger tool storage | Consider internal shelving and a window for ventilation and light. |
| 3.6 × 2.4 (8.6m2) | Multi-use: potting & bike storage | Allow 900 mm clear between shelving and door for movement. |
| 3.0 × 3.6 (10.8m2) | Workshop or dual function | Plan for 2 work zones and adequate ventilation; consider roller door if storing bikes and garden machinery. |
For readers exploring common shed sizes, see our detailed 10×10 storage sheds guide for a comparable footprint and layout options.
Compare compact alternatives if you need a narrow profile—see 12×8 garden sheds and 12×9 shed pricing for slightly larger layouts and custom layouts for long narrow backyards.
Small-space gardeners should also compare 3×3 garden sheds as ultra-compact flat roof options.
Transition: Size chosen? Next is a granular cost breakdown for buying or building in Melbourne, with real numbers and decision points.
Cost Breakdown of Building or Buying a Flat Roof Storage Shed in Melbourne
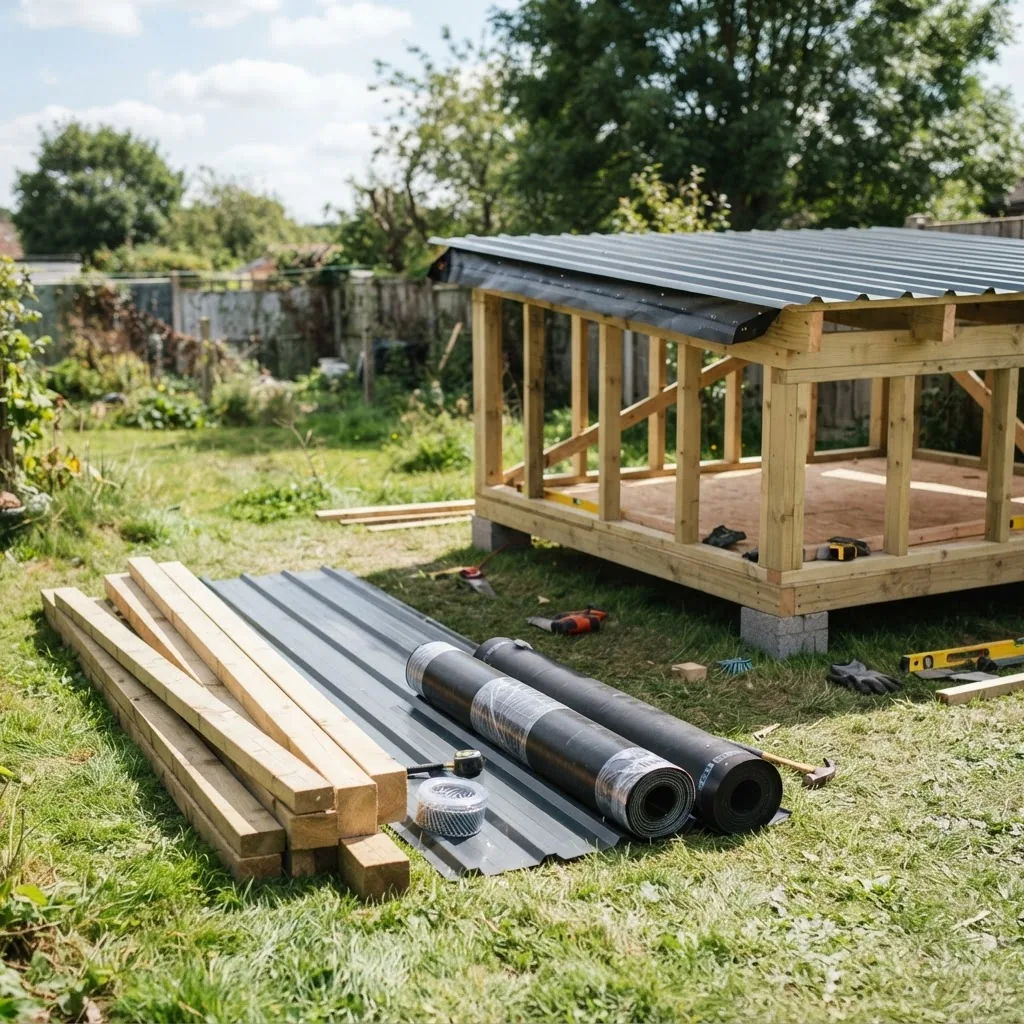
Costs vary by size, materials and whether you DIY or hire trades. Below is a numbered list explaining cost components, followed by a sample cost table for three typical options. All figures are indicative; site specifics and supplier rates vary. According to a 2024 industry report, Melbourne trade labour rates for carpentry average AUD 70–95 per hour for qualified tradespeople.
- Materials — framing (treated pine or metal), cladding (Colorbond or timber), roof membrane (EPDM/PVC/torch-on), insulation, fixings, flashings. Typical material spend: AUD 500–1,200 for a 3m×2.4m shed; AUD 2,000–4,000 for a 3.6m×3.0m depending on cladding choice.
- Labour — carpentry, plumber for stormwater connection, and possible electrician. DIY labour saves cash but adds time. For a 3.6×2.4m shed expect 20–40 trade hours (AUD 1,400–3,800) assuming two tradespeople share tasks.
- Foundation — concrete slab, compacted crushed rock with piers, or sleeper foundation. Slab: AUD 1,200–3,500 depending on thickness and area. Pier or sleeper systems: AUD 600–1,800.
- Permits and inspections — many small sheds under 10m2 are exempt, but larger or elevated structures often need a building permit. Typical permit fees in Melbourne range AUD 200–1,200 depending on council. According to the Victorian Building Authority 2024 guidance, some works require registered practitioner oversight.
- Drainage and waterproofing — membrane, gutters and downpipes: AUD 300–1,200. Proper upstands and flashings add costs but prevent expensive leaks later.
- Doors, windows and hardware — sliding or roller door: AUD 350–1,200. Windows (aluminium powder-coated) AUD 150–400 each.
- Finishes and landscaping — paint, sealants, planting and edging: AUD 200–1,000.
- Contingency — factor 10–20% for hidden site issues (poor soil, site access) and material price swings.
Sample cost table (Melbourne, 2024 typical ranges):
| Component | Small 3×2.4m (AUD) | Medium 3.6×2.4m (AUD) | Large 3×3.6m (AUD) |
|---|---|---|---|
| Materials (frames, cladding, membrane) | 800–1,400 | 1,200–2,200 | 1,800–3,500 |
| Labour (carpentry + trades) | 900–1,800 | 1,600–2,800 | 2,400–4,500 |
| Foundation | 600–1,800 | 800–2,200 | 1,200–3,000 |
| Permits & inspections | 0–900 | 200–1,000 | 300–1,200 |
| Doors/windows/hardware | 250–900 | 400–1,200 | 650–1,800 |
| Total indicative | 2,550–6,800 | 4,200–9,400 | 6,050–14,000 |
Compare these estimates with purchase prices for prefabricated sheds—entry-level metal flat roof kits for a 3×2.4m can start around AUD 1,200 installed, while bespoke timber-clad options typically start AUD 4,000–6,000. For efficient 10m2 layouts and budget planning see our 10 square meter shed cost comparison.
For larger garden buildings or double-width options compare with 10×20 garden shed prices and for vehicle-scale considerations review 3 bay shed dimensions.
Decision note: DIY saves labour but requires accurate cost of tools and extra time (typically +30–50% hours vs skilled trades). If you’re buying a prefabricated kit, confirm the roof membrane type and whether flashing/downpipe are included.
Transition: With costs parsed, weigh up the pros and cons of flat roofs versus pitched counterparts to decide what best suits your garden and budget.
Advantages and Disadvantages of Flat Roof Storage Sheds
Below is a compact comparison table to weigh typical pros and cons for garden contexts, followed by brief summaries to guide the trade-off decision.
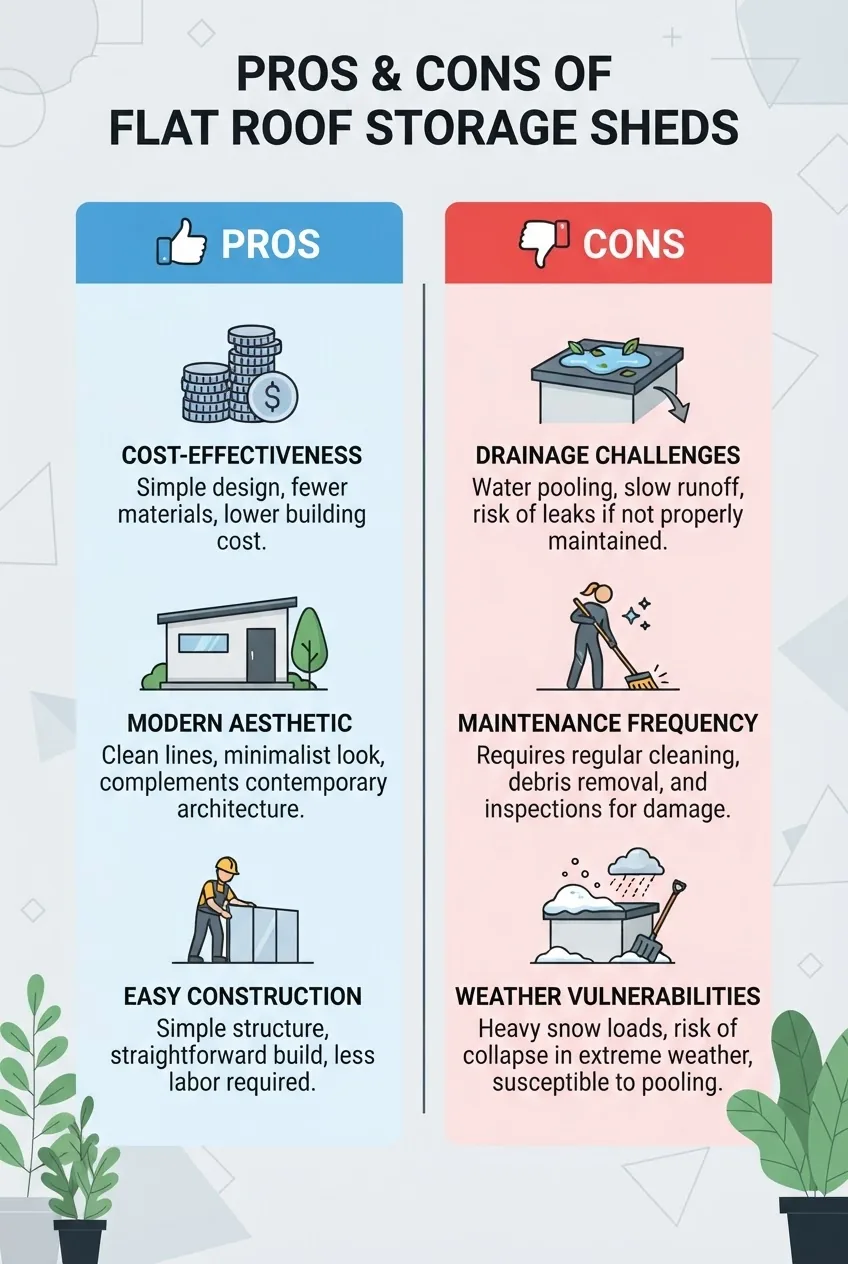
| Advantages | Disadvantages |
|---|---|
| Lower construction complexity and material waste; modern, unobtrusive profile | Requires precise drainage and waterproofing; higher maintenance frequency for membranes |
| Easier to integrate solar or green roof trays | More sensitive to ponding water and debris build-up than pitched roofs |
| Lower visible height can reduce council permit triggers in some zones | Thermal control needs careful detailing (insulation & ventilation) |
Summary: Flat roofs are ideal when you want a low-visual-impact garden building, easier access to roof-mounted systems, and potentially lower material cost. However, they demand disciplined waterproofing, regular maintenance and careful drainage design, especially after heavy Melbourne rains.
Compare flat roofs to multi-story shed designs when vertical storage or loft space is required, as those structures often favour pitched roofs for water-shedding and attic ventilation.
Transition: If you plan to proceed, the next section walks through Melbourne planning rules and permit steps required for a compliant build.
Planning and Permitting for Flat Roof Garden Sheds in Melbourne
Follow these steps to confirm if you need a permit and prepare documentation. Quote: “According to 2024 Melbourne Building Authority guidelines,” check both state and local requirements.
- Confirm shed size and classification — Measure floor area and height. Many councils exempt outbuildings under 10m2 and 2.4m height, but zoning overlays or heritage listings may override exemptions. Check your local council planning portal.
- Consult the Victorian Building Authority — Visit Victorian Building Authority for guidance on when a registered building practitioner is required and what inspections are mandatory.
- Check Australian Building Codes — Reference the ABCB for any structural or fire-safety clauses affecting accessory buildings: Australian Building Codes Board.
- Site plan and elevations — Prepare a scaled site plan showing setbacks, roof fall direction, stormwater connection and existing trees. For pitched vs flat considerations include cross-section showing 1:40 fall.
- Engineering for spans or heavy loads — If you plan a green roof, heavy storage or long unsupported spans (>3.6 m) obtain structural engineer certification. According to a 2023 structural advisory summary, engineer involvement reduces rework risk by >40% on non-standard loads.
- Permit application — Lodge plans with your council if required; include prescribed fee, owner-builder or practitioner details, and any bushfire or overlay statements.
- Inspections and compliance — Expect footing/foundation and final inspections. Keep materials specs and warranties for membrane and insulation for the compliance file.
- Neighbours and easements — Check for covenants or easements that may affect placement; provide written neighbour consent if required by council for boundary setbacks less than standard.
External resources: ABCB for code excerpts (ABCB) and VBA for local practitioner requirements (VBA).
Transition: Once approved, follow the steps below to implement a durable build — this is the hands-on sequence you’ll act on, whether DIY or managing trades.
Build / Procurement Steps — Hands-On Numbered Guide
The following sequence is the practical build workflow. Each step starts with a bolded action-first phrase; where a step requires detail a short subprocedure follows.
- Confirm final design and order materials — Finalise shed footprint, cladding, roof membrane and flashings. Quantities: 18 mm plywood roof deck, order 10% extra sheets; for a 3.6×2.4m roof order 10 sheets of 2400×1200 ply (allow for waste). Order membrane with 200 mm overlap per sheet; order adhesive/sealant compatible with membrane manufacturer.
- Prepare foundation — Excavate to 150 mm depth across the footprint. For pier foundation: install treated pine sleepers on crushed rock compacted to 95% Proctor; piers at 1.2–1.5 m centres. For slab: pour 75 mm sand blinding, 100 mm concrete slab with SL72 mesh for small sheds. Allow concrete 7 days to reach workable strength; full cure in 28 days.
- Build wall frames — Cut studs (H3 treated pine) to height; assemble walls flat on saw horses. Use 90 mm or 100 mm studs at 450 mm centres for timber cladding. For metal frames, follow manufacturer section sizes; bolt connections and galvanised fixings only. Erect walls and temporarily brace; check for square with diagonal measurement tolerance under 5 mm on small sheds.
- Install roof deck with fall — Lay tapered battens or use sloped timber sleepers to achieve 1:40 fall. Fix 18 mm exterior plywood with stainless/galvanised screws 150 mm centers. Ensure seams run along rafter direction; leave 3 mm gap at sheet ends for movement. For metal deck, fix purlins and metal sheeting per manufacturer torque specs.
- Apply waterproof membrane and flashings — For EPDM: roll out membrane, adhere with manufacturer adhesive, maintain 200 mm laps, and seal laps with butyl tape at overlaps. For torch-on bitumen: engage a licensed applicator. Flashings: install 150 mm high upstands at wall junctions; terminate under top wall cladding and seal with compatible sealant. Step-by-step drainage: create a primary fall to outlet, install stainless scupper or 75–100 mm PVC downpipe to stormwater, and add external gravel trap at outflow.
- Fit gutters and downpipes — Fit Colorbond or galvanised gutters with brackets every 450–600 mm. Size downpipe to expected downflow (75 mm for small sheds). Install leaf guards and accessible access points for cleaning every 2–3 m of run.
- Install insulation and ventilation — Insulate ceiling with foil-faced PIR boards (R2.5) cut to press-fit; seal joints with foil tape. Install 2 x 150 mm passive vents (opposing high/low positions) plus one solar roof vent if storing humidity-sensitive items.
- Clad walls and fit doors/windows — Fix cladding per manufacturer’s spacing; gap-allowances: 6–10 mm for timber; seal with appropriate exterior sealant at penetrations. Fit doors on rebated thresholds with 25–40 mm step; fit two-point lock and strike plate anchored to studs.
- Finish and seal — Apply primer and two coats of exterior paint for timber (or oil/wax if preferred); seal all exterior screw heads with matching sealant. Install shelving and treated storage plinths 150 mm above floor to avoid moisture contact.
- Commission and test drainage — Run hose test for 15–30 minutes simulating heavy rainfall. Inspect outlets, scuppers and interior for leaks. Repair any seepage with additional flashing or sealant and repeat test until watertight.
Transition: Even with correct installation, real-world builds encounter mistakes. Learn from common pitfalls below.
Common mistakes and how to avoid them
I once underestimated the roof fall needed for a 3.6m roof; the membrane held water and we had to re-taper the substrate, adding two days and AUD 450 in materials. To avoid this, I always measure fall on the deck before membrane installation and maintain at least 25 mm fall per metre.
I also learned to avoid undersized downpipes—blocked gutters can pond water quickly. Now I fit a minimum 75 mm downpipe with a debris basket and schedule cleanouts each 6 months.
Compact checklist to verify your work
- Roof fall confirmed: minimum 1:40 (25 mm/m).
- Membrane installed with 200 mm overlaps and sealed upstands.
- Downpipe size ≥75 mm with leaf guard and visible outlet.
- Foundation level within 20 mm across footprint; piers at 1.2–1.5 m centres.
- Wall framing braced and square; cladding fixed per manufacturer spacing.
- Insulation R2.5+ and two passive vents installed.
- Doors and windows sealed; two-point door lock installed.
- Commissioning hose test passed with no leaks.
When to call a professional
Call a structural engineer if spans exceed 3.6 m, if you plan heavy green-roof loads (>80 kg/m2 saturated), or if your property has steep slope or poor soil. Engage a licensed plumber for stormwater connection and a licensed membrane applicator for torch-on systems. If you lack intermediate carpentry skills, hire a builder for wall-erection and roof membrane installation; this typically saves time and ensures compliance.
Transition: Once built, regular maintenance extends lifespan; the next section lists practical steps to keep a flat roof shed watertight for years.
Maintenance Tips and Longevity for Flat Roof Garden Sheds
Maintaining a flat roof shed is predictable if you schedule checks and use compatible materials. Below are specific timed tasks and product options.
- Inspect roof and gutters every 3 months — Remove leaf debris, check scuppers/downpipes. In autumn and spring double-check after storms.
- Re-coat membranes as recommended — For acrylic roof coatings or liquid-applied membranes, recoat every 6–8 years. For EPDM/PVC inspect seams annually; expect a 20–30 year membrane life if UV-protected and maintained (according to a 2022 materials longevity review by CSIRO).
- Clear and test drainage annually — Run a hose test for 30 minutes focused on high spots; clear any debris and check internal seams for seepage.
- Seal flashings after 5 years — Check flashings for corrosion and reseal joints with polyurethane sealant as needed.
- Refinish cladding — Timber cladding: oil or paint every 2–4 years; Colorbond: wash annually with mild detergent and inspect fastenings.
- Replace worn penetration seals — Replace gaskets around vents, skylights, and roof penetrations every 5–7 years or when compression is visible.
- Monitor ventilation and condensation — If condensation forms, increase ventilation area by 50% or add a solar vent. For internal humidity >60% install moisture-absorbing devices or dehumidifier during winter.
- Record maintenance — Keep a dated maintenance log and retain membrane and cladding warranty documents for future claims.
Disclaimer: maintenance intervals vary with material choice and exposure—coastal or high-UV sites require more frequent upkeep. According to a 2024 industry report, maintenance reduces roof failure risk by 70% in the first 10 years.
Transition: Below is a concise conclusion and practical recommendations to act on.
Conclusion and Recommendations
By following this hands-on guide you’ll be equipped to choose a flat roof garden shed that balances aesthetic fit with Melbourne-specific durability: prioritise a minimum 1:40 roof fall, a durable membrane (EPDM/PVC or torch-on by a licensed installer), and a foundation appropriate to your soil and intended use. For most homeowners, a timber-framed shed with Colorbond cladding and EPDM membrane provides a strong balance of cost, appearance and longevity.
If you want a straightforward next step: get two local quotes including membrane brand and installation method, and compare them using the cost table above. For reference and extended sizing principles, see our standard storage dimensions page.
Action CTA: If you’re ready to start, download your material checklist and schedule a drainage test during construction. If uncertain at any stage, call a registered practitioner through the Victorian Building Authority portal to confirm compliance.