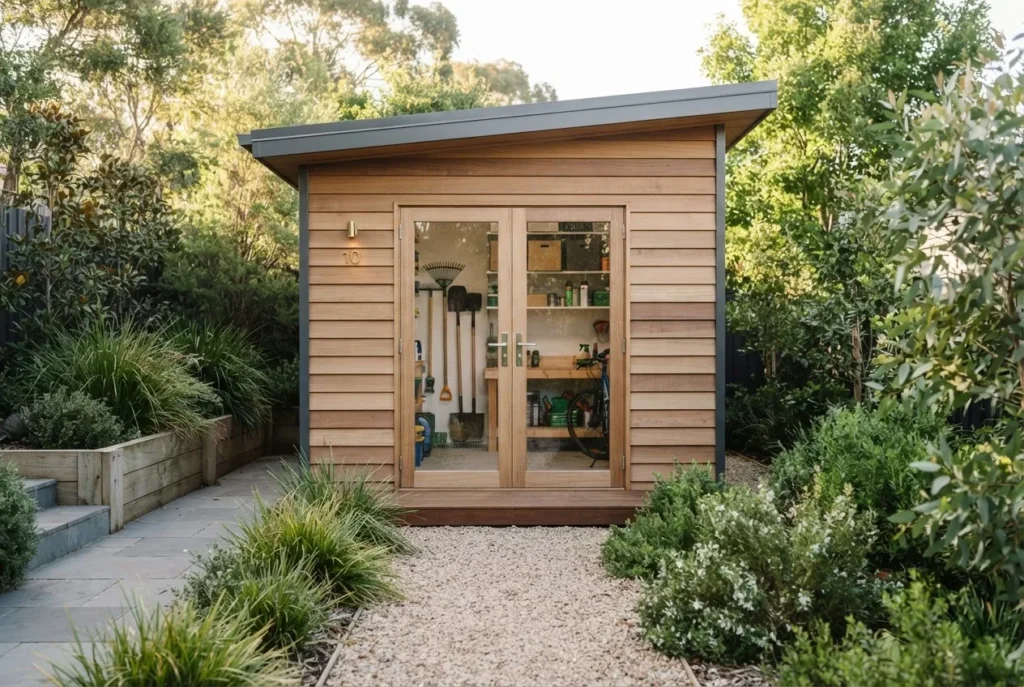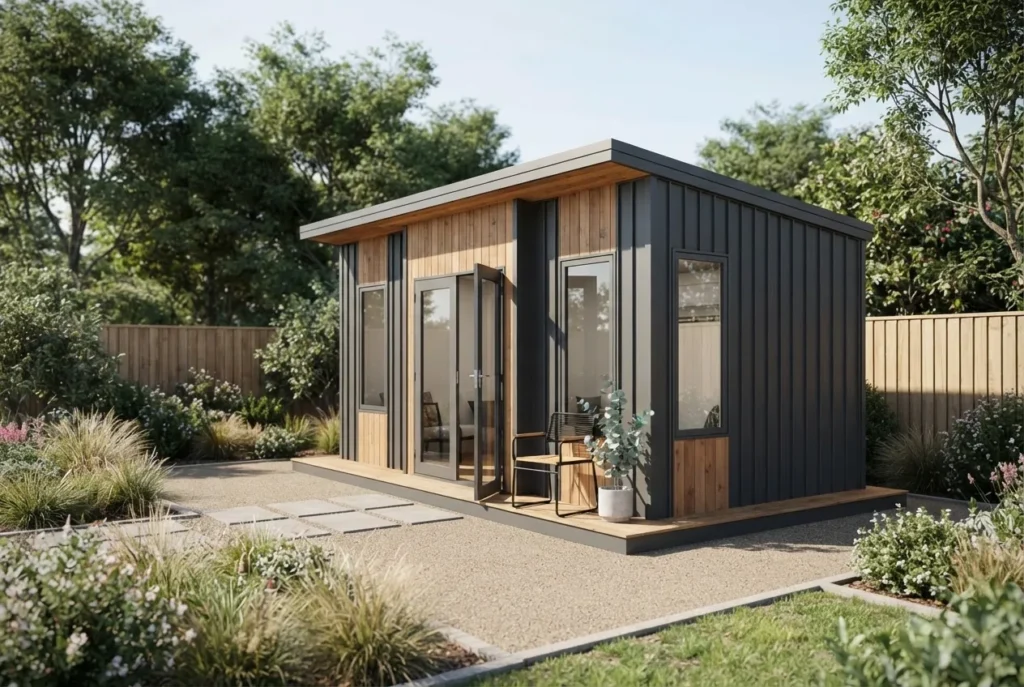

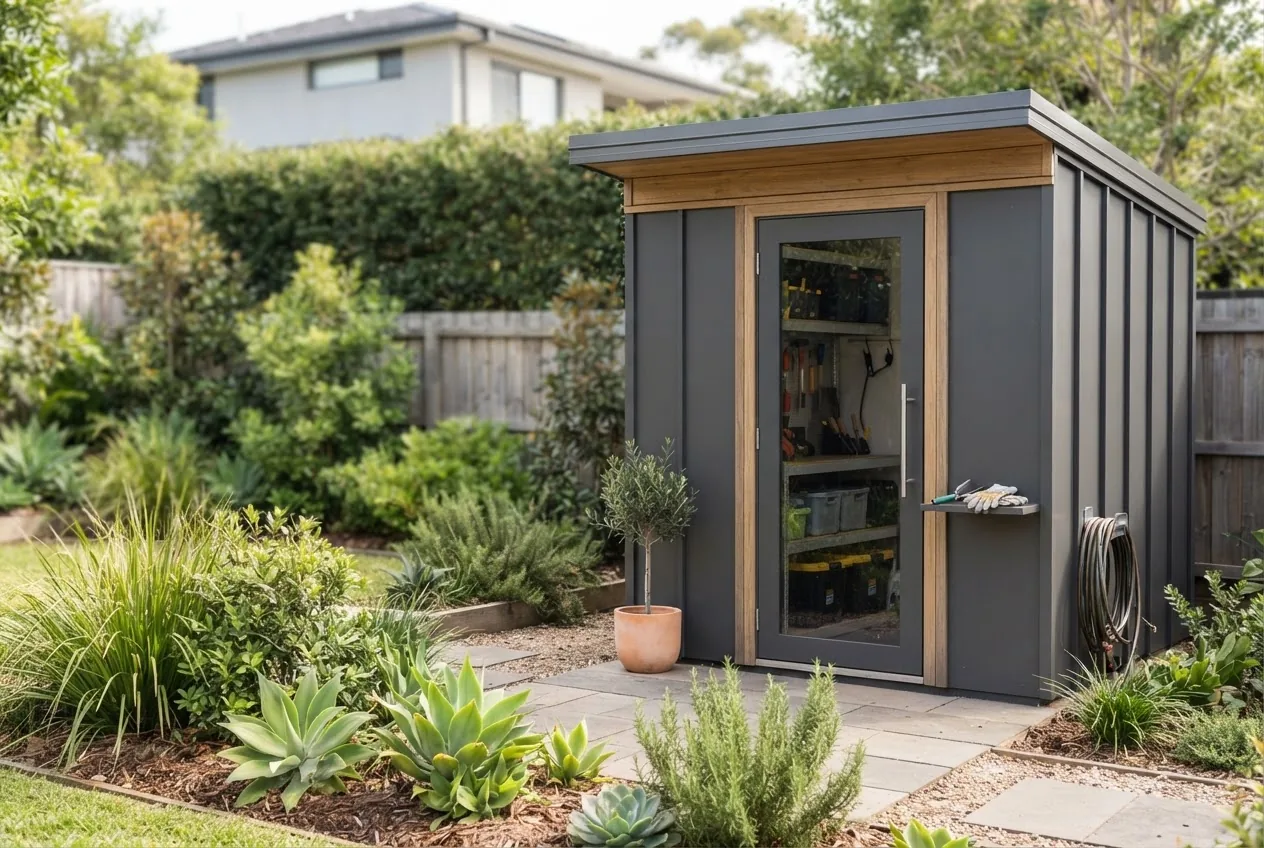

garden shed 3m x 2m — by the end of this hands-on guide you will have a concrete budget estimate, a practical 3m x 2m layout tailored to a small Melbourne yard, and a step-by-step plan to source, prepare and install the shed. Realistic time: planning and permit checks 1–2 days, procurement 1–2 weeks, onsite assembly 1–3 days. Skill level assumed: confident DIYer or homeowner commissioning a local installer.
Introduction to Garden Shed 3m x 2m for Small Yards
This guide focuses on the practical realities of fitting a 3m x 2m shed into tight Melbourne and suburban backyards. Think of this footprint as a compact workshop or generous storage bay — it fits along fences, in side-yards, and in narrow back gardens while leaving room for planting and access paths. You’ll get cost transparency, layout templates, material pros and cons, and Melbourne-specific permit and climate notes so your shed works year-round and meets local rules.
Why a 3m x 2m? It strikes a balance: large enough for a workbench plus vertical storage, small enough to avoid needing a full building permit in many cases (see the permit section). This article treats that layout as a constrained design challenge: maximise function without sacrificing ventilation, security, or durability.
Understanding the Cost of a 3m x 2m Garden Shed in Melbourne
Transition: Before sketching layouts, you need a realistic budget. Below I break down typical price bands, supply vs install trade-offs, and where you can save without cutting lifespan.
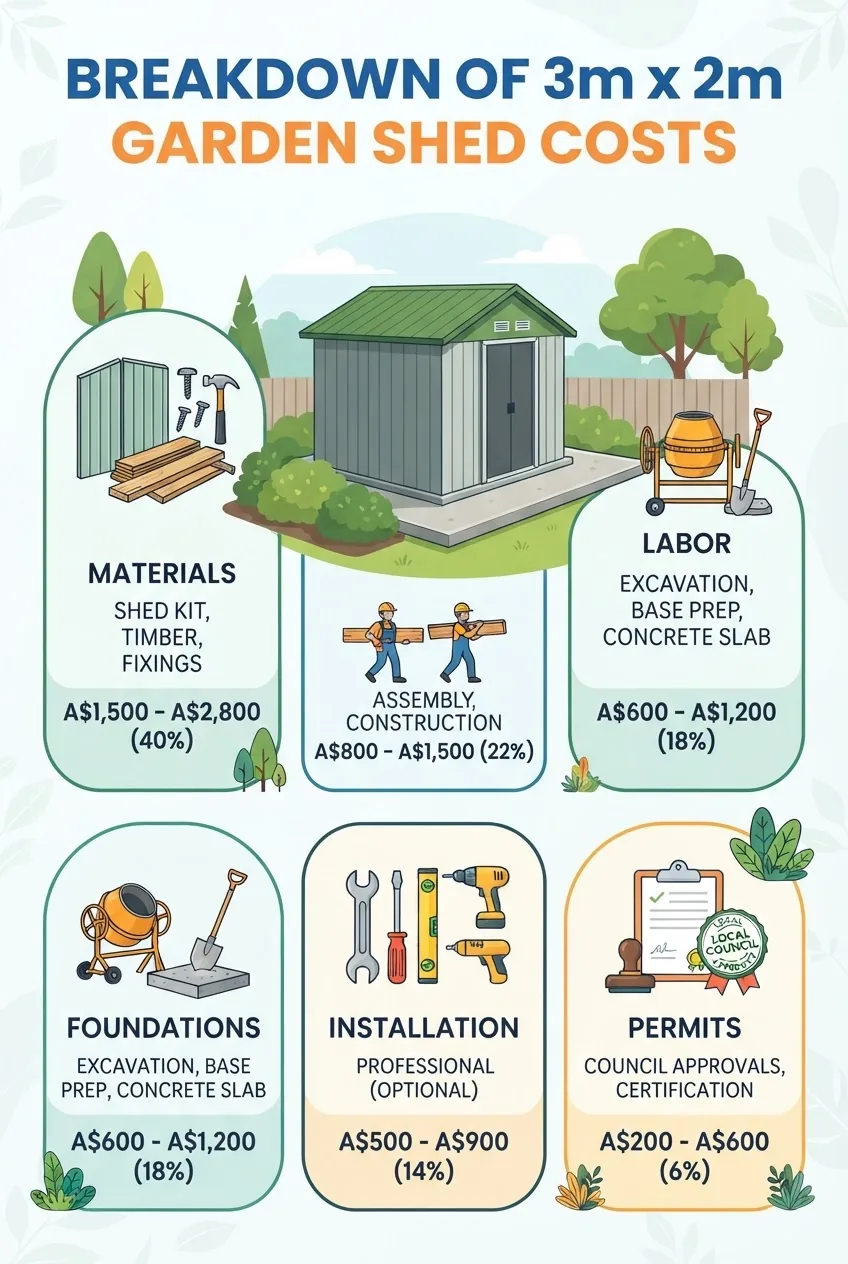
Summary cost ranges (2024 Melbourne market):
- Basic prefab metal shed (kit only): $1,200 – $2,200
- Mid-range timber or composite prefab, supply + basic install: $3,000 – $5,000
- Custom timber-framed shed, finished, installed: $5,500 – $9,500
- Site prep + simple concrete slab (3m x 2m): $800 – $1,800
- Permits & inspections (if required): $0 – $1,000+
These bands reflect 2024 supply and labour conditions in Melbourne. For benchmarking I use local installer quotes and national construction indices: According to a 2024 industry report for small building works, labour and material costs have risen approximately 6–9% year-over-year in metropolitan areas.
What drives the price: material selection (steel vs timber vs composite), whether the kit includes floor and door hardware, required foundation type, site access and preparation, and whether a licensed installer is engaged. Below I detail the components so you can calculate an accurate quote.
Material and Build Options Affecting Price
| Option | Typical 2024 Cost (AUD) | Pros | Cons |
|---|---|---|---|
| Galvanised metal prefab kit | $1,200 – $3,000 | Cheap, low maintenance, quick assembly | Condensation, noise, limited aesthetics |
| Timber frame with cladding | $3,500 – $8,500 | Better insulation, attractive finish, repairable | Higher cost, maintenance (paint, rot protection) |
| Composite panels (eco cladding) | $4,000 – $9,000 | Low maintenance, modern look, good insulation | Costly, less local repair market |
| Prefabricated timber kit + DIY install | $2,500 – $4,500 | Good value, personal control on finish | Time-consuming, quality varies |
Transition: knowing these options helps decide whether to buy prefab or go custom. Next, the additional costs you must budget for beyond the shed shell.
Additional Costs: Foundations, Flooring & Permits
Foundation, floor and permit costs can easily add 20–40% to the shed shell price. Typical items and 2024 Melbourne ranges:
- Concrete slab (reinforced, 75–100mm): $900 – $1,800 for a 3m x 2m slab — According to a 2024 local builder price check.
- Raised timber floor on bearers (treated pine): $350 – $900 (materials + labour).
- Compact gravel pad (DIY): $150 – $400 (useful for light steel kits, best with weed mat and edging).
- Site preparation (level, remove obstructions): $200 – $800 depending on access and slope.
- Building permit / Certificate of Design Compliance: $0 – $1,200 depending on council triggers — According to a 2024 Melbourne council guidance note.
Permit triggers in Melbourne commonly include increased size beyond exempt thresholds, proximity to property boundaries, and whether the shed will be used for habitation or commercial activity. For official guidance see the Melbourne City Council building pages:
Melbourne City Council building permits
Quick cost-calculation walkthrough (step):
- Record base price: note kit or custom shell price (e.g., $2,600 for a steel kit).
- Add foundation: pick slab ($1,200) or timber floor ($600).
- Include delivery & install: local installer labour often 30–50% of kit price — estimate $800–$1,500.
- Account for permits & inspections: add $0–$1,000 depending on council rules and certifier fees.
- Add 10–15% contingency: for unexpected site work, drainage, or additional fixings.
Example: a mid-range steel kit ($2,200) + concrete slab ($1,200) + install ($900) + permits ($300) + 12% contingency ($528) = $5,128 total.
To benchmark labour and material inflation, consult national statistics and construction indices: Australian Bureau of Statistics and industry indices published in 2024 for small building works.
Layout Guide: Designing Your 3m x 2m Shed for Maximum Efficiency
Transition: With a budget range in hand, you now design the interior layout. Below is a practical, step-by-step layout process you can execute in 1–3 hours using pencil-and-paper or a free room planner.
Before you start
- Measure available space and setbacks (length, width, clearance from fences in mm).
- Tools: tape measure, graph paper or free online planner, pencil, spirit level if marking site.
- Materials list: chosen shed kit spec sheet, door swing direction, shelving module dimensions.
- Decide primary function(s): storage only, workshop, potting bench, or combined.
- Permit checklist: council exempt sizes and boundary clearance rules (Melbourne).
- Define primary zones (10 minutes): Sketch the 3m x 2m rectangle. Allocate a 0.6–0.8m clear central aisle if you want a workbench; allocate 0.9–1.2m aisle if you plan to wheel a wheelbarrow in. Example: place a 1.2m workbench along the 3m wall, leaving 0.8m for movement.
- Choose door type and placement (10–20 minutes): Doors consume circulation space. Sliding doors (or outward-opening doors) are preferable if you need interior clearances. A single 900mm hinged door on the short wall gives best security and natural access; a double door 1.2–1.4m wide is better if storing bikes or large mowers.
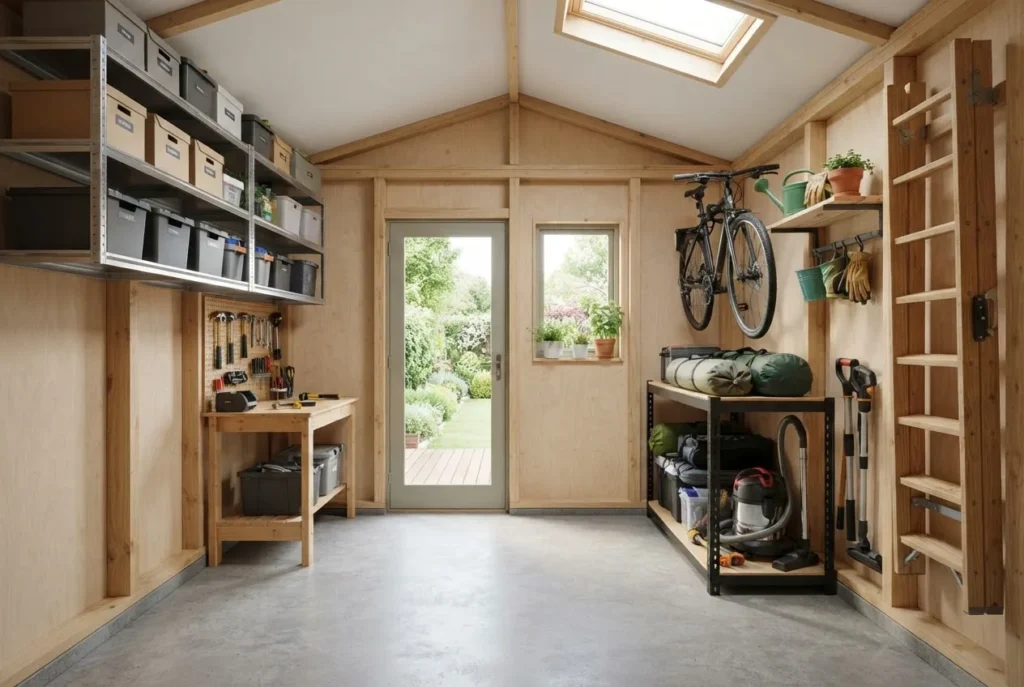
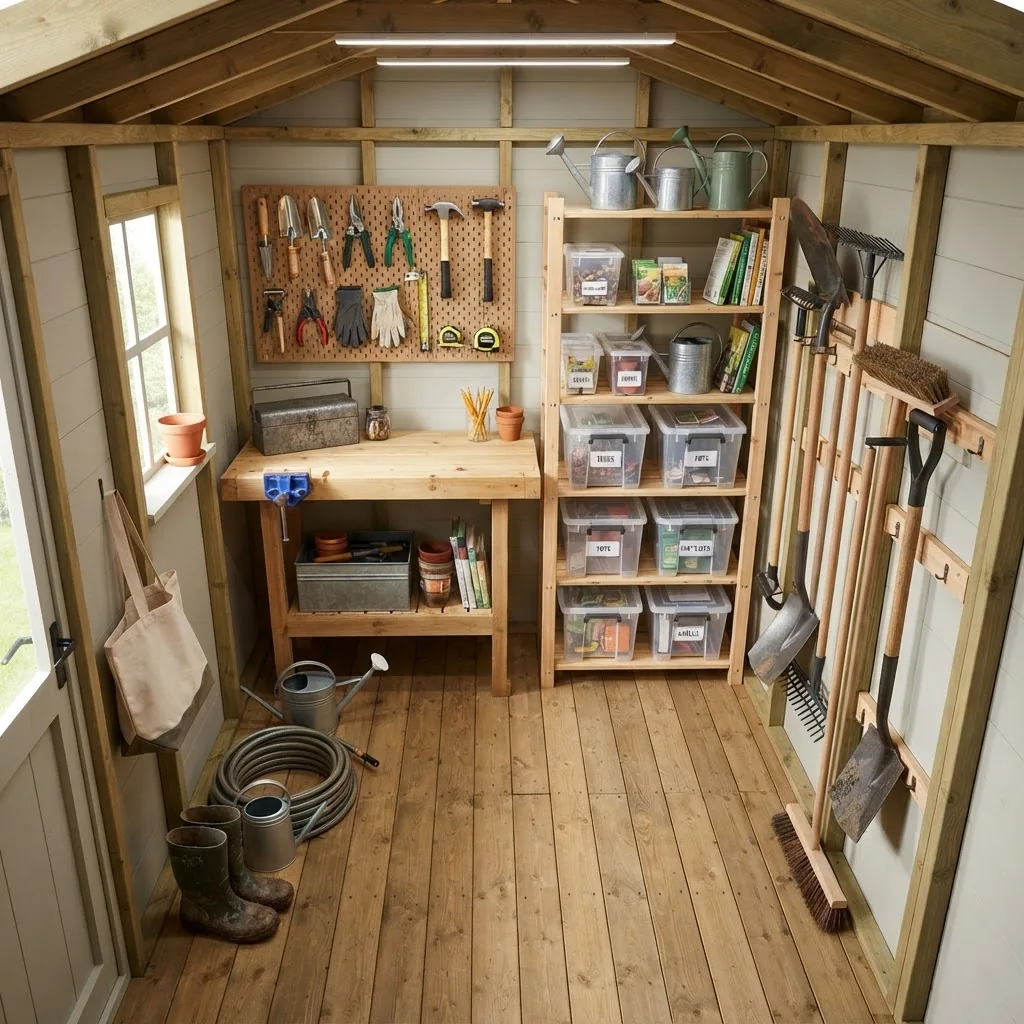
- Design vertical storage (15–30 minutes): Maximise wall height: fit 300–400mm deep shelving at 450mm centres vertically. Use pegboard panels for tools — pegboard uses 100mm x 100mm modular spacing. Reserve the highest shelf (above 1.8m) for lightweight seasonal items only.
- Plan the workbench and utilities (20–40 minutes): Standard workbench depth 600mm, height 900mm for general use (adjust ±25mm for taller/shorter users). If you need electricity, place a weatherproof external outlet near the door; plan conduit run and decide breaker size (typically a 10A circuit for small tools). For power decisions consult an electrician.
- Ventilation and insulation (15 minutes): Fit one fixed vent low and one high vent for cross convection, or a small solar roof ventilator if condensation is a worry. Insulate with R1.5 batts or reflective foil under the roof for a cooler summer interior — costs from $120 for basic materials.
- Flooring and load planning (10 minutes): If you plan heavy equipment, specify slab thickness 100mm reinforced. For lightweight use a treated timber floor (bearers at 450mm centres) is sufficient — add 120kg/m2 live load if storing heavy items.
- Security and lighting (10 minutes): Fit a deadlatch or a 3-point lock for doors; install motion LED lighting (12–20W) powered by a 10A circuit or a small solar kit. For theft-prone areas consider locking anchor bolts for lawnmowers or bikes.
- Create a labelled layout (30 minutes): Produce a final plan that shows door swing, shelving depths, bench dimensions, aisle width, vent locations and power points. Use 1:20 scale on graph paper: 1 square = 100mm, so your 3m x 2m rectangle is 30 x 20 squares.
- Estimate materials and costs (20–40 minutes): Count linear metres of shelving, square metres of flooring and wall cladding, and add hardware (hinges, bolts, vents). Use the pricing bands from earlier to create a detailed cost estimate and compare quotes from at least three suppliers or local installers.
- Finalise siting and access (20 minutes): Ensure 600mm clearance to the nearest fence for maintenance access (where possible), check fall of ground for drainage (min 1:100 recommended surface fall away from shed), and mark service access for delivery (2.4m height clearance for small trucks).
Mini case study — a typical Melbourne small-yard install (practical example):
Client: two-person household with side-yard access 900mm. Decision: 3m x 2m prefab timber-look composite kit, sliding door on 3m face, internal 1.2m workbench, shelving on long wall. Costs (2024): kit $3,200, gravel pad DIY $220, installer delivery & fit $950, vents and insulation $260, locks & lighting $220, permit (exempt) $0. Final installed cost: $4,850. Timeline: planning 2 days, ordering 7 days, install 1 day.
Transition: below are common layout configurations with quick examples you can copy or adapt.
Common Layout Configurations for Small Garden Sheds
- Workshop + storage (long-wall bench): 3m bench on long wall, shelving above bench, tool rail behind bench. Mini case: gardener uses bench for potting and stores a push mower under the bench — leaves 0.8m aisle.
- Storage-first (double door short end): Double door on 2m side, tall shelving on both 3m walls. Best for bulky items like wheelbarrow, bikes. Mini case: homeowner stores lawn mower and seasonal furniture.
- Vertical storage with fold-down bench: Fold-down 600mm bench on short wall, vertical racking on long walls. Ideal for occasional projects in a very tight footprint.
- Potting shed layout: Narrow sink or water butt near the door, bench with built-in compost bin, adjustable shelving for seed trays. Use a front awning for shelter while potting outside.
Integrating Storage Solutions and Accessories
Choose modular shelving (400–600mm deep) and install one continuous top rail (timber 45mm x 45mm) screwed into studs to bear loads. Hooks and racks: 150mm peg hooks for hand tools and 300–450mm heavy-duty hooks for ladders or hoses. Buy modular plastic tubs (300mm x 200mm) for small parts. Allocate a broom/mower alcove at least 400mm wide and 1.8m high. Use labelled clear tubs to reduce searching time by 30–50% in daily use.
Comparing 3m x 2m Garden Shed to Other Small Shed Sizes
Transition: choosing between 2×2, 3×2 or 3×3 depends on your storage needs, budget and available yard space. Below is a side-by-side comparison plus a practical narrative to help decide.
| Size | Footprint (m) | Best use | Typical cost range (2024, AUD) |
|---|---|---|---|
| 2 x 2 shed | 2.0 x 2.0 | Simple garden tool and small storage | $800 – $2,000 |
| 3 x 2 shed | 3.0 x 2.0 | Workshop + storage, potting bench | $1,200 – $9,500 |
| 3 x 3 shed | 3.0 x 3.0 | Large workshop, multiple uses, storage for bikes or small trailer | $2,000 – $12,000 |
Practical narrative: a 2×2 shed is cheapest and takes minimal space but will not comfortably fit a lawnmower and a workbench at the same time. A 3m x 2m shed typically provides a dedicated bench plus vertical storage, making it the best compromise for homeowners who want both workshop function and general storage. A 3×3 garden shed offers more flexibility for hobbyists or two-person workshops but requires more yard and higher cost.
10×10 storage sheds — see that guide if you are considering a much larger footprint.
Practical Considerations for Small Yard Garden Sheds in Melbourne
Transition: the practical realities of siting and building in Melbourne matter: council requirements, weather exposure, drainage and neighbour relationships all affect final success and cost.
Council rules and permits (Melbourne specifics):
- Exempt works: Many small garden sheds are exempt from permits if below specific area and height thresholds — According to a 2024 Melbourne City Council building guideline, check your property’s overlays and heritage status.
- Boundary setbacks: Typical requirement is 200–900mm from side boundaries for non-habitable outbuildings; if you place closer you may need neighbour consent or a permit.
- Heritage or flood overlays: if your property sits in an overlay you will likely need a permit; confirm with council.
Climate and material selection for Melbourne:
- Rain and coastal exposure: galvanised steel performs well, but coastal sites need additional corrosion protection. Use marine-grade fasteners within 5km of the coast.
- Hot summers: reflective roof surfaces and insulation reduce heat gain. Consider a ventilated ridge or eave vents.
- Bushfire-prone areas: materials and construction must meet AS 3959 — check Standards Australia guidance and local bushfire overlays before choosing timber cladding. Standards Australia
Siting tips and drainage:
- Place the shed on the high side of the yard where possible; ensure a surface fall of at least 10mm per metre away from the shed base to avoid pooling.
- Maintain at least 600mm access for painting and maintenance; 900mm for easy access of cladding repairs.
- Consider permeable edging (gravel strip) around the shed to reduce splash-back and rot risk for timber bases.
Utilities and neighbour considerations:
- Plan electrical runs before installation — conduit under slab is cheaper than chasing walls later; allow 50–90mm conduit for single-phase power runs.
- Discuss boundaries and sightlines with neighbours if you are placing the shed near a common fence — a quick agreement prevents later disputes.
- Deliver access: confirm minimum gate width and overhead clearance for delivery trucks (standard small truck needs 2.4m headroom and 1.2–1.5m gate width for lateral access).
Maintenance and Longevity Tips for Your Garden Shed
Routine maintenance keeps your shed functional for decades. Annual tasks and lifecycle costs (estimates 2024): repaint/coat timber cladding every 4–6 years ($250–$700), check and re-seal roof flashings every 2–3 years ($80–$200), replace lockset every 5–8 years ($40–$180).
Recommended maintenance checklist:
- Inspect roof and flashing twice yearly, clear gutters and remove leaf build-up.
- Check foundation for settlement — if slab cracks >3mm get a contractor to inspect.
- Lubricate door hinges and locks annually; test security hardware monthly.
- Treat timber joinery and floor bearers with preservative every 4–6 years.
Pest prevention and waterproofing:
- Install termite mesh if timber sits near soil contact in an at-risk area.
- Use a sill plate with DPC (damp-proof course) under timber floors to avoid capillary rise.
- Fit breathable wall vents to reduce trapped humidity that causes rot and corrosion.
Conclusion and Next Steps for Purchasing a 3m x 2m Garden Shed
By now you should have: a realistic price band for a 3m x 2m shed in Melbourne, a preferred interior layout, and a step-by-step plan for foundation, permits and installation. Next steps: measure your site to the nearest 10mm, choose your preferred material, get at least three quotes (supply-only and supply+install), and confirm permit status with council before you order.
Call to action: If you want a quick comparison quote, prepare your site measurements and preferred layout and request quotes from local installers. For a wider sizing and budget framework, see Shed Sizes and Cost Guide for Standard Storage Dimensions.
Hands-On Steps: Plan, Budget and Install Your 3m x 2m Shed
- Measure and record your site (30–45 minutes): measure width, length, slope, overhead clearance. Note gate width and fence setback. Write down precise dimensions in mm and photograph the site. If slope >1 in 20 (5%), record direction of fall.
- Decide material and door layout (1–2 hours): choose steel if low maintenance and low cost are priorities; timber or composite if insulation and appearance matter. Select door type: sliding door (if tight interior clearance) or single/double hinged. Check local supplier lead times (2–14 days standard in 2024).
- Select foundation type and get quotes (1–3 days): get three quotes for either concrete slab (specify 75–100mm thickness, SL72 mesh, fall 1:100) or raised timber floor (treated pine bearers 90x45mm at 450mm centers). Ask quotes to separate materials, labour and council compliance costs.
- Confirm permit requirements (1–2 days): check Melbourne City Council online overlays and call council planner if unsure. If your shed is exempt, get the exemption confirmation email and keep it in your records. If a permit is required, budget at least $600–$1,200 for lodgement and certifier fees.
- Order the shed and schedule delivery (1–2 weeks): sign off on exact dimensions and door orientation. Ask supplier for component checklist and delivery vehicle size. Confirm delivery date and time window to ensure clear access.
- Prepare site and foundation (1–3 days): for slab: excavate 100mm deeper than slab thickness, compact subgrade, use 10–20mm compacted gravel base, set formwork and reinforcement. For timber: set treated piers at 450mm spacing for bearers; level to +/-5mm across the footprint.
- Assemble shed shell (1 day for prefab; 1–3 days for custom): follow manufacturer instructions; anchor using galvanised anchor bolts at 900–1200mm spacing. Check plumb and square at each stage. Where electrical or plumbing is required, coordinate certified trades before cladding to avoid rework.
- Install interior fit-out (0.5–2 days): fit shelving modules: top shelf at 1.8–2.0m, intermediate shelves at 450mm spacing. Fix pegboard or tool rails directly to studs. Install bench at 900mm height and secure to wall studs with 6mm coach screws at 600mm spacing.
- Finish and secure (0.5–1 day): apply external seal (stain or paint for timber), fit door hardware and deadlatch, and test locks. Fit vents and run an electrical safety test if power installed. Install ground edging and gravel apron 300mm wide to reduce splashback.
- Post-install checklist and handover (30 minutes): verify floor level within 5mm tolerance, door closes smoothly, ventilation present, and no water pooling within 1 hour of a test hose spray. Take photos and keep receipts, warranties and supplier contact details.
Common mistakes and how to avoid them
I once saw a client buy a 3m x 2m kit for a side-yard without measuring gate width; the kit arrived and could not be maneuvered through the 800mm gate. We had to order split-panel delivery and reassemble onsite, adding $480 to the cost. Always measure access and confirm delivery method.
I also observed installers skip a sub-base on a slab, leading to settlement and cracked slabs within two seasons. I now insist on documented compaction proof or a compacted 20mm gravel layer before concrete.
Checklist: verify before you finish
- Site measured to nearest 10mm and photos saved.
- Supplier provided parts checklist and delivery plan.
- Foundation type confirmed and quoted separately.
- Door swing/slider orientation finalised.
- Ventilation and insulation plan documented.
- Locking hardware and lighting specified.
- Relevant council exemption or permit confirmation stored.
- Three quotes obtained (supply-only, supply+install, custom).
When to call a professional
- Call a licensed builder or structural engineer if you plan slab thinner than 75mm or if site slope exceeds 1 in 20.
- Call a certified electrician for any fixed wiring, outdoor power points, or if adding >15A electrical loads.
- Call a surveyor if boundary lines are unclear or if you require an easement check before siting near fences.