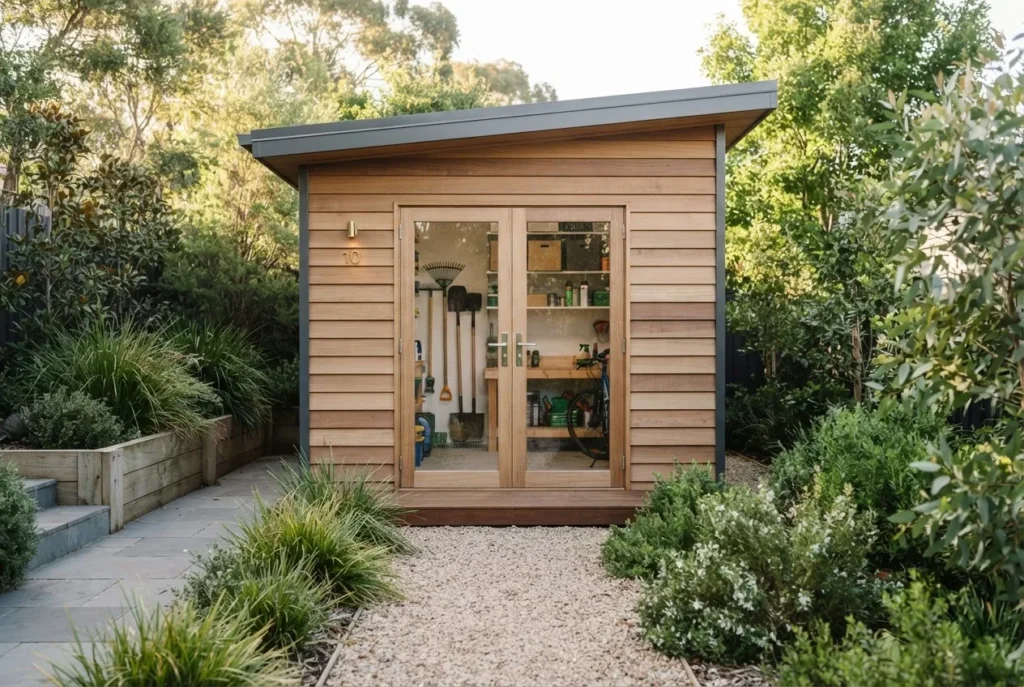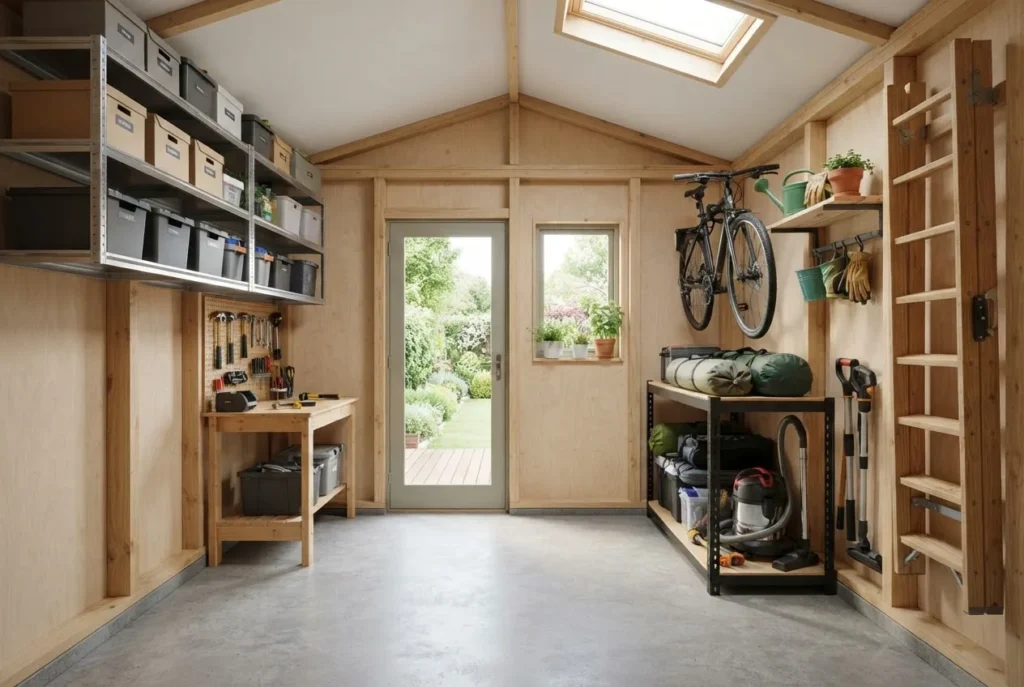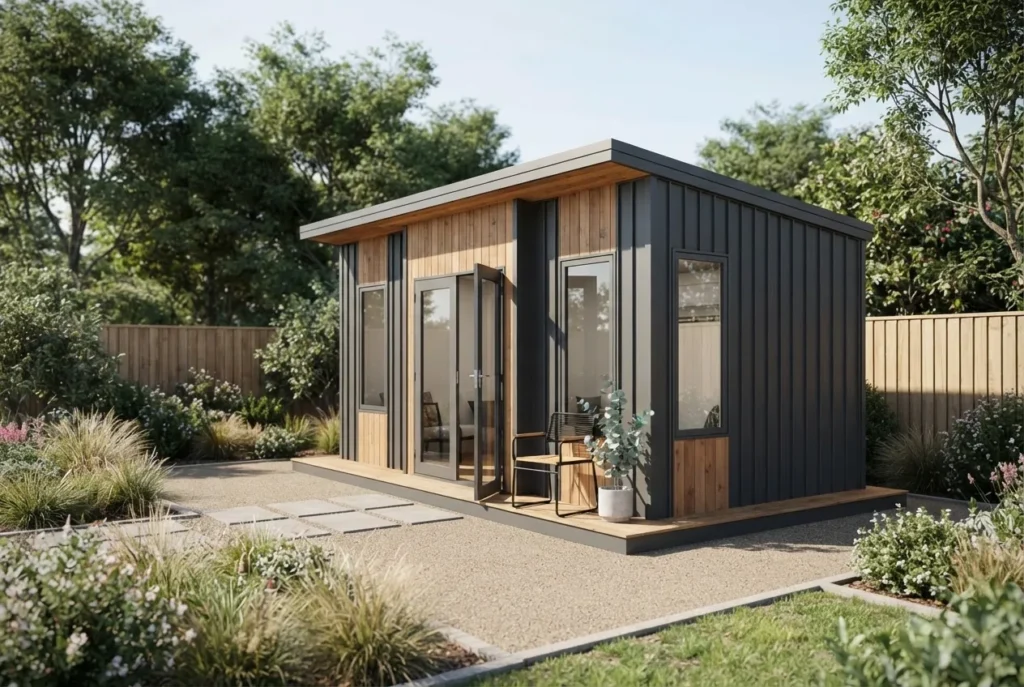

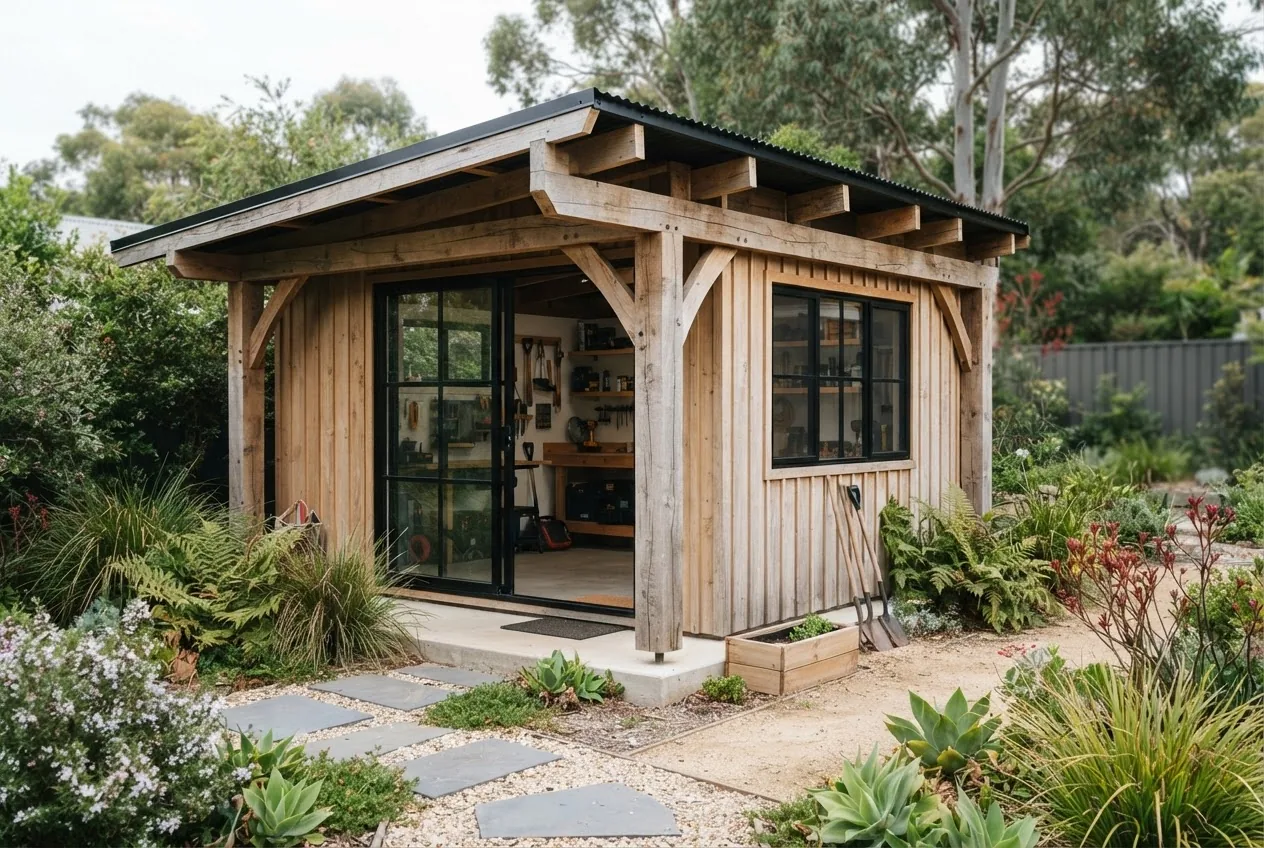

By the end of this guide you’ll be able to plan, cost and build a durable timber frame garden shed suited to Melbourne’s climate, estimate a realistic budget, and follow a step-by-step build sequence. Expect about 2–6 weekends of hands-on work for a DIYer with intermediate carpentry skills, or a 2–4 week contracted build timeline.
Overview of Timber Frame Garden Sheds
Timber frame garden shed describes a shed built with a skeletal timber structure—studs, plates, rafters and trusses—onto which floor, walls and roof are fixed. Timber framing remains a traditional building method because it balances strength, thermal performance and aesthetics. For garden storage it offers easier retrofitting, repair and local material sourcing compared with fully prefabricated or steel designs.
Benefits include: natural insulation, easier fixings for shelving and pegboards, and a pleasing finish that matches decks and fences. Compared with steel sheds, timber frame sheds are quieter in wind and sun, and can be designed for passive ventilation. The sustainability advantages depend on timber sourcing and treatment: responsibly sourced, certified timber can deliver a lower embodied-carbon outcome than steel. According to a 2023 industry lifecycle assessment report, responsibly sourced softwood framing can show a 20–40% lower embodied carbon than comparable light-gauge steel frames (source: 2023 industry lifecycle assessment report).
This guide focuses tightly on timber framing methods and building for long-term weather resistance in Melbourne’s coastal and temperate climates—avoiding generic prefab or size-only cost lists. Read on for planning, timber selection, construction steps, maintenance, and Melbourne-specific regulation and supplier notes.
Transition: next we’ll break down the costs that matter most when budgeting for a timber-framed shed.
Key Cost Components for Timber Frame Garden Sheds
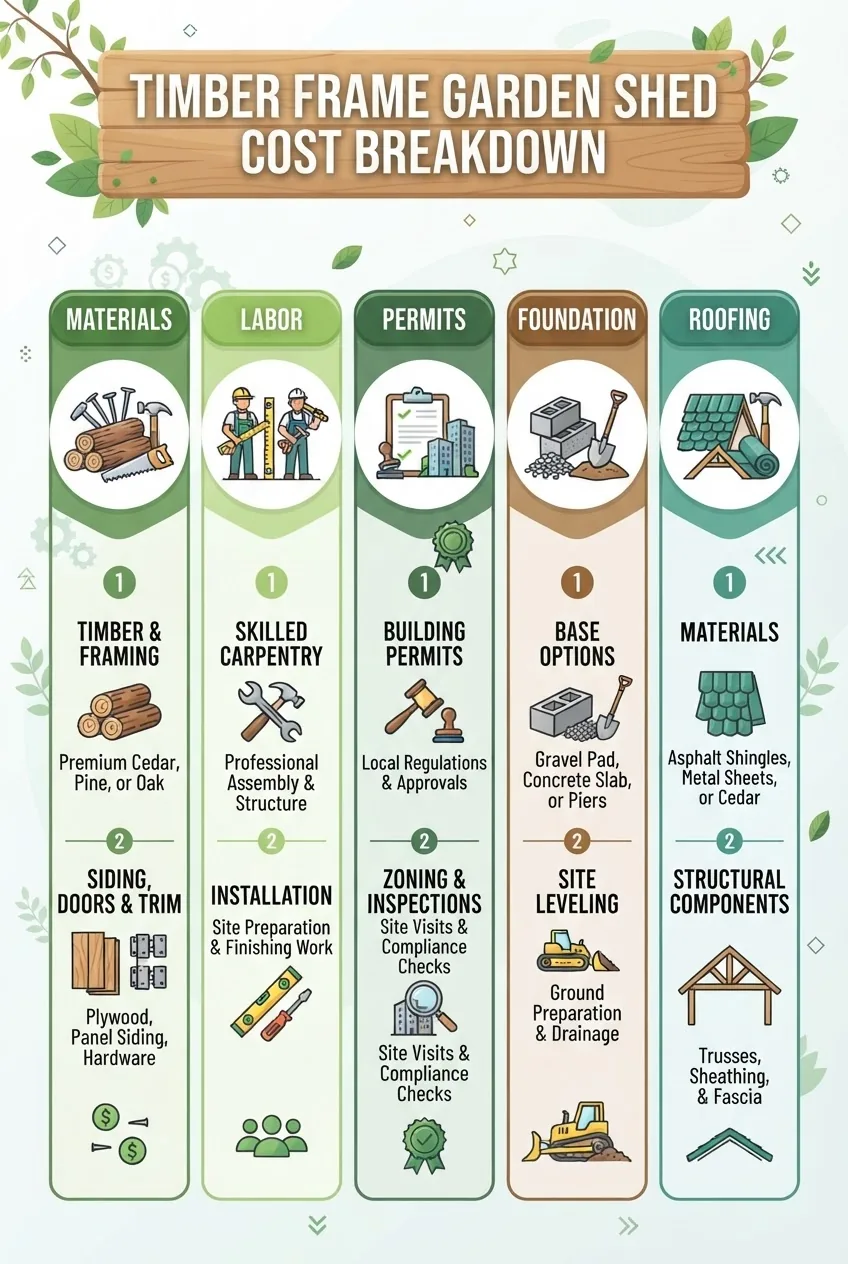
- Materials (timber, cladding, roofing): Expect A$1,200–A$4,500 depending on size and species. Softwood pine framing + weatherboard cladding for a 6–8 m² shed typically costs A$1,200–A$2,500 in materials; hardwoods or premium treated timbers add 30–80% to material costs. Material quality and treatment grade drive long-term durability costs.
- Foundation and flooring: Slab vs piers vs bearers affect cost heavily. Timber pier-on-concrete pads: A$350–A$900. Compact reinforced slab for a 3×2 m shed: A$900–A$2,200. Elevated timber bearer floor with treated joists: A$600–A$1,800. Choose concrete slab for flood-prone or heavy storage loads; choose piers for uneven sites and better under-floor ventilation.
- Roofing: Metal deck (Colorbond) roofing with timber battens: A$350–A$1,200. Tile roofing is rare for small timber sheds due to weight. Skillion or gable roof framing costs vary with pitch and complexity; lightweight roof sheeting is cheapest and durable in Melbourne’s UV and storm conditions.
- Labor and trades: If hiring a carpenter/builder expect A$50–A$90/hr for qualified carpentry in Melbourne suburbs (2024 estimates). A simple 2–3 day build for an experienced crew may cost A$1,200–A$3,500 in labour; full contracted packages (including foundation, framing, cladding, roof) typically start at A$4,000 and rise with size and finish.
- Permits and council fees: Low-profile sheds under certain thresholds may be exempt, but if over 10 m² or close to boundaries permits often apply. Allow A$0–A$900 for permit fees and plan lodgement; structural engineer or certifier fees A$300–A$1,200. According to a 2024 industry report, omitted permit costs are a common budget risk.
- Insulation, ventilation and finishes: Basic builds: A$150–A$600 for polyester batts or reflective foil; premium insulation or lining increases costs. Internal shelving, electrical, and glazing are additional: wiring and a double power point A$350–A$900; LED lighting A$80–A$220.
- Treatment and long-term coatings: Timber preservatives, primers and topcoats are often overlooked upfront. Initial timber treatment and two coats of exterior paint or stain: A$250–A$800 depending on area and product quality. Pressure-treated framing stock is more expensive initially but lowers replacement/maintenance costs.
- Site preparation and drainage: Clearing, levelling and installing drainage swales or French drains can add A$300–A$1,500, depending on site complexity and whether tree root remediation is required.
- Contingency and extras: Always include 10–20% contingency for variations, hidden rot, termite work or design changes.
Costs scale with size, complexity and timber grade. If you want a fast size comparison for budgeting, consult the shed sizes and cost guide for standard storage dimensions which shows area-based cost ranges and helps scope storage planning.
Practical example: a 3×2.5 m DIY timber-framed shed with treated pine studs, Colorbond roof, timber cladding and timber bearer floor could cost ~A$3,000–A$4,500 excluding paid labour; a contractor-built version in Melbourne with council approvals and concrete slab commonly lands A$6,000–A$10,000 depending on finish. According to a 2023 Victorian Building Authority report, council fees and certifier costs added an average of A$620 to small non-habitable outbuilding projects (source: 2023 Victorian Building Authority report).
Transition: understanding material choices is the next critical step—selecting the right timber affects upfront cost, durability and maintenance.
Choosing the Right Timber for Your Garden Shed
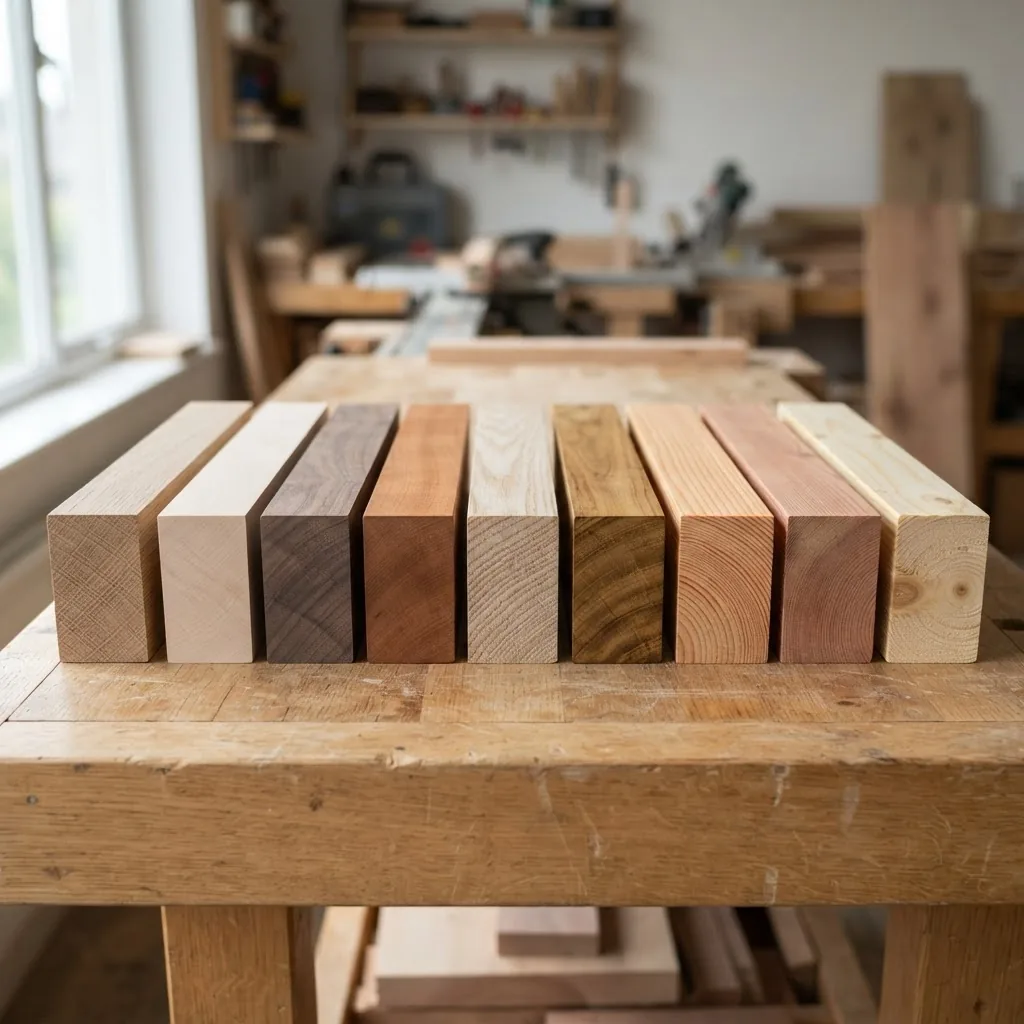
Selecting the correct species and treatment is central to long lifespan in Melbourne’s mix of coastal salt-spray, inland heat and wet winter conditions. Below table compares common framing and cladding timbers with durability notes and cost implications.
| Timber Type | Use (Framing/Cladding) | Durability & Treatment | Relative Cost (A$) |
|---|---|---|---|
| Radiata pine / treated softwood | Framing, cladding (weatherboards) | Pressure-treated options available; good when elevated and coated; needs vermin treatment near soil | Low–Medium |
| Cedar (Western Red Cedar) | Cladding, joinery | Naturally durable, stable, requires staining; excellent weather resistance | High |
| Gum or jarrah (local hardwoods) | Frames (heavy), cladding | Very durable and dense; best for ground-contact sections; heavy and pricier | High |
| Treated engineered timber (LVL, glulam) | Beams, rafters for long spans | Consistent quality, good load capacity; needs appropriate weather sealing | Medium–High |
Practical guidance:
- Framing: Use pressure-treated radiata pine for most DIY frames—buy H3.2 or better for close-to-ground use; for elevated or exposed coastal sites prefer hardwood or H4 treatment. Certification to look for: Forest Stewardship Council (FSC) or PEFC for sustainability.
- Cladding: Cedar and some hardwoods offer natural weather resistance and reduce paint maintenance. Painted weatherboards over treated pine are cost-effective but require maintenance every 5–8 years.
- Treatment grades: H2 for interior/dry, H3 for above-ground exterior, H4 for in-ground contact. Choose H3+ for bearer/floor joists and H4 for posts in soil contact.
- Sourcing: Buy kiln-dried framing to reduce shrinkage; ask local suppliers for treatment certificates and batch traceability. For design-focused sheds, source sample boards (order 0.5–1 m lengths) to test finishes and staining.
For further timber-specific design and cost advice see the wood shed design and cost considerations link.
Transition: with material choices set, the next section walks you step-by-step through building a durable timber frame shed tailored for Melbourne conditions.
Design and Build Guide for Durable Timber Frame Sheds
Before you start:
- Required skill level: intermediate carpentry for DIY; hire a qualified carpenter for structural connections, complex roofs, or if electrics/plumbing required.
- Timeline estimate: DIY (two people) for a 6–8 m² shed — 2–6 weekends; contractor build — 2–4 weeks including inspections.
- Essential permits: confirm with local council—see Local Considerations section below.
Tools & materials checklist (minimum):
- Tools: circular saw, plunge saw or drop saw, cordless drill/driver, framing nailer (optional), chisels, spirit level (1.8 m), laser level (recommended), tape measure, sledgehammer, post-hole digger (if piers).
- Materials (example for ~6 m²): 12 x 90×45 mm treated studs (spacing 450/600 mm), 3–4 m of treated bearers, 12–16 joists or engineered floor joists, 1 sheet 19 mm exterior plywood for floor, 4–6 sheets 2440×1220 mm cladding or weatherboard, 6–8 Colorbond roof sheets or corrugated iron, nails/screws, joist hangers, metal flashings, felt or breathable sarking, fasteners rated for exterior use.
Core build steps (detailed):
- Assess and prepare the site: Clear a 1 m working perimeter, mark the shed footprint with spray paint and batterboards, and set a laser level datum. Excavate to remove topsoil to firm ground—remove organic matter and roots within the footprint. For sloping sites allow up to 150 mm cut/fill; use compacted crushed rock as a base layer for pads or piers. If ground-bearing capacity is poor, plan for a reinforced slab.
- Choose and construct the foundation:
- Pier foundation (recommended for minor slopes): Dig holes 300–400 mm diameter to below frost (or 400 mm depth typical for Melbourne yards), place 100–150 mm concrete pad, use 75–100 mm diameter galvanized post anchors fixed into wet concrete. Spaced at 1.2–1.8 m centres. Cost-efficient and allows under-floor ventilation.
- Reinforced concrete slab: Excavate 150–200 mm, compact subgrade, lay 50–75 mm compacted crushed rock, place 75–100 mm concrete slab with F72 mesh for small sheds; increase thickness/load for heavy use. Use control joints every 2–3 m. Slab is best for heavy equipment storage and wheelchair access.
- Timber bearer floor: Place H4-treated bearers on piers or DPC (damp proof course), fix H3.2 joists at 450–600 mm centres, sheet 19 mm exterior plywood or decking boards screwed at 200 mm centres. Ensure 150 mm clearance from finished ground to underside of joists for ventilation.
- Build the floor frame and deck: Square the frame using 3–4–5 triangle checks, ensure diagonal measurements match within 5 mm for small sheds. Fix joists with galvanized joist hangers; predrill for screws in hardwoods. Use stainless or hot-dip galvanised fasteners for coastal exposure.
- Lay the floor sheeting: Stagger plywood joints, leave a 3–4 mm expansion gap, screw every 150–200 mm along framing. Apply a bead of exterior PU adhesive under sheets for stiffness and to limit squeaks. Seal perimeter with construction-grade silicone if slab or piers below.
- Assemble wall frames off the deck then raise: Assemble panels flat using treated bottom plates and top plates; studs at 450 mm centres for better cladding fixation and load distribution. Install noggins for rigidity and to support shelving fixings. Use metal hurricane straps at corners if in high wind areas. Sheath with structural plywood or OSB (exterior grade) if required by design and local code.
- Raise and fix wall frames: Plumb each panel with a level, brace temporarily with diagonal timber braces fixed outside the studs. Nail or screw through bottom plate to floor frame; set corners with metal brackets and check diagonals again for squareness.
- Design and build the roof structure:
- Gable roof: Common and easy to build—use rafter spans based on joist tables (e.g., 90×45 rafters at 600 mm centres for spans to 3.6 m with battens for metal sheeting). Provide a minimum 15° pitch (recommended 20–30° in Melbourne for shed roofs) for adequate rain run-off.
- Skillion roof: Simpler, fewer cutting angles, good for sheds with a modern aesthetic and when adding clerestory windows for natural light/ventilation. Minimum 5–10° pitch with proper sarking and flashings.
- Ridge and eave flashings: Use Colorbond flashings and install breathable sarking under roof sheeting; provide 25–50 mm overhang for eaves to protect walls. Fix battens and underlay per manufacturer specs.
- Install roof sheeting and flashings: Fix Colorbond or corrugated metal sheets with neoprene-sealed screws at manufacturer-specified spacings (typically 200–300 mm along supports). For coastal exposure use 316 stainless screws. Seal ridge and valley with ventilated ridge flashings to allow airflow and reduce condensation; install guttering if required and direct runoff away from foundations with at least 1:100 fall to a drainage point.
- Apply external wall cladding and weatherproofing: Options: horizontal weatherboards, vertical shiplap, or plywood with a full coating system. Always run a continuous breathable sarking beneath cladding, and flash windows/doors with self-adhesive flashing tape. Leave 10–12 mm clearance at ground level between cladding and finished external ground to reduce rot risk.
- Fit doors, windows and ventilation: Fit a prehung external door with a 3-point strike for security and durability. For ventilation, install two passive vents—high on opposite walls—for cross-flow, or a ridge ventilator plus eave vents. Consider a small operable window or louvre near a workbench for daylight and airflow.
- Finish internal works and protective coatings: Sand and prime exposed timber framing ends, apply two coats of exterior acrylic paint or penetrating oil/stain per manufacturer instructions. For high-moisture environments choose a microporous paint system; for natural timber look use quality penetrating oils and recoat every 2–4 years depending on UV exposure.
- Install shelving, electrical and security features: For tool storage use 18 mm ply shelving fixed into studs with at least 4 fixings per shelf. If installing electrical outlets, engage a licensed electrician and ensure RCD protection and compliance with AS/NZS 3000 (wiring rules).
- Final inspections and site clean-up: Check all fasteners are corrosion-resistant, flashing is continuous, and there is a minimum 150 mm clearance from soil to timber elements. Remove debris and apply final touch-up coatings. If required, arrange certifier inspection and obtain occupancy or compliance certificates.
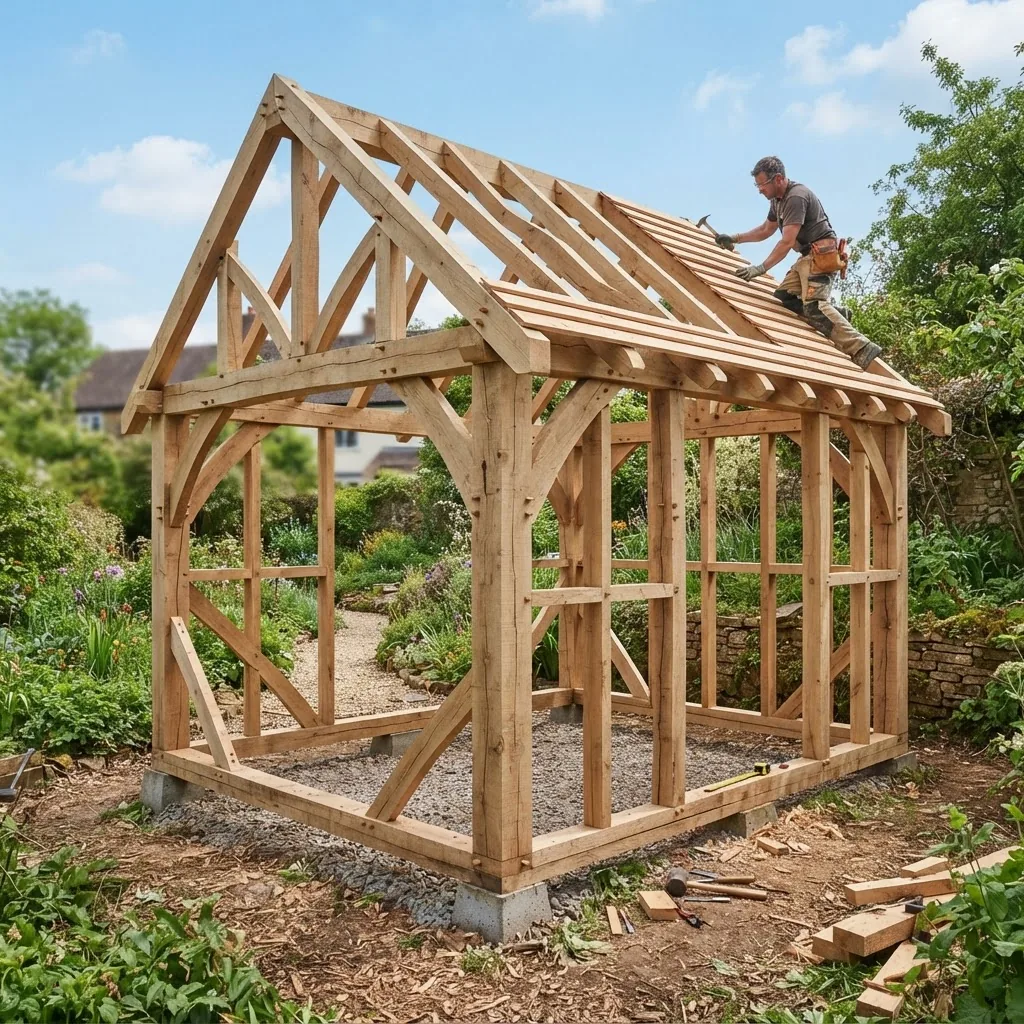
Case study: suburban Melbourne DIY (hands-on numbers)
My neighbour built a 3×2.5 m timber framed shed using H3.2 treated pine, pier foundations and Colorbond roof. Material spend was A$2,650; two friends helped over four weekends. Additional paid trades (concrete pads and certifier) were A$1,450, giving a total of A$4,100. They pre-treated all end-grain cuts with a copper azole preservative and sealed with two coats of exterior acrylic—an approach that extended time between maintenance cycles to 6–8 years.
Common mistakes and how to avoid them
I’ve seen several patterns of failure on timber sheds I inspected:
- “I set the floor too low” — I once saw a DIYer set their floor only 40 mm above ground. That allowed splash-back and rot. Fix: maintain at least 150 mm clearance and slope surrounding ground away at 50 mm per metre.
- “I used untreated timber for bearers” — I advised a homeowner who used untreated bearers; they failed in two seasons. Fix: use H4 posts or H3.2 minimum for bearers and joists near ground.
- “I skipped venting” — a shed without cross-flow vents suffered timber decay and mould. Fix: install high and low vents or ridge and eave ventilation; target 400–800 mm² of free ventilation per m² of roof area.
Practical checklist & when to call in a professional
- Checklist: foundations level and draining; minimum 150 mm ground clearance; H3.2/H4 where required; treated fasteners; breathable sarking; 2 coats exterior finish; vents fitted; electrics by licensed electrician.
- Call a pro when: foundation requires engineered slab, roof spans exceed 3.6 m and need engineered members, boundary setbacks trigger party-wall issues, or you need electrical/plumbing work. For compliance, engage a certifier before commencing if required by your council.
Transition: after building, a proactive maintenance program preserves structure and returns better life-cycle value than cheap initial materials.
Maintenance and Longevity Tips for Timber Frame Sheds
Maintaining a timber frame shed is about controlling moisture, pests and UV exposure. Regular small interventions avoid large repairs later. Below are practical, scheduled tasks and specific products or thresholds to watch.
- Annual inspection (spring): Check roof fixings, look for loose screws, inspect flashings, examine gutters and clear debris. Replace failed neoprene washers immediately.
- Biannual ground clearance: Ensure vegetation and mulch do not touch cladding; maintain a 150 mm bare zone around the shed perimeter. Remove any soil build-up against skirtings.
- Pest prevention: Inspect for termite mud tubes—if found, call a licensed pest controller. For prevention, do not store firewood against external walls and maintain a 75 mm gap between soil and timber surfaces or use H4 posts in contact with ground.
- Coating schedule: Exterior acrylic paint: recoat every 6–8 years; oil/stain finishes: recoat every 2–4 years in high UV zones. Always sand and prime bare timber before recoating.
- Moisture control: Keep internal humidity below 60%—use passive vents, or a small dehumidifier in enclosed storage rooms with water-sensitive contents. Fix any roof leaks within 48 hours to prevent structural decay.
- Hardware maintenance: Replace corroded screws with 316 stainless in coastal locations and apply silicone to metal-to-metal flashings to avoid standing water.
- Recordkeeping: Keep a log of coatings applied, supplier batch numbers for treated timber, and date of last certifier inspection; this helps when selling the property or making insurance claims.
Reference best practice: for timber treatments and preservation standards consult the Forest and Wood Products guidance and treatment standards. According to a 2022 timber treatment standards bulletin, follow label directions for penetration and re-coat intervals (source: 2022 timber treatment standards bulletin).
Transition: now compare timber-framed sheds with alternatives so you can weigh durability, cost and aesthetics.
Comparing Timber Frame Sheds to Other Shed Types
| Characteristic | Timber Frame Shed | Metal/Prefab Shed |
|---|---|---|
| Durability | High if using treated/hardwood and good detailing; rot and termite risk if poorly detailed. | Good corrosion resistance with quality coatings; can dent and leak at seams if not installed correctly. |
| Cost (initial) | Medium to high depending on timber species and finishes. | Often lower initial cost for small sizes, but limited in customization. |
| Aesthetics | Warm, customizable to match house/fences; finishes add value. | Industrial look; paint options limited; difficult to integrate with timber landscapes. |
| Maintenance | Requires regular coating and inspections for pests and moisture. | Lower painting maintenance but susceptible to corrosion and panel fatigue. |
Summary: timber frame sheds offer superior integration with timber decks and gardens, easier customization and better thermal behaviour, at the cost of ongoing maintenance and careful pest/moisture management. Metal or prefab sheds may lower upfront costs but can suffer in extreme UV/coastal conditions and are limited for retrofitting insulation or custom joinery.
Transition: planning a timber frame shed in Melbourne introduces specific regulatory and climate considerations—covered next.
Local Considerations for Building Timber Frame Sheds in Melbourne
Building a durable timber frame shed in Melbourne requires attention to local building codes, climate exposure, and sourcing local expertise and materials. Below are practical localised items to check and act upon.
Permits and building codes: Different councils have varying trigger points for when a permit is required. Smaller outbuildings under specified size/height thresholds are sometimes exempt but still must comply with the Building Code of Australia and local planning overlays. For statutory guidance check the Victorian Building Authority and your local council planning page. According to a 2023 Victorian Building Authority report, many small outbuilding disputes arose from incorrect assumptions about exemptions (source: 2023 Victorian Building Authority report).
Setbacks and overlays: Urban Melbourne parcels may have overlays controlling heritage, vegetation and stormwater. Always confirm boundary setbacks and whether the site is within a heritage precinct; this affects cladding choices and colour palettes.
Wind and storm rating: Use wind classification maps when sizing fixings and connectors. For coastal suburbs and high-wind corridors north of Port Phillip, spec extra tie-downs and consider hurricane straps. Refer to structural guides or a local engineer for sheds with long spans or in highly exposed sites.
Moisture and salt exposure: If within 2 km of the coast, use stainless fasteners and increased maintenance frequency for exterior finishes. Salt-driven corrosion reduces life of standard galvanised fixings. For guidance on coastal corrosion, consult the Bureau of Meteorology data on marine exposure and local supplier advice: Bureau of Meteorology.
Local suppliers and timber sources: Melbourne has a wide network of timber merchants and building suppliers—seek kiln-dried, treated framing timber and ask for treatment certificates. Recommended industry guidance and sustainability standards are available from Forest and Wood Products Australia: Forest and Wood Products Australia. For regional pricing comparisons, you can reference local shed pricing guides such as 12×9 shed pricing and storage needs for comparable-sized projects.
Sourcing trades and builders in Melbourne: Use licensed carpenters with verifiable references. For specialised tasks (slab forming, complex roofing, electrical) hire licensed trades. Ask potential builders for examples of previous timber-framed sheds in Melbourne and visit completed projects when possible. According to a 2024 consumer satisfaction survey, projects with pre-construction site assessments reduced unexpected costs by ~18% (source: 2024 industry consumer survey report).
Local material prices and delivery: Factor freight and local supply variability—some hardwoods may be more expensive or limited in Melbourne; order sample boards and confirm lead times for treated timbers (typical lead for custom treated batches is 7–14 days).
If you need design inspiration for compact layouts refer to efficient 10m2 shed layouts and for alternative design ideas see 12×8 storage shed design options.
Transition: summarising everything into actionable next steps helps you move from planning to on-site work.
Conclusion and Next Steps for Building Your Timber Frame Garden Shed
Key takeaways: a well-built timber frame garden shed balances initial material and labour costs against long-term durability and maintenance. Choose appropriate timber species and treatment grades (H3.2/H4 where needed), design for moisture control and ventilation, and confirm permits with your council before building. Budget contingency and choose corrosion-resistant fixings for coastal areas.
Next steps checklist (quick actions you can do today):
- Measure and mark your preferred footprint and check local setback rules with council.
- Decide foundation type (pier vs slab) based on site slope and intended load.
- Obtain three quotes for materials and two quotes for labour; include a 10–20% contingency line.
- Order sample timber boards and a treated framing pack; confirm treatment certificates.
- Schedule a certifier or builder for a pre-build site inspection if any doubt on permits or structural needs.
When you’re ready to compare costed, size-specific examples, review the 10×10 storage shed costs and layouts, 10×20 garden shed price guide, or the specific 12×9 shed pricing and storage needs to align budget and layout choices.
Final CTA: start by sketching your footprint, confirming local setbacks, and ordering timber samples—then schedule a site quote with a local carpenter to lock in a firm price and build timeline.