

What you will achieve: By the end you’ll be able to decide between a tailored custom sheds design or a kit route, produce realistic cost estimates for a Melbourne site, and plan a build timeline. Realistic time to complete planning and procurement: 1–4 weeks; build time (site dependent): 1–6 weeks. Skill level required: homeowner with basic DIY skills for managing a kit; intermediate carpentry or licensed trades needed for full custom builds.
Before you start
- Council zoning and permit check with local Melbourne council (site address and plan)
- Site survey: dimensions, fall, soil type, and access for trades
- Essential tools: circular saw, cordless drill, spirit level, tape measure, SDS drill, post-hole digger or auger
- Materials checklist: foundation concrete or stumps, treated timber, metal cladding or ply, fixings, flashing, fasteners
- Safety gear: gloves, eye protection, hearing protection, dust mask
- Budget buffer: allocate 15–25% contingency for customisation and site surprises
Introduction to Custom Sheds and Their Advantages
Custom sheds are purpose-designed storage buildings tailored to your site, tools and lifestyle. Unlike off-the-shelf kits, a custom-built solution lets you match internal layout, door placements, insulation, window locations and finishes to your exact needs—whether a tidy garden storage nook, a workshop with bench space or a lockable tool room. The clear advantage is design flexibility: you decide the floor plan, materials and access points so the structure supports storage workflows rather than forcing you to adapt to pre-cut panels.
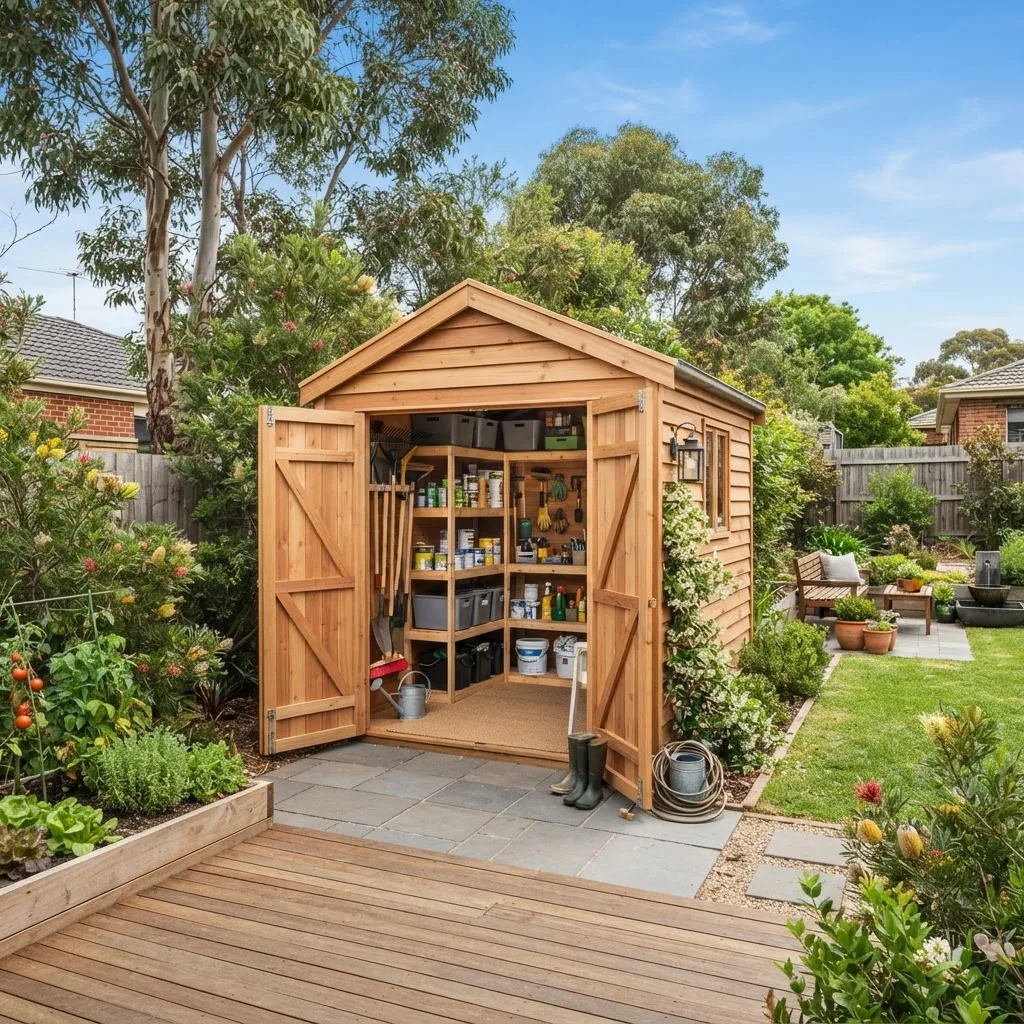
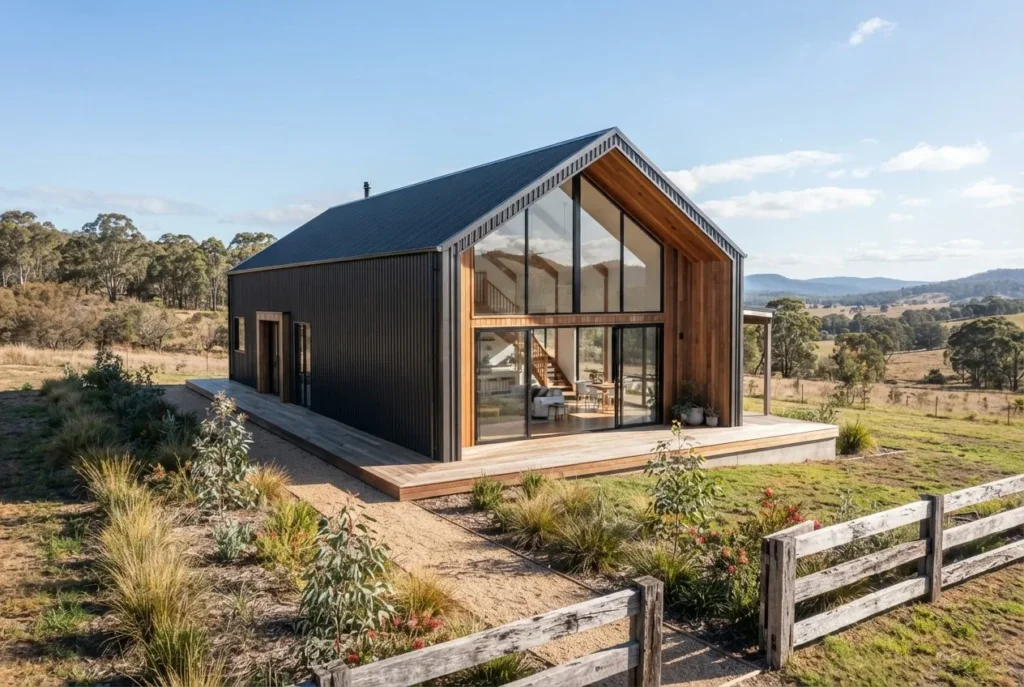
Use cases for custom design sheds commonly seen in Melbourne: hobby workshops near broadband-enabled sheds for small-business makers, timber storage with humidity control, tool rooms with racking for landscaping pros, and garden studios that match house cladding. Bespoke sheds also let you work with constrained blocks and easements—common in inner Melbourne suburbs—by setting roof pitches, eaves and access to suit council setback rules.
Transition: Next we’ll map out the planning process so your design choices feed directly into accurate cost and build decisions.
Planning Your Custom Shed: Design and Storage Considerations
Planning a shed is the stage where good decisions save time and money. Start with function, then refine size, access and services. This section gives a step-by-step planning method plus example storage shed floor plans and layout suggestions for common Melbourne scenarios.
- Define the primary use. List the main activities (e.g., lawn mower storage, workshop, bike storage, hobby studio). For workshops, plan 900–1200 mm bench depth and 800–1000 mm clear aisle width for walkways. For parking a small trailer allow 3.0 m width and 5.5–6.0 m length minimum.
- Set target internal dimensions. Typical incremental sizes: 1.8 × 1.8 m (small storage), 3 × 3 m (garden shed), 3 × 6 m (single bay workshop), 6 × 6 m (double bay workshop). For bespoke proportions measure equipment footprints, door swing, and racking depth (300–600 mm for shelves).
- Choose layout type.
- Linear layout: bench and storage along one wall—best for narrow blocks.
- Island layout: central bench with perimeter storage—requires minimum 3.5–4.0 m internal width.
- Multi-zone layout: separate lockable toolroom and open workspace—useful for shared-family use or rental of workspace.
- Decide door and access strategy. Use sliding doors for limited clearance, roller doors for vehicle access, and 820–920 mm single access doors for pedestrian entry. Consider dual access (front and rear) to improve circulation.
- Plan vertical storage and clearances. Specify racking heights (max 2.4–3.0 m for common residential sheds), overhead clearance for lifting equipment (at least 2.4 m internal height), and roof pitch to shed water quickly (minimum 5° for metal sheeting in Melbourne temperate climate).
- Electrical and lighting requirements. Outline power needs: two dedicated circuits, LED task lighting at benches (500 lux recommended), exterior security lighting and provision for heater or dehumidifier if storing timber tools.
- Ventilation and insulation. For workshops, add cross-ventilation (roof vents + louvre), and consider R2.0–R2.5 wall/roof insulation if climate control required.
- Foundation and drainage. For Melbourne soils, consider concrete slab on compacted subgrade (100 mm slab with SL32 mesh for heavy use) or elevated treated pine or steel stumps for uneven sites. Add a perimeter fall of 50 mm to keep water away from cladding.
- Material finish and streetscape. Select cladding to complement your home: Colorbond, vertical timber, or weatherboard profiles. Roofline, eave width and paint finishes affect planning approvals in heritage or overlay zones.
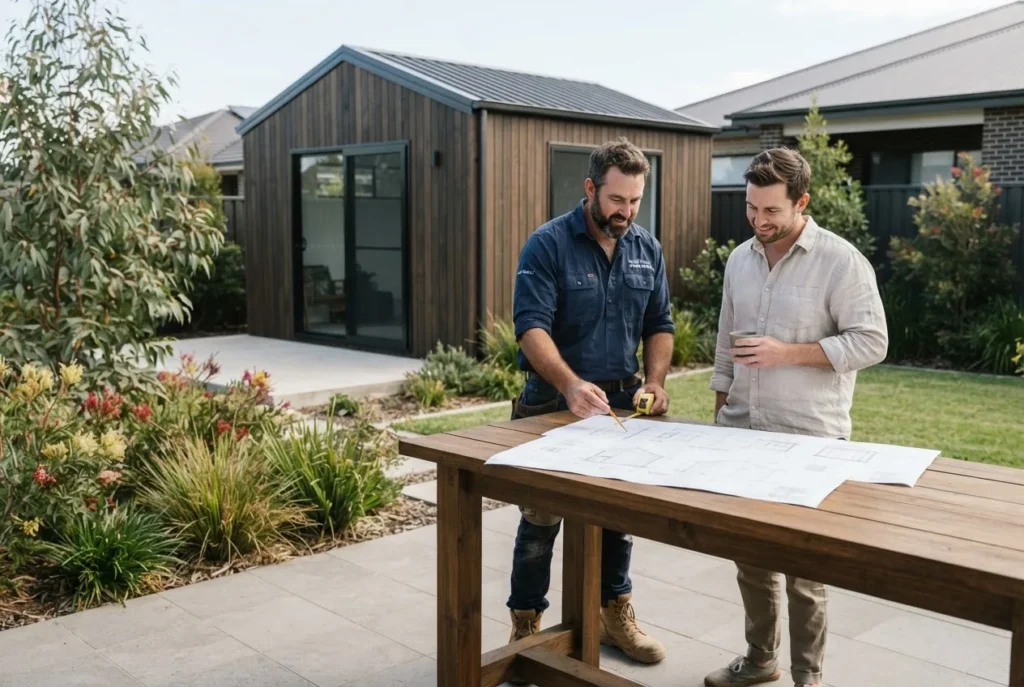
- Prepare a simple floor plan sketch. Include: external dimensions, internal zones, door/window locations, bench and racking positions, and foundation notes. Save a PDF for quotes.
Example floor plan suggestions:
- Small garden-storage (3×2.4 m): single access door, shelving along both long walls, 300 mm clearance at rear for tool hangers.
- Hobby workshop (4×3 m): 1.8 m bench across rear wall, 2.4 m aisle, roller door front 2.1 m wide for small trailer access.
- Studio/office shed (6×3 m): split zone—1.8 m lockable storage with solid door and 4.2 m studio with double glazing for light.
For layout inspiration related to workshops and smaller sheds see backyard workshop building ideas and garden shed designs and custom builds. For compact studio options consult studio sheds design and cost.
Transition: With the plan locked, the next major decision is what materials and build method you choose—this affects both price and longevity.
Materials and Build Options for Custom Sheds
Selecting the right materials and build approach balances budget, durability and appearance. Below is a concise comparison table of common options, followed by practical guidance on framing, cladding and kit variants.
| Option | Typical uses | Pros | Cons |
|---|---|---|---|
| Timber frame + timber cladding | Garden sheds, studios, heritage-sensitive sites | High aesthetic value, easier on-site modifications, good insulation properties | Requires maintenance, vulnerability to rot if not detailed |
| Steel frame + Colorbond cladding | Workshops, vehicle storage, long-span bays | Durable, low maintenance, quick to erect | Thermal bridging, needs insulation for comfort |
| Engineered panel kits (SIPs or prefabricated) | Rapid-build studios, insulated workshops | Fast build, high thermal performance | Higher material cost, limited on-site changes |
| Plastic/resin sheds (Keter-style) | Small garden storage, lightweight applications | Low cost, rot-free, easy assembly | Limited size and load capacity, poor long-term UV performance unless UV-stabilised |
Frame and kit options:
- Shed framing kit: prefabricated timber or steel frames delivered for on-site assembly—good balance of speed and customisation.
- Shed lean to kit: designed to attach to an existing wall—saves space and often avoids separate foundations.
- DIY outbuilding kits: panelised kits for homeowners—lower labour cost but limited bespoke changes.
Comparative considerations:
- Durability: steel + Colorbond exceeds timber for weather resistance, but timber performs better aesthetically and for internal climate if maintained.
- Insulation: SIPs or insulated panel kits deliver better R-values; for steel-clad sheds plan R2.0–R3.0 blanket insulation plus vapour barrier.
- Modification: timber frames are easiest to modify post-build; panel kits are restrictive.
For kit-focused pricing and barn alternatives see Australian barn shed kits pricing and brand-level kit details like Fairdinkum sheds pricing and installation. For lightweight plastic options consult Keter plastic storage sheds cost and timber kit pricing via timber garden shed kits pricing.
If you’re considering agricultural or long-span options, compare hay sheds prices and kits and wide span shed homes price guide.
Transition: With materials and kit choices clarified, the next section compares the pros and cons of buying a kit versus commissioning a fully custom shed.
Custom Shed Kits vs Fully Custom-Built Sheds: Pros and Cons
This section contrasts custom shed kits and fully bespoke builds. Use the overview to map trade-offs in cost, time, flexibility and performance so you choose the right route for your Melbourne site.
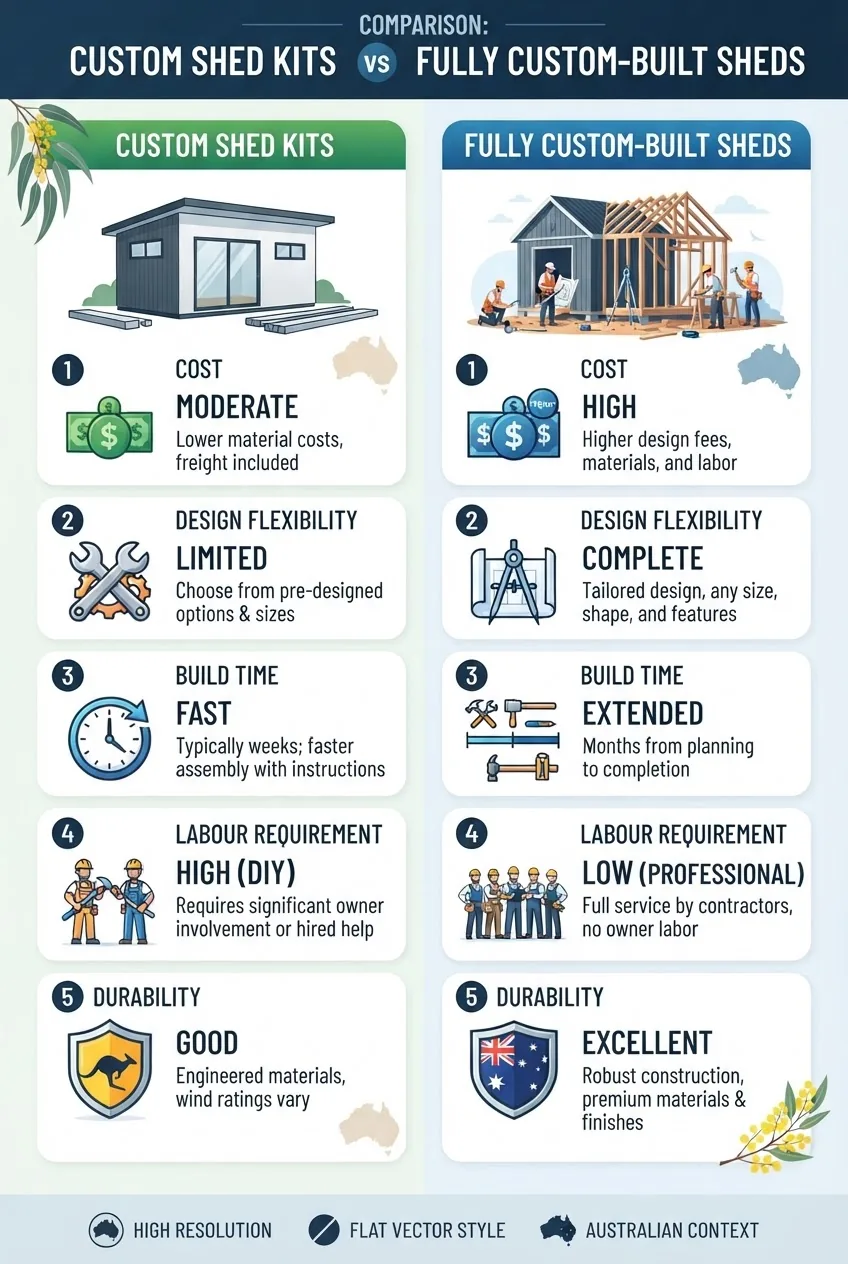
| Factor | Custom Shed Kits | Fully Custom-Built Sheds |
|---|---|---|
| Cost | Lower upfront material cost, reduced labour if DIY | Higher due to design, labour and on-site variations |
| Design flexibility | Limited to kit dimensions and openings | Complete control over plan, finishes and details |
| Build time | Fast—panels often assembled in days | Longer—design, approvals and bespoke works extend timeline |
| Labour requirement | Can be DIY or contractor-assisted | Requires trades: carpentry, electrical, possible concreting |
| Durability & performance | Good when specified correctly, but limited by kit tolerances | Higher performance potential—foundation, drainage and detailing optimised |
Pros and cons — quick lists:
- Custom shed kits: Pros — lower initial cost, speed, DIY-friendly; Cons — limited customisation, potential fit issues on non-standard sites. For kit buying options see shed kits prices and buying guide.
- Custom built storage sheds: Pros — tailored fit to site, higher resale and longevity, full control of finishes; Cons — higher price, longer timeline and need for contractor management.
Transition: Now that you understand the trade-offs, we’ll unpack how pricing in Melbourne is affected by design choices, permitting and labour.
Cost Guide: What Influences Custom Shed Prices in Melbourne
Estimating a build a shed budget requires breaking down costs into discrete components: design, materials, labour, permits and site works. Below is a detailed list of typical cost items, estimated ranges for Melbourne (2024), and sourcing references.
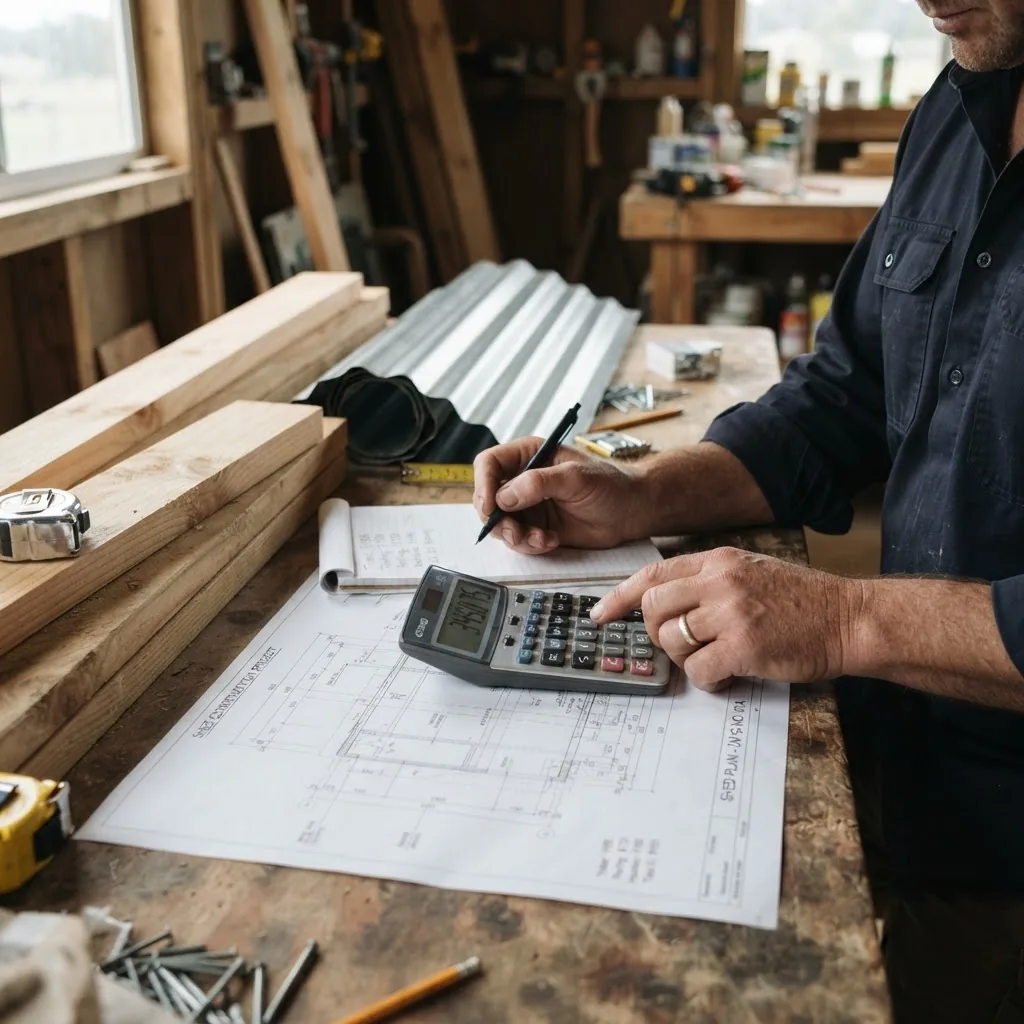
Key cost components (typical ranges shown are estimated for Melbourne 2024—final prices will vary by supplier and site):
- Design & plans: $400–$2,500 — concept sketch to full working drawings. Architect-level bespoke plans cost more. According to a 2024 industry report, custom design services in Victoria average around $1,000 for modest projects (industry report, 2024).
- Site preparation: $500–$4,000 — includes vegetation clearing, minor excavation and compacted subgrade. Rocky or steep sites are at the top end.
- Foundations: Concrete slab 100 mm with mesh: $2,200–$6,000 for small to medium sheds (3×3 m to 6×6 m). Pier/stump systems: $800–$2,500 depending on materials.
- Materials: Timber framed shed with timber cladding: $2,000–$8,000. Steel frame + Colorbond: $3,000–$10,000. Engineered panel kits: $5,000–$18,000 depending on insulation and finishes.
- Labour & trades: Carpentry and erection: $50–$90/hr for qualified carpenters in Melbourne; electrician $80–$120/hr. Typical build labour for a 4×3 m workshop: 40–120 hrs depending on complexity.
- Doors & windows: Roller door (manual) $700–$2,000; insulated entry doors $400–$1,200; aluminium windows $250–$800 each.
- Electrical & lighting: $800–$3,000 for basic circuits and LED task lighting; higher if heating or heavy machinery circuits required.
- Permits & inspections: $0–$1,200 — many small sheds under 10 m² may be exempt, but structures that involve slabs, plumbing or change-of-use often require permits. Check Melbourne council rules per site.
- Finishes & custom joinery: Shelving, benches, painting: $500–$4,000 depending on materials and custom features.
- Contingency: 15–25% recommended for custom projects to account for site surprises and design changes.
Typical example budgets (Melbourne, 2024, estimated):
- Small garden shed 3×2.4 m (DIY kit): $900–$2,500
- Mid-size workshop 4×3 m (custom, timber frame): $8,500–$18,000
- Large customised studio 6×3 m (insulated panels + services): $18,000–$40,000
Regulatory and local guidance:
- Check the Australian Building Codes Board for national compliance requirements and referenced standards.
- For builder selection standards and contracts consult the Master Builders Association of Victoria.
- For up-to-date labour and materials inflation figures consult the Australian Bureau of Statistics construction indexes (ABS, 2024).
Note on permits and council: Melbourne councils differ on exempt sizes, heritage overlays and setback rules. Always confirm with your specific council. Costs quoted here are estimated and may vary depending on site conditions.
For detailed size-specific pricing see 6×6 shed cost details.
Transition: Now that you have a clearer cost picture, the practical build process is next — a step-by-step guide you can follow or hand to your builder.
Step-by-Step Process to Build a Custom Shed
Below is a hands-on, numbered build sequence you can follow for a typical timber or steel-framed custom shed in Melbourne. Each step opens with a bold, action-first instruction and gives concrete quantities, settings and times where applicable.
- Confirm site and approvals. Obtain a site-specific written confirmation from council whether the proposed shed size requires a building permit. Allow 5–21 business days for basic certificate checks; larger projects may require a planning permit (4–8 weeks). Record council contact and reference number.
- Set out and peg site. Mark out the shed footprint using pegs and string lines. Use a spirit level and laser level to confirm corners within 5 mm over 3 m. For slabs, ensure a minimum 50 mm fall away from the shed perimeter to prevent pooling.
- Prepare subgrade. Excavate topsoil to stable substrate, compact to 95% standard proctor density. For slab bases use 50–100 mm compacted road base; for stump systems dig holes to a minimum 600 mm depth for frost-prone areas (Melbourne minimal frost; 450–600 mm recommended).
- Install foundations. For a 4×3 m workshop with a slab: pour 100 mm concrete with SL32 mesh and grade the slab—allow 7 days before screeding and 28 days for full cure before heavy loads. For stump foundations: use H4-treated pine posts or steel piers spaced maximum 1.2–1.8 m apart depending on frame load.
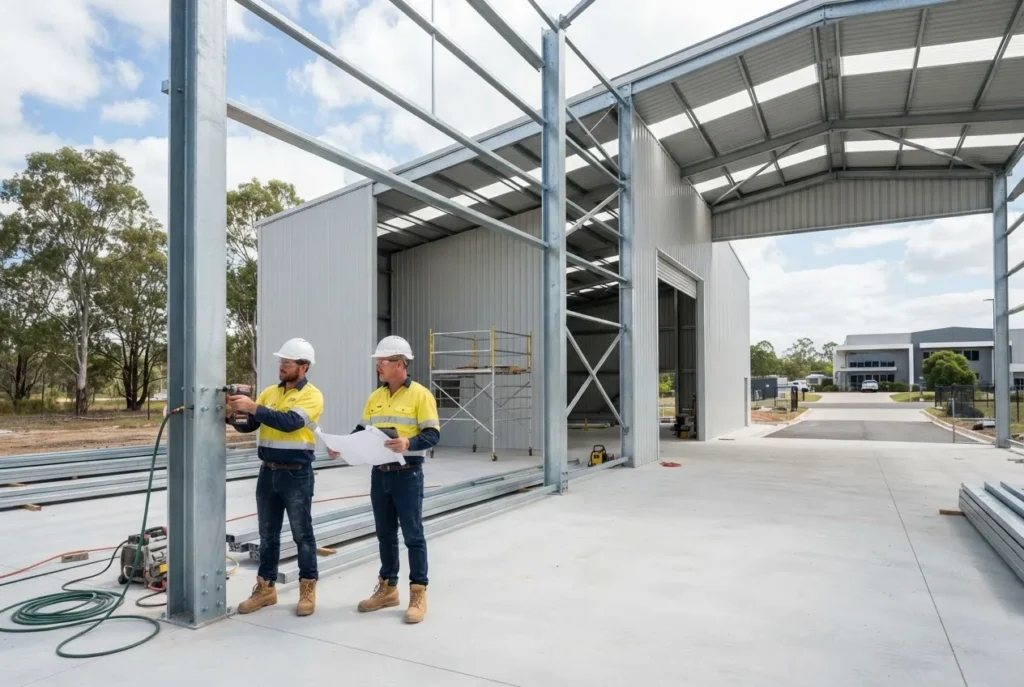
- Assemble frame. For timber frames: use 90×45 mm structural pine studs at 600 mm centres; double plate at top for rafter bearing. For steel frames: follow manufacturer specifications for bolt torque (typically M12 bolts at 70–80 Nm) and check plumb within 3 mm per 2 m.
- Fit wall sheeting and roof. For Colorbond roofs choose 0.42–0.48 mm BMT for residential sheds; provide a minimum 200 mm end lap where required and 100 mm side laps; use appropriate screws with EPDM washers. For timber cladding use pre-primed boards with 10–20 mm cavity behind cladding for ventilation.
- Install doors and windows. Fit roller doors to correct opening size—confirm lintel load rating if wall is supporting roof. For pedestrian doors use 820–920 mm and pre-fit frame before cladding to ensure clearance.
- Electrical and services. Have a licensed electrician install dedicated circuits (16A for lighting; 20–32A for power tools) and residual current device (RCD) protection. Expect 1–3 days of electrical work for a small shed and 2–5 days for larger studios.
- Internal fitout and shelving. Fit 18 mm plywood bench tops, shelving heights at 300 mm increments, and secure to studs with 8–10 mm coated coach screws. For heavy loads plan shelving brackets rated 100–200 kg per shelf.
- Weatherproofing and final sealing. Apply flashing to all roof-wall intersections, seal around windows and doors with silicone compatible with cladding, and paint timber with two coats of exterior acrylic for protection.
- Inspection and handover. Schedule final inspections with local building surveyor if required; compile warranty and operating manuals for installed items (doors, roller motors, electrical circuits).
Time estimates: Simple kit assemble (2–3 people) for 3×2.4 m: 1–2 days. Custom built 4×3 m timber shed with slab and services: 2–4 weeks including trades coordination.
Common mistakes and how to avoid them
I’ve seen projects delayed because owners ordered the wrong door size, then had to cut new lintels—measure the opening twice and confirm door manufacturer tolerances. Another frequent issue: underestimating foundation needs on clay soils—one client’s slab cracked when we skipped soil compaction; always compact subgrade to 95% and consider geotechnical advice for uncertain soils.
Checklist to verify your work
- Plans match on-site dimensions and door/window positions.
- Site compacted to 95% density, drainage falls away 50 mm from perimeter.
- Foundations cured: slab 7 days minimum before internal finishes; 28 days for full strength.
- Rafters and wall studs plumb within 3–5 mm over 2 m.
- Electrical circuits tested and certified by licensed electrician.
- Permit conditions signed off or inspection scheduled if required.
When to call in a professional
Call a licensed builder when your shed requires structural span greater than 4 m, includes services (plumbing or complex electrics), or if council requires registered drawings. Also engage a professional if you lack experience with concrete slabs, steel bolting or local heritage overlay requirements.
Transition: Building is only part of the journey—working with builders correctly ensures predictable outcomes. The next section explains what to expect when hiring custom shed builders in Melbourne.
Working with Custom Shed Builders in Melbourne: What to Expect
Hiring a professional can simplify approvals, site works and finishing. Expect formal quotes, a scope of works, a lead time and a written warranty. Use the checklists and tips below to vet contractors and negotiate contracts.
How to select and manage a builder:
- Get at least three written quotes that break down materials, labour, subcontractor costs and provisional sums. Look for line-item clarity.
- Ask for references and visit recent projects where possible. Request photos and direct client contacts.
- Confirm licencing and insurance: builder registration, public liability (min. $5M) and domestic building insurance for works >$20,000.
- Agree payment schedule: common is 10–20% deposit, staged payments on milestones (foundations, frame up, lock-up, practical completion).
- Set a clear change-order process with quoted rates for variations to avoid disputes.
Contractor standards and resources: consult the Master Builders Association of Victoria for recommended practices and dispute guidance (MBAV, 2024). For alternative installers outside Victoria compare affordable shed installers in Brisbane if considering interstate options.
Typical project timeline for Melbourne builders:
- Quote to contract: 1–2 weeks
- Permits and drawings: 1–6 weeks depending on council
- On-site build: 1–6 weeks depending on size and services
Transition: After build completion, regular maintenance and thoughtfully chosen upgrades will protect your investment—see the final practical tips below.
Maintenance, Upgrades, and Customisation Tips for Long-Term Use
Regular maintenance extends life and performance. Use this section to plan routine checks and cost-effective upgrades that improve storage efficiency and weather resistance.
- Shed maintenance: Inspect roof flashings and fasteners annually, re-seal joinery every 5–8 years, and treat timber cladding with preservative every 3–5 years in Melbourne’s climate.
- Security upgrades: Fit cylinder deadlocks to pedestrian doors, add internal steel crossbars to roller doors, and install motion-sensor LED security lights on 180° sensors for low energy use.
- Storage optimisation: Use vertical racking at 300 mm shelf depths, label everything, and install a pegboard above benches for frequently used tools. For heavy items use floor anchors and rated shelving (100–200 kg per shelf).
- Add-ons: Skylights or translucent roof sheeting increase daylight; consider 600×600 mm roof panels spaced for cross-ventilation. Add a small heater (1–1.5 kW) for winter hobby use—ensure electrician provides a dedicated circuit.
- Extensions: If expanding, match foundations and roofline detailing to existing structure; see shed extension ideas and prices for options and costs.
If you’re considering a major repurpose such as a shed to house conversion, review structural, insulation and services upgrades in detail—see shed to house conversion ideas.
Transition: Below is a concise wrap-up to help you decide which route is best for your needs and budget.
Conclusion: Making the Right Choice for Your Storage Needs
Choosing between a kit and a custom build depends on budget, site constraints and how much you value design flexibility. Kits save time and money for straightforward storage, while custom-built solutions deliver durability, tailored workflows and higher long-term value—especially in Melbourne where site idiosyncrasies and council rules often favour bespoke design. If you want a detailed local estimate, download plans or get professional quotations to compare real costs and timelines.
Call to action: Ready to plan? Start by sketching your floor plan, get a local council clearance, and request three itemised quotes—then compare true cost-per-square-metre, not just headline prices.