

By the end of this hands-on guide you’ll be ready to plan, lay out and begin building a functional backyard workshop building tailored for Melbourne conditions; expect 2–8 weekends of focused work depending on scope, and the guide assumes an intermediate DIY skill level (basic concreting, framing, and electrical familiarity).
Before you start
- Site permission: preliminary council search and neighbour notification as required.
- Tools: circular saw, spirit level, laser level (or long level), drill driver, SDS hammer, concrete tools, multimeter.
- Materials: measured timber or kit parts, concrete mix, rebar or mesh, damp-proof course, roofing sheets, insulation batts, sacrificial exterior paint/primer.
- Safety gear: eye protection, hearing protection, gloves, dust masks, earthing tester for electrical work.
- Skills checklist: basic timber framing, knowledge of RCDs and circuit breakers, ability to follow local permit requirements or access to trades for certifiable stages.
Read on for step-by-step planning, design layouts, materials comparisons, electrical walkthroughs and shop-tested storage, ventilation and security tips specific to Melbourne’s suburban climate and council expectations.
Planning Your Backyard Workshop
A successful workshop starts with deliberate planning: selecting the best site, checking permits, measuring usable space and choosing the right foundation. This section walks you through site selection, council compliance in Melbourne, foundation choices and realistic timeframes.
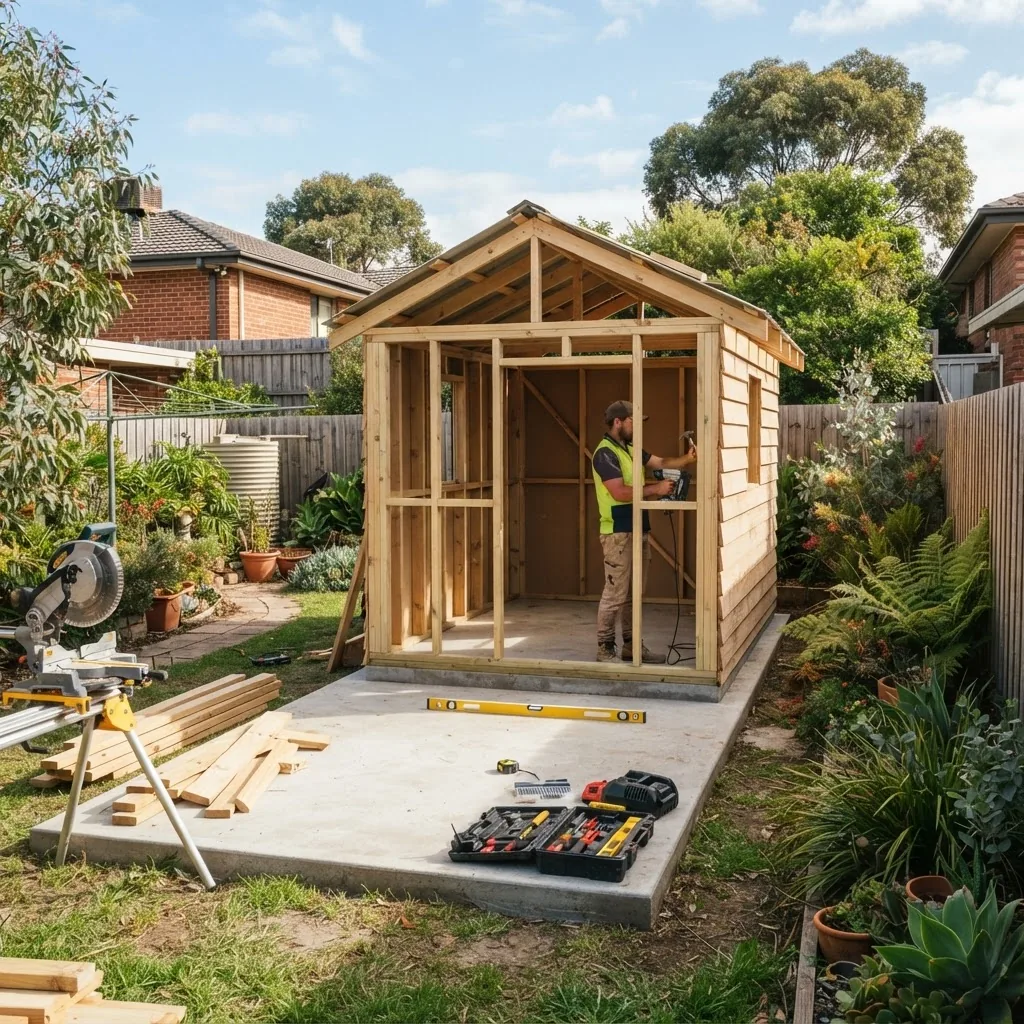
-
Choose your site and measure carefully.
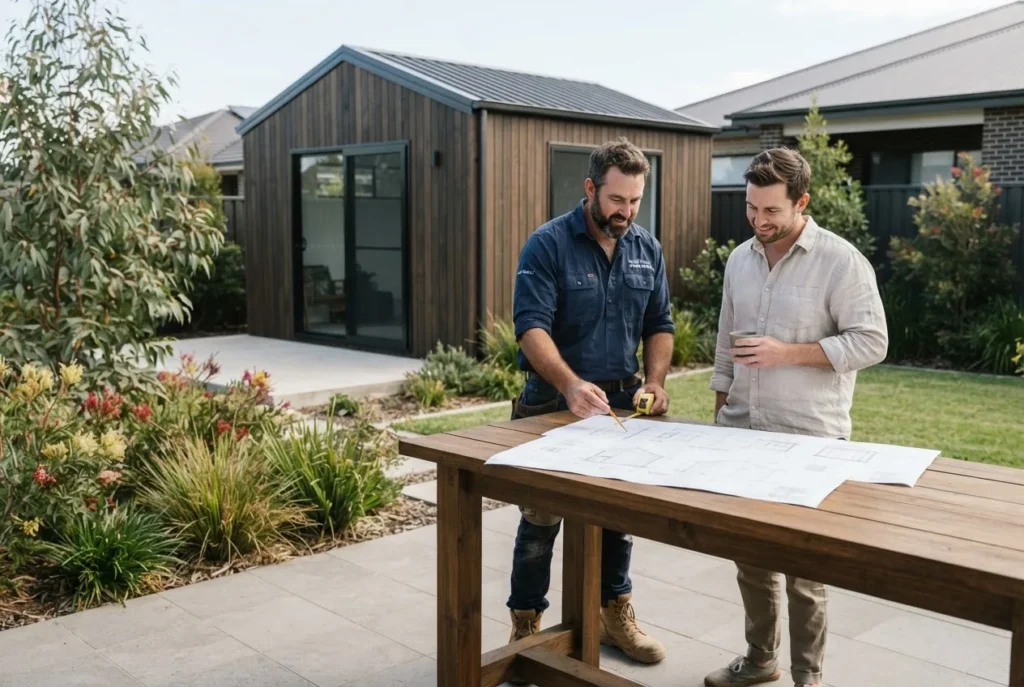
Measure available length, width and height clearance: leave at least 600mm clearance on the long sides for gutter overhang and maintenance, and 900–1200mm for a comfortable work aisle. For a compact workshop, plan footprints such as 3.0×2.4m (single bench) or 4.2×3.0m (two-zone layout).
-
Check local council rules and permit triggers.
Melbourne councils vary: some exempt small garden sheds, others require a planning permit if your backyard workshop will be used for business or has plumbing/electrical upgrades. For building code references, consult the Australian Building Codes Board.
Custom Sheds Design and Build Cost Guide for Storage
External reference: Australian Building Codes Board — consult the National Construction Code and relevant state variations before committing.
-
Decide permitted use and classification.
Is the space for hobby woodworking, a home-based trade or vehicle servicing? According to WorkSafe Victoria standards, higher-risk activities (powder coating, major metalwork) may change the classification and require additional compliance and ventilation.
-
Assess site conditions and drainage.
Pick a level low-slope site, or plan for a leveled compacted base with 100mm compacted crushed rock under your slab. Expect to allow 50–75mm fall away from the building for surface water. If soil is clay-rich, add 100–150mm rock subbase and a ring footing where necessary.
-
Choose a foundation type now (slab, pier, or timber floor).
Use a reinforced concrete slab for heavy machines, timber piers for lightweight timber workshops, or a raised timber floor over piers for damp sites. For Melbourne frost and drainage conditions, a 100–150mm slab with SL62 mesh on 50mm compacted sand is standard for small workshops.
-
Create a simple project schedule.
Example timeline: planning & permits 2–4 weeks, slab or piers 2–4 days curing included, framing & cladding 3–7 days, roofing & insulation 2–4 days, wiring & finishing 2–6 days (permit-dependent for electrical). If you plan to hire trades, allow additional lead time for bookings.
-
Budget non-cost design choices (space, utilities, long-term upgrades).
Think long-term: leave stub conduits for future wiring, extra conduit for data, and an allowance for heavier load circuits if you plan to add a dust extractor or air compressor later.
For practical construction plans adaptable to backyard workshops, see the garden shed guide with plans and costs which includes plan templates useful at the permit application stage.
Disclaimer: Council rules in Melbourne vary by municipality. Always verify requirements with your local council and include a contingency for unexpected permit conditions.
Designing Your Shed Workshop: Ideas and Layouts
Good design separates tool zones, optimises light and ventilation, and ensures ergonomic workflow. Below are practical layout patterns, detailed tool-zone recommendations and daylight/lighting design tailored for Melbourne homes.
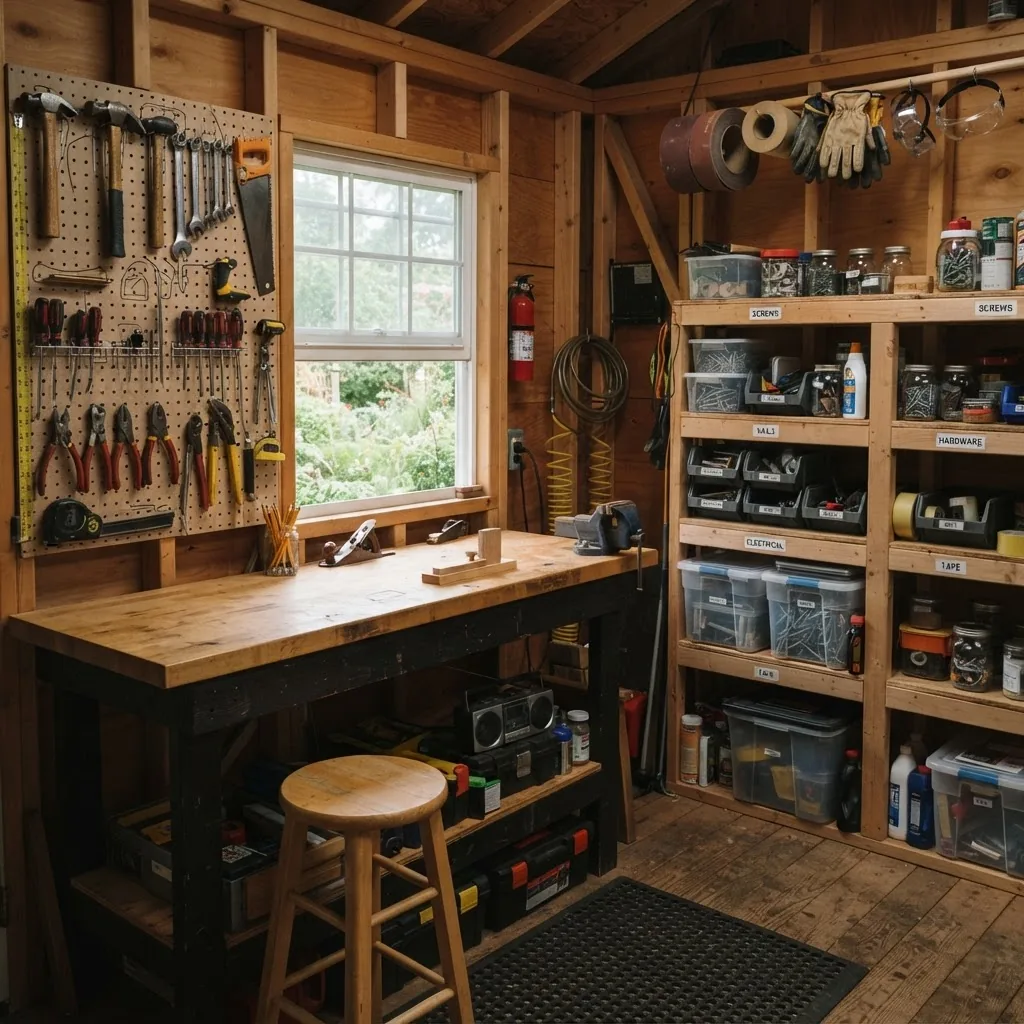
-
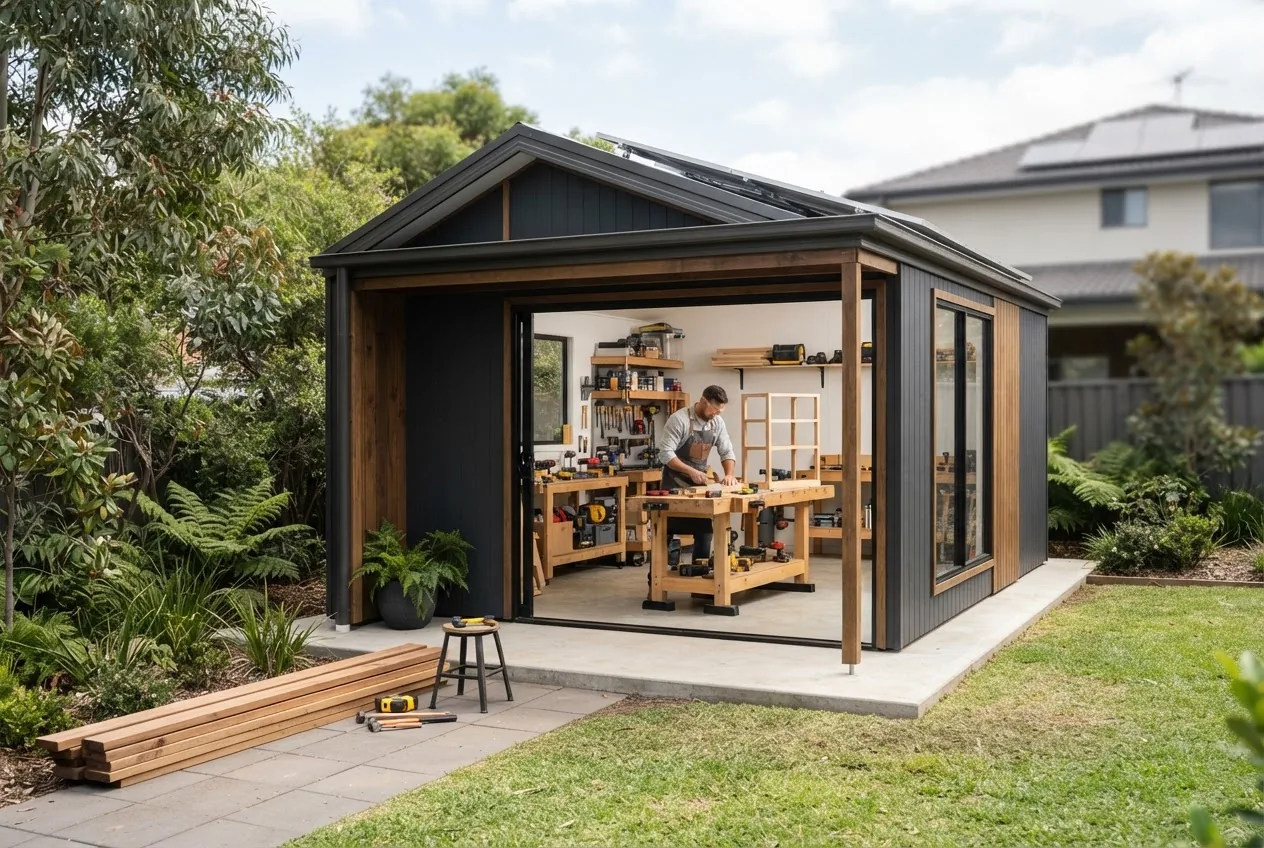
Plan functional zones first: entry, prep, main bench, power tool zone, storage and finishing.
Keep noisy power tools near external walls if you want to vent dust collectors or run dedicated circuits. Leave a 900–1200mm clear aisle in front of benches and tool fronts for safe operation and access.
-
Prioritise natural light plus layered artificial lighting.
Melbourne gets bright winter light and hot summers — place windows north or east for consistent working light and add diffused roof glazing if permitted. Include layered LED task lighting (4000K neutral white, 500–1000 lux at bench) and shadow-minimising overhead LEDs to avoid eye strain.
-
Design for ventilation and thermal comfort.
Cross-ventilation (two openings on opposite walls) works well for small workshops. Add a small exhaust fan near the power tool zone to capture dust and fumes, and insulate walls with R2.0–R2.5 batts where you want year-round temperature control.
-
Make tool placement ergonomic.
Place frequently used hand tools within 600mm of the main bench and heavy stationary tools on the side with at least 800–1200mm approach clearance. Put fasteners/bits in labelled bins within arm’s reach. Work heights: 900–950mm for bench-based heavy work, 850–900mm for precision tasks.
-
Plan modular storage and future adaptability.
Use removable shelving, mobile tool stands and standardised pegboard panels to change layouts. Design one wall as a ‘soft wall’ (pegboard + modular racks) so you can swap tools as projects change.
Practical layout ideas (numbered for quick reference):
- Single bench compact workshop (3.0×2.4m): bench on long wall, pegboard above, small cabinet under bench, multipurpose folding table opposite for assembly.
- Two-zone layout (4.2×3.0m): stationary tools along one wall, main bench down the middle, finishing/painting corner with extraction near a window.
- Lofted storage option: add an internal mezzanine (clearance permitting) for off-season storage — keep headroom at least 1.9m on the mezzanine and maintain safety railings.
- Drive-through format: double doors on opposite ends allow long-material movement for joinery or metalwork projects.
- Studio + workshop hybrid: allocate one-third of the footprint to a tidy studio with dust-free storage and the rest to heavy work separated by a curtain or partition.
If you’re expanding an existing shed, review shed extension ideas and kit prices for structural tie-in methods and common extension details.
For custom garden-shape ideas and adaptable plans that fit workshops, consult the garden shed design and custom build guide to adapt layouts to your plot.
Choosing Materials and Building Methods for Backyard Workshops
Material choice affects durability, weatherproofing and feel. Below is a concise comparison of timber framing, steel sheds and concrete slab foundations, followed by practical build notes for Melbourne’s climate.
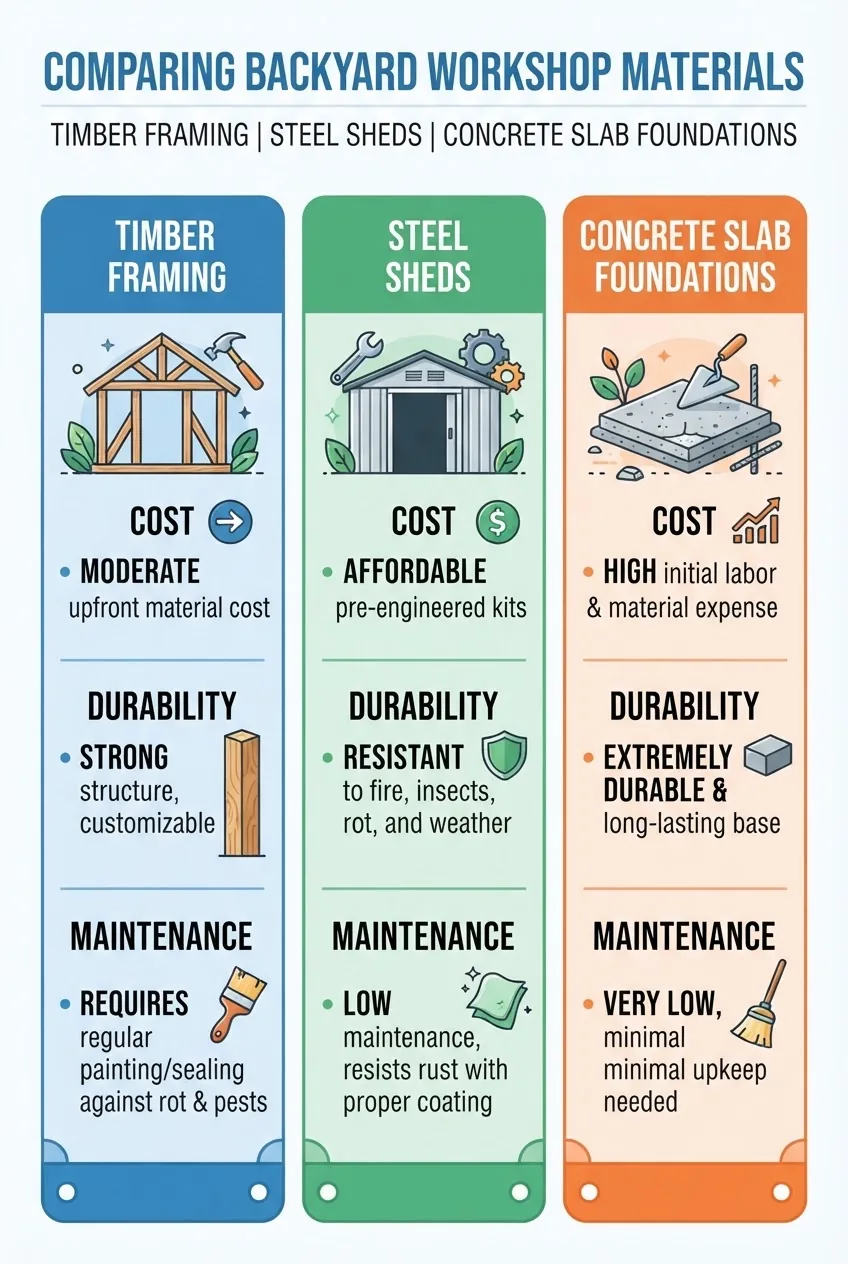
| Material / Method | Pros | Cons |
|---|---|---|
| Timber framing | Warm finish; easy to customise and modify on-site. | Requires maintenance: painting/staining every 3–5 years in Melbourne’s variable climate. |
| Steel prefabricated sheds | Low maintenance; quick to erect; good for longer clear-spans. | Can be noisy in rain; poorer thermal performance without insulation. |
| Concrete slab foundation | Stable base for heavy equipment; durable and low maintenance. | Higher upfront cost; requires correct subgrade and drainage to prevent cracking. |
-
Timber framing: choose treated pine or hardwood frames.
Use H3 treated pine for structural members in contact with concrete or damp areas and apply a quality primer and two coats of exterior paint. Add a 50–75mm gap between timber and concrete slab with a treated timber plate or DPC (damp-proof course).
-
Steel sheds: pick a galvanised gauge fit for your needs.
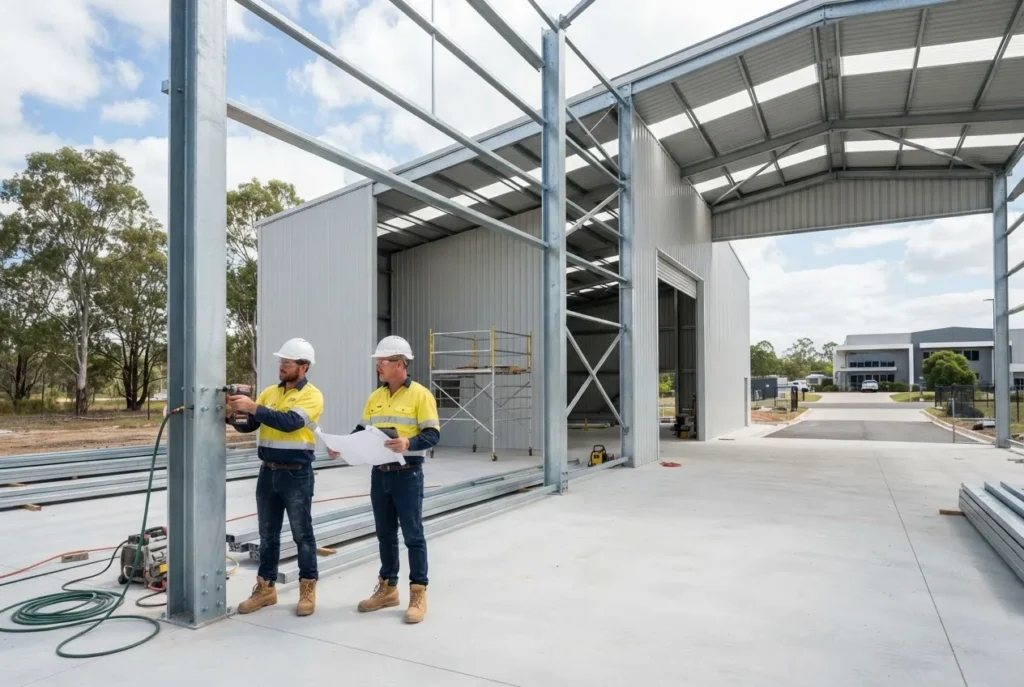
For backyard workshops a 0.42–0.48mm BMT (base metal thickness) cladding is common. Use thermal breaks and insulation to maintain internal temperatures. For alternative styles, see Australian barn shed kits pricing for barn-style options and mounting details.
-
Concrete slabs: design with reinforcement and edge details.
Recommended small-workshop slab: 100–150mm thick with SL62 or SL92 mesh, 20–40mm cover, and control joints every 3–4m. For areas with clay soils or significant tree root systems, consult a geotechnical advice where slab thickness and footings may change.
-
Weatherproofing and cladding choices.
Use Colorbond cladding for low maintenance in Melbourne; timber weatherboards for a warmer aesthetic but plan maintenance cycles. Flashing and a continuous 50–75mm clearance to adjacent soil reduce rot risk.
-
Durability choices based on expected use.
If you expect heavy-duty metalwork, favour steel framing with a concrete slab and dedicated earthing strips. For fine furniture making, timber framing with insulated walls provides better acoustic and thermal comfort.
If you’re considering a compact size for a backyard hobby workshop, the 6×6 shed cost guide has useful sizing notes and common material lists you can adapt.
Electrical Setup and Lighting for a Functional Workshop
Safe, well-planned electrical distribution and lighting makes a workshop productive and compliant. This how-to focuses on circuit planning, wiring hierarchy, illumination targets and essential safety checks for Melbourne installations.
-
Map loads and decide circuit sizes.
Start by listing all powered items with power draw: bench lights (20–40W each), table saw (1.5–3.0 kW), compressor (1.5–2.2 kW), dust extractor (1.0–2.2 kW). For typical hobby workshops, provide a dedicated 32A circuit for large tools and multiple 10–16A circuits for general outlets. Allow 25–30% spare capacity for future equipment.
-
Plan RCD protection and earth leakage devices.
Install a dedicated switchboard with 30mA RCD protection for all workshop circuits and separate RCBOs (residual current circuit breakers with overload) for high-power circuits. For electrical compliance in Victoria, consult Energy Safe Victoria.
External reference: Energy Safe Victoria
-
Run conduit and plan outlet placement.
Install 25–32mm PVC conduit from the main switchboard to the workshop location. Place GPOs (general purpose outlets) every 1.5–2.0m along benches and dedicated outlet near heavy tools with at least 800mm clearance and labelled breaker maps. Keep outlets at least 150mm above bench surface to avoid dust and spills.
-
Design layered LED lighting.
Use overhead LED panels for general light (aim for 300–500 lux across the space) and 4000K task LEDs delivering 800–1000 lux at the bench. Position fixture runs parallel to the bench to reduce shadowing; place task lights within 300–400mm of the work surface where possible.
-
Install an emergency switch and isolation point.
Include a clearly marked emergency stop switch near the main entrance to isolate power to all machinery quickly. Label circuits and add a durable circuit legend at the switchboard.
-
Final checks and certification.
Have final electrical connections and testing done or certified by a licensed electrician. According to Energy Safe Victoria guidelines, testing includes RCD operation tests, polarity tests and earth continuity tests with records held for council or any future resale.
Electrical safety checklist
- RCDs fitted to all circuits (30mA trip for personnel protection).
- Dedicated 32A circuit for heavy tools; double-check continuous load ratings.
- All wiring installed in conduit or protected trunking; sockets raised from bench lip.
- Switchboard labelled with circuit descriptions and test tag records stored safely.
- Licensed electrician sign-off where required by local regulations.
Storage Solutions: Organizing Tools and Equipment Efficiently
Smart storage reduces time hunting for tools and increases safety. The following numbered solutions combine vertical and modular storage strategies suited to small backyard sheds.
-
Install a full-length pegboard wall.
Use 9mm hardboard or perforated metal pegging; mount at 20–25mm standoffs for hooks and small bins. Group tools by function: measuring tools together, cutting tools together, fasteners in labelled jars.
-
Use deep shelving with labelled plastic bins.
300–400mm deep shelves with 150–200mm high bins work well. Label with a consistent system — e.g., “fasteners—bolts 6–10mm” — to speed retrieval.
-
Mobile tool chests for modular workflows.
Set drawers with 50–100mm heights for hand tools and one deep drawer (200–300mm) for power tool attachments. Lockable castors let you reconfigure the space quickly.
-
Overhead storage for long timbers and extrusions.
Install overhead timber racks rated to at least 50kg/m. Keep long materials on one side with labels for lengths and species to avoid excess trimming.
-
Dedicated dust-extraction hose parking and compressor cabinet.
Build a ventilated cabinet for compressors and place extraction hoses on wall reels with quick-connects to tool ports. This reduces trip hazards and keeps noise insulated.
-
Create a consumables station near the entrance.
Small drawers for sandpaper grits, glue, tape and fasteners positioned near the bench make run-to-runs efficient.
Combine vertical storage, clear labelling and mobile solutions to maximise the usable floor area in compact backyard workshops.
Security, Weatherproofing, and Maintenance Tips
Protecting tools and the structure preserves value and keeps the workshop ready for work. Below are practical security measures, weatherproofing tactics for Melbourne’s weather extremes and scheduled maintenance tasks.
-
Implement layered security.
Use heavy-duty deadbolts on doors, shim plates on hinge screws, and fit an alarm sensor. For extra deterrence, fit window locks and internal lockable cabinets for high-value items.
-
Weatherproof doors and penetrations.
Seal door thresholds with compressible neoprene seals, use frame flashing around openings and maintain 100mm clearance to soil. Paint external timber every 3–5 years; touch up metalwork with anti-rust primer as needed.
-
Rust prevention for metal components.
Use galvanised fixings, apply zinc-rich primer to cut edges, and run a yearly wash-and-inspect routine after winter/salt exposure. Replace corroded screws within 12 months to avoid structural impairment.
-
Scheduled inspections and maintenance.
Quarterly: check door seals, gutters and downpipes. Biannually: inspect roof fixings and flashings. Every 3–5 years: repaint or reseal external cladding where finish has failed.
-
Insurance and inventory records.
Maintain a photographed inventory of high-value tools, store purchase receipts and consider endorsements to homeowner policies for workshop contents used for small-scale trade. This assists theft claims and provides proof of ownership.
For workplace safety practices that apply to higher-risk hobby trades, refer to WorkSafe Victoria for guidance on safe work systems and ventilation standards.
DIY vs Hiring Professionals: What to Consider
Deciding between DIY and hiring trades depends on skill, time, compliance and the project’s scale. Below are practitioner-focused pros and cons to guide your decision.
-
Pros of DIY.
Control of schedule, customisation to your workflow and potential savings on labour. If you enjoy practical problem solving and have basic concreting and framing skills, DIY can be rewarding.
-
Cons of DIY.
Time investment (expect 50–200+ hours depending on size), possible mistakes that cost more to fix, and complex tasks (electrical, gas, structural connections) that legally require certified trades.
-
Pros of hiring professionals.
Compliance assurance, warranty on workmanship, faster completion and access to trade-grade tools. For complex slabs, electrical installations or council-certified works, hiring saves risk and time.
-
Cons of hiring professionals.
Higher upfront cost and lead times for bookings; less direct control over minor layout tweaks unless specified in contract.
-
Useful external resources for choosing installers.
Affordable shed installers in Brisbane — helpful checklist of installer services even if based in a different state.
shed assembly help and installation costs — consider this when weighing hire vs DIY.
commercial shed construction requirements — read this if your workshop may scale to a commercial classification.
Inspiration Gallery: Shed Workshop Ideas for Melbourne Homeowners
Here are practical style ideas, compact designs and Melbourne-friendly customisations drawn from local builds and trends.
-
Rustic timber workshop with a modern core.
Exposed timber cladding, a warm timber bench, and a concealed steel frame for inner structure, paired with Colorbond roofing for longevity — a blend of aesthetics and durability.
-
Compact craftsman’s studio.
3.6×2.4m layout with a north-facing window, wall-mounted tool zones and a fold-down outfeed table that extends working length when needed.
-
Lofted micro-studio for mixed use.
Small footprint with a built-in mezzanine for storage or a small office, ideal for Melbourne homeowners wanting a tidy, multi-use backyard room.
-
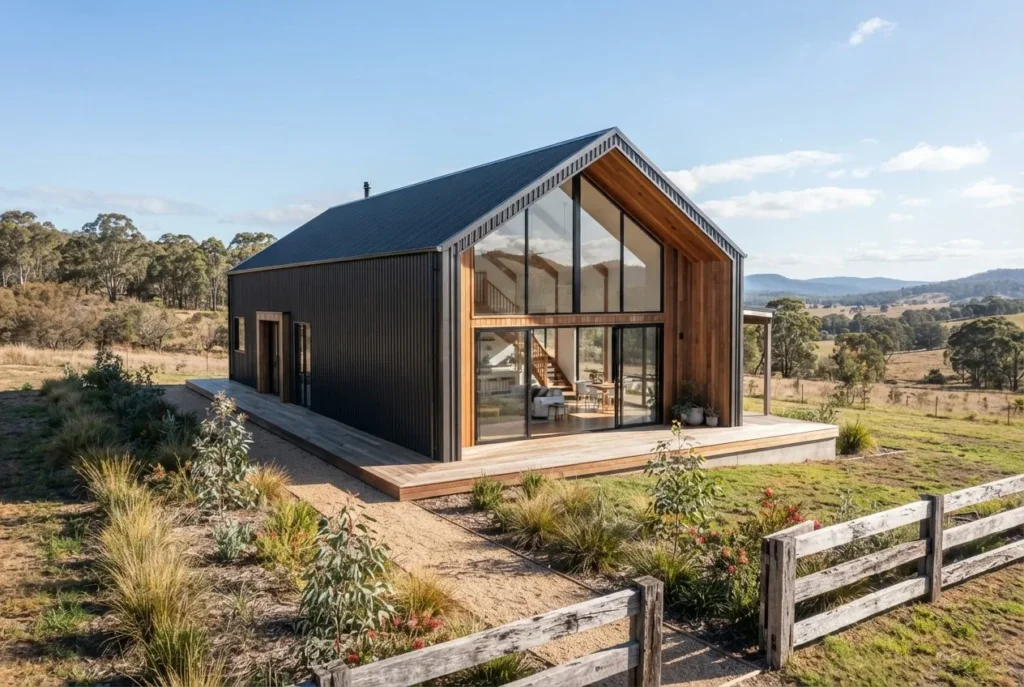
Barn-inspired workshop for a rural vibe.
High gable roof, exposed purlins and timber sliding doors; for more on barn conversions and pricing see the barn house design and price guide.
-
Low-profile modern steel shed with insulated interior.
Sleek Colorbond exterior, fully insulated walls and acoustic panels to reduce noise to neighbouring properties — good for inner-suburban builds.
Common mistakes and how to avoid them
From decades of small shed builds in Melbourne I’ve seen recurring issues. Below I write in first person about these mistakes and the ways I’ve fixed them.
- I underestimated drainage: I once laid a slab without a 50mm fall and had water pooling at the door. Fix: always grade site and include drainage channels and downpipe connections.
- I skimped on conduit runs: Adding a second circuit later meant chasing walls. Fix: run at least one spare 25mm conduit to the main switchboard location for future use.
- I ignored ventilation needs for finishing: I sealed a small workshop then tried spray finishing and had poor results. Fix: plan an exhaust fan rated to at least 300–500 m3/h for painting/finishing zones.
- I chose undersized structural members: A long-span shelf sagged under heavy tools. Fix: use appropriate span tables or consult a structural designer for shelves over 1.2m with heavy loading.
Checklist: Verify before you call it done
- Concrete slab cured 7 days (light work) / 28 days (full strength) with control joints in place.
- RCD-protected switchboard installed and labelled; test log stored.
- Minimum 900mm clear aisle in main work zones and 600mm tool reach clearance.
- Doors and windows sealed; flashing and guttering installed and tested in a water run test.
- Tools stored and inventoried, high-value items locked and insured.
- All permit and certification paperwork (if applicable) stored or ready for handover.
When to call in a professional
Call a licensed professional for electrical final connections, structural work affecting footings or retaining walls, and for compliance items where council or certifiers require licensed trades. If your project scales toward a commercial classification, consult the commercial shed construction requirements for triggers that mandate full professional delivery.
Conclusion and Next Steps for Your Backyard Workshop Project
You now have a clear planning sequence, design options, material comparisons and safety-first electrical steps to start building a functional backyard workshop suited to Melbourne. Next: finalise site selection, order materials and, if needed, book a local certifier for any required inspections.
Ready to dive deeper into custom options and how they affect build choices? Custom Sheds Design and Build Cost Guide for Storage is a recommended next read. If you want project support, contact local builders or certified electricians for quotes and certification.