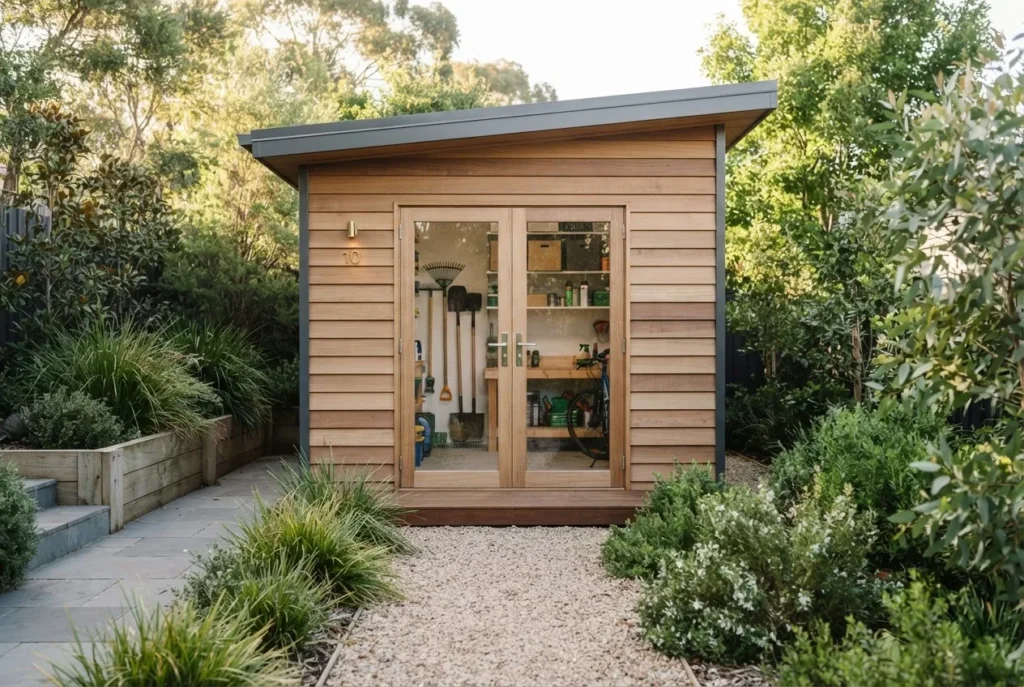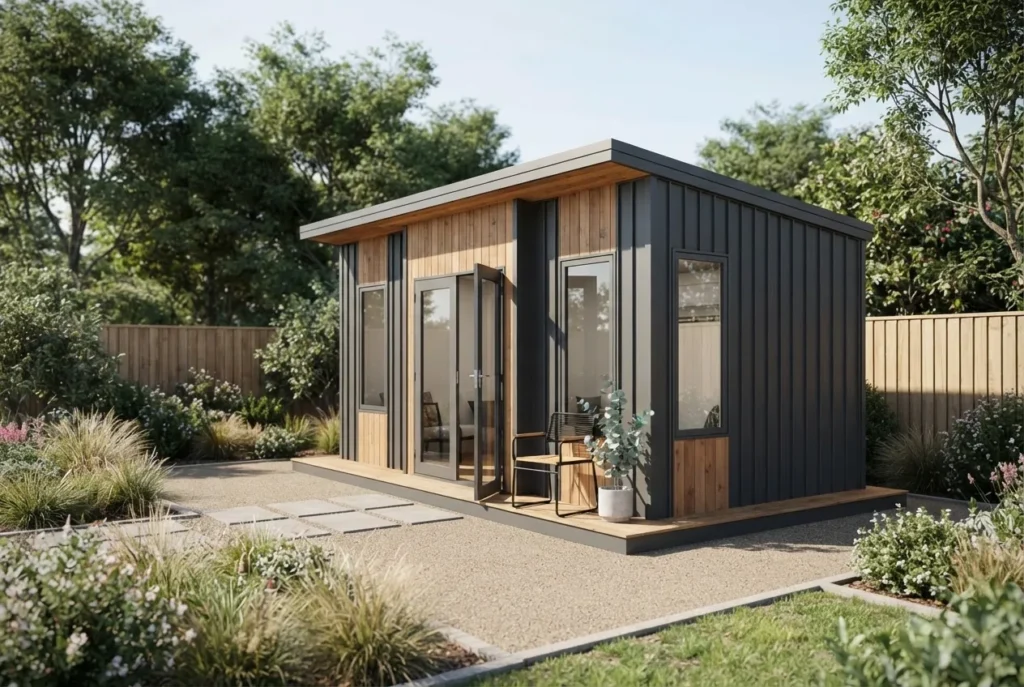


Colorbond capping is the metal trim fitted to roof edges, ridges and eaves to seal, weatherproof and finish a roof; it’s used on Colorbond sheds and roofs to match colour and prevent water ingress. This guide explains materials, installation, Melbourne pricing and step-by-step DIY guidance for durable, weatherproof results.
What is Colorbond Capping?
Answer: Colorbond capping is pre-painted steel trim made to match Colorbond roofing, designed to cover and seal exposed roof edges, ridges and joins, providing weatherproofing, a finished look and corrosion protection.
Term: Colorbond capping — pre-painted, roll-formed steel trim manufactured by Bluescope to fit roof edges and flashings and intended to match Colorbond roof sheeting.
Colorbond capping functions as roof edge protection and flashing. It covers exposed sheet ends, forms ridge and verge cappings, and integrates with gutters and fascias to shed water away from the building envelope. As a roofing accessory and roof trim, its roles are structural (protect edges), waterproofing (prevent leaks), and aesthetic (colour match).
When discussing compatibility, note the difference between capping (edge trims and ridge caps) and flashing (sheet pieces that turn water away from joins). Term: flashing — thin material used to direct water at junctions and penetrations in roofs and walls.
Transitioning from definition to options: the next section compares the common materials used for roof capping and their trade-offs.
Types of Roof Capping Materials?
Answer: Roof capping materials commonly include Colorbond steel, Zincalume (galvanised aluminium–zinc steel), aluminium, and PVC; each offers different cost, durability and installation characteristics.
Below is a comparison of the major roofing trim materials, summarising pros and cons so you can pick the right capping for a shed or small roof in Melbourne’s climate.
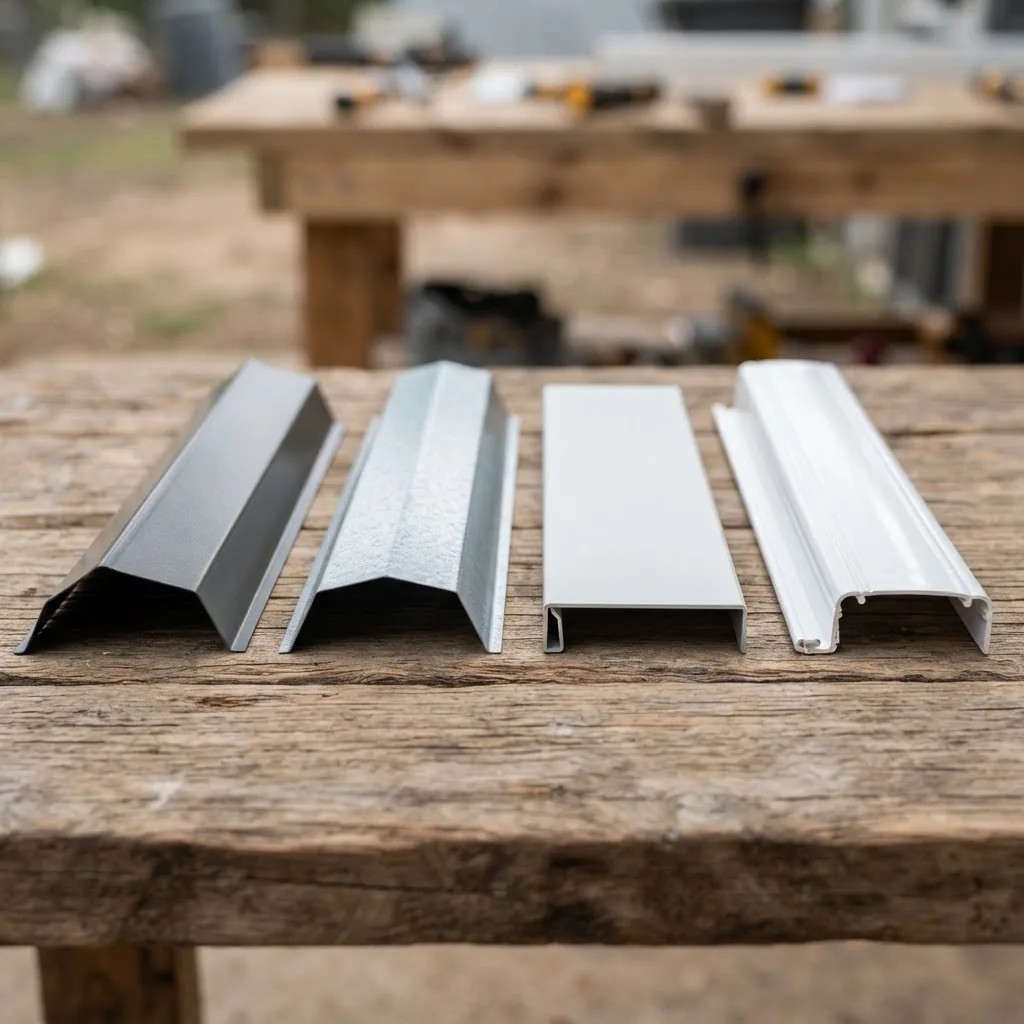
| Material | Pros | Cons | Best use |
|---|---|---|---|
| Colorbond steel | Pre-painted finish, wide colour range, engineered corrosion resistance, matches Colorbond roofs and sheds | Higher material cost than plain zinc coatings; requires correct fixing to prevent paint damage | Sheds, domestic roofs where colour matching matters |
| Zincalume | Excellent corrosion resistance, cost-effective, good for industrial roofs | Limited colour options (natural metallic finish), can be less visually cohesive with coloured facades | Industrial sheds, where colour match is not essential |
| Aluminium | Lightweight, non‑magnetic, good corrosion resistance in coastal zones | Higher cost per metre; differing thermal expansion to steel can complicate fixings | Coastal sheds or where weight is a concern |
| PVC / uPVC | Affordable, quick to install, non‑conductive, flexible for odd profiles | Lower UV resistance over long term, visible plastic look, limited structural strength | Temporary capping, budget sheds, non-structural trims |
| Stainless steel | Top corrosion resistance, long life, minimal maintenance | Very high cost; rarely used for full-length capping on domestic sheds | Specialist coastal or industrial applications |
Material selection must consider shed roof profile compatibility (see Profile compatibility in later sections), expected lifetime and local exposure — for most Melbourne backyard sheds, Colorbond steel capping balances appearance and corrosion resistance.
Transition: knowing types helps explain why many owners choose Colorbond; next, the benefits are summarised.
Benefits of Using Colorbond Capping for Roofs?
Answer: Colorbond capping provides a matched appearance, engineered corrosion resistance, long service life and low maintenance when correctly specified and installed, making it ideal for Melbourne sheds and small buildings.
According to the 2024 Bluescope Steel product guide, Colorbond offers layered coatings that improve corrosion resistance compared with bare steel. Bluescope Steel product guide (Colorbond)
- Weather resistance: Multi-layer metallic and paint coatings protect the steel substrate from rain and urban pollutants.
- Durability and corrosion resistance: Designed for domestic use in Australian climates; will outperform uncoated sheet edges when correctly sealed and fixed.
- Colour options and finish: Wide palette enables seamless matching to the roof and walls for a professional finish; see Colorbond Bushland colour options for specialised hues.
- Low maintenance: Periodic cleaning and inspection typically suffices; repainting is rarely needed within manufacturer warranty periods if fixings are installed correctly.
- Compatibility: Designed to integrate with common Colorbond roof profiles and shed systems for easier installation and better sealing.
- Warranty and support: Manufacturer warranties and product data sheets from Bluescope provide expected life and coating performance figures — useful when assessing long-term value.
For cross-reference on other Colorbond material uses, see Colorbond fencing materials.
Transition: after benefits, the key decision points for selecting the right capping are next.
How do I Choose the Right Colorbond Roof Capping?
Answer: Choose Colorbond roof capping by matching the roof profile, selecting a compatible Colour and coating, confirming dimensional fits and fastener compatibility, and balancing budget against expected exposure and warranty needs.
Term: roof profile compatibility — the need for capping shapes and bends to match corrugated, trimdek, or tray profiles so they seal correctly.
- Identify your roof profile: Measure the ridge, verge and eaves geometry; profile types (corrugated, long-span tray, or trimdek) each require different capping shapes. If unsure, refer to your shed manufacturer’s profile guide.
- Match material to exposure: For Melbourne inner suburbs, Colorbond steel usually suffices; for coastal suburbs choose aluminium or specified Colorbond variants with enhanced corrosion protection.
- Colour matching: Select a Colorbond shade that complements your shed walls; if you need help choosing shade blends, consult the pillar on Colorbond shed colour options and refer to manufacturer swatches before ordering.
- Confirm flashing and sealing strategy: Ensure capping design allows for compatible flashings and sealants; thicker flashings may be needed for higher wind zones or complex junctions.
- Check fasteners and thermal movement: Use recommended screws and EPDM washers; account for differential expansion between capping and roof sheeting to avoid paint failure.
- Budget and lifecycle cost: Evaluate upfront material cost vs expected lifetime and warranty. For cheaper panels see cheap roofing sheet options alongside capping costs.
- Supplier and lead time: Source capping from local Melbourne suppliers for fast lead times and accurate colour runs; check batch numbers to avoid mismatched paint lots.
- When to hire trades: If ridge runs exceed 6 metres, the building is multi-pitched, or you’re not comfortable working at height, hire an experienced roofer to avoid leaks.
- Consider finishes and touch-ups: If the capping will see frequent abrasion during installation, plan for touch-up paint per the Bluescope recommendations; consult Blue Ridge paint options for compatible touching-up systems.
- Regulatory checks: Verify local building regulations for flashing and capping in your area — refer to the Australian Building Codes Board (ABCB) for guidance.
Transition: with selection complete, follow the step-by-step installation guide below for correct fitting and weatherproofing.
How do I Install Colorbond Capping?
Answer: Install Colorbond capping by measuring and cutting to profile, preparing the substrate, fixing with specified screws and washers, installing compatible flashing and sealant, and checking for continuous weathertight seals at ridges and verges.
Term: fixing methods — the specified screw, rivet or clip systems and sealed washers used to attach capping without compromising coatings or creating leak paths.
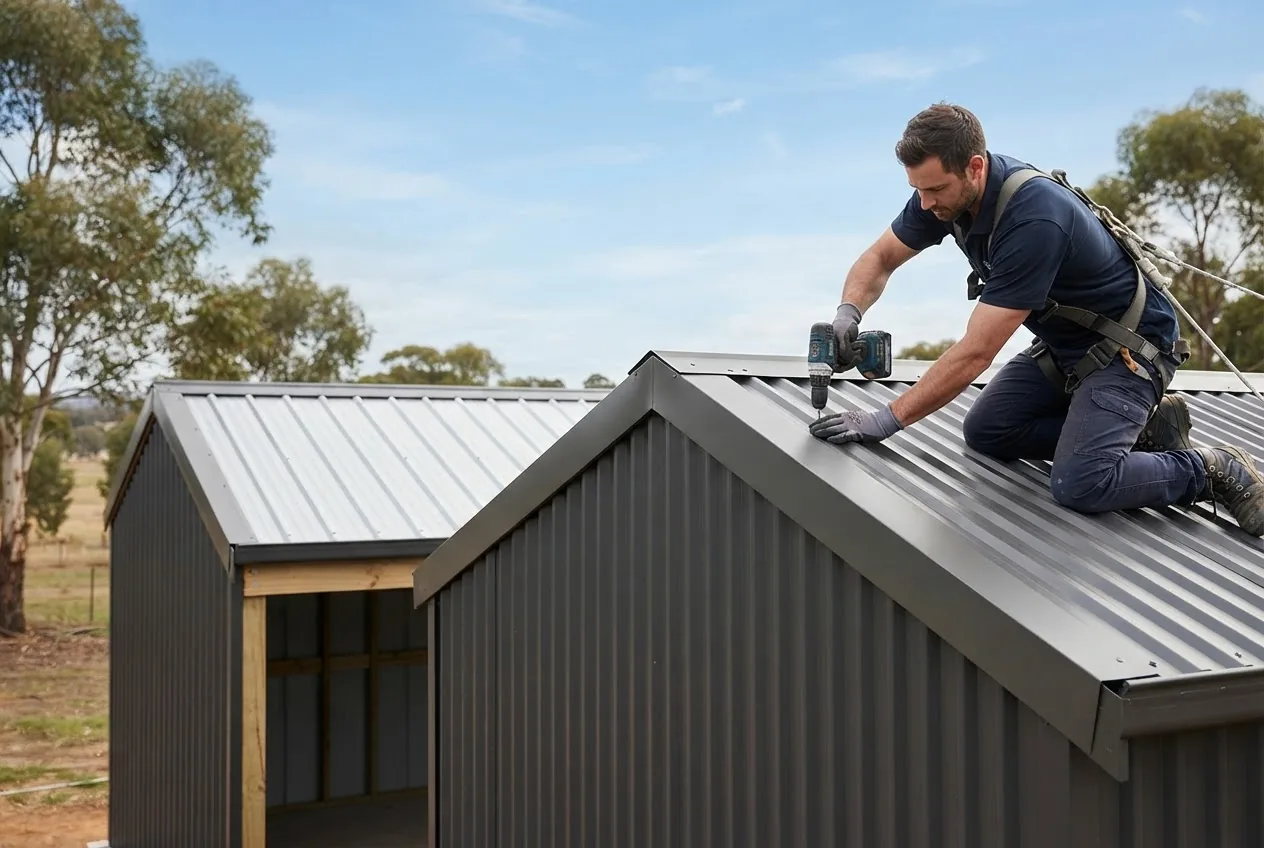
Below is a detailed, step-by-step DIY installation method used by Melbourne roofers, with tools and tips drawn from trade practice and a local case study.
Tools and materials required
- Colorbond capping lengths, pre-cut where possible
- Compatible ridge and verge flashings
- Stainless or zinc-coated screws with EPDM washers (screw length per substrate)
- Silicone-free butyl or MS-polymer sealant suitable for metal roofs
- Power drill with clutch, metal cutting shears or nibblers, pop rivet kit (if needed)
- Measuring tape, chalk line, tin snips, file, and personal protective equipment (PPE)
- Roof edge padding and fall-arrest gear for safety
Step-by-step installation (detailed)
- Preparation and safety: Set up scaffolding or edge protection. Confirm local fall-arrest requirements and PPE. According to a 2023 industry safety bulletin, properly installed edge protection reduces fall incidents during roof work (source: industry safety bulletin).
- Measure and plan: Measure ridge and verge lengths, mark mitre points and overlaps. Order capping in full-length where possible to reduce seams.
- Cutting and shaping: Cut capping with nibblers or tin snips; deburr edges with a file. Avoid grinding paint off the visible face. Keep cuts straight to maintain uniform overlaps.
- Dry-fit components: Position capping and flashings to check profile compatibility. Confirm a minimum 20mm overlap at laps (vendor guidance may vary).
- Install ridge batten or fixing supports: Ensure substrate is sound for screws; add timber battens where necessary for secure fixing and compression of washers.
- Apply sealant where required: Lay a continuous bead of butyl/mastic at turning faces or as specified by the product data sheet to prevent capillary leaks — see roof flashing and paint options for sealant compatibility and flashing methods.
- Fix the capping: Fasten capping using screws through the upper turn or specified flange; place screws through pre-drilled holes where possible using a drill clutch to avoid over-torquing. Standard screw spacing is 200–300mm depending on wind rating and manufacturer instructions.
- Detailing at corners and ends: Form mitres at verges and use cover plates or end-caps to prevent bird entry and water infiltration.
- Check overlaps and laps: Ensure laps are installed with corrugation alignment and sealed if exposed to driving winds.
- Final inspection and touch-ups: Inspect for paint damage at screw heads and edges; touch up with compatible paint per Bluescope guidance. Remove swarf and filings to prevent future corrosion.
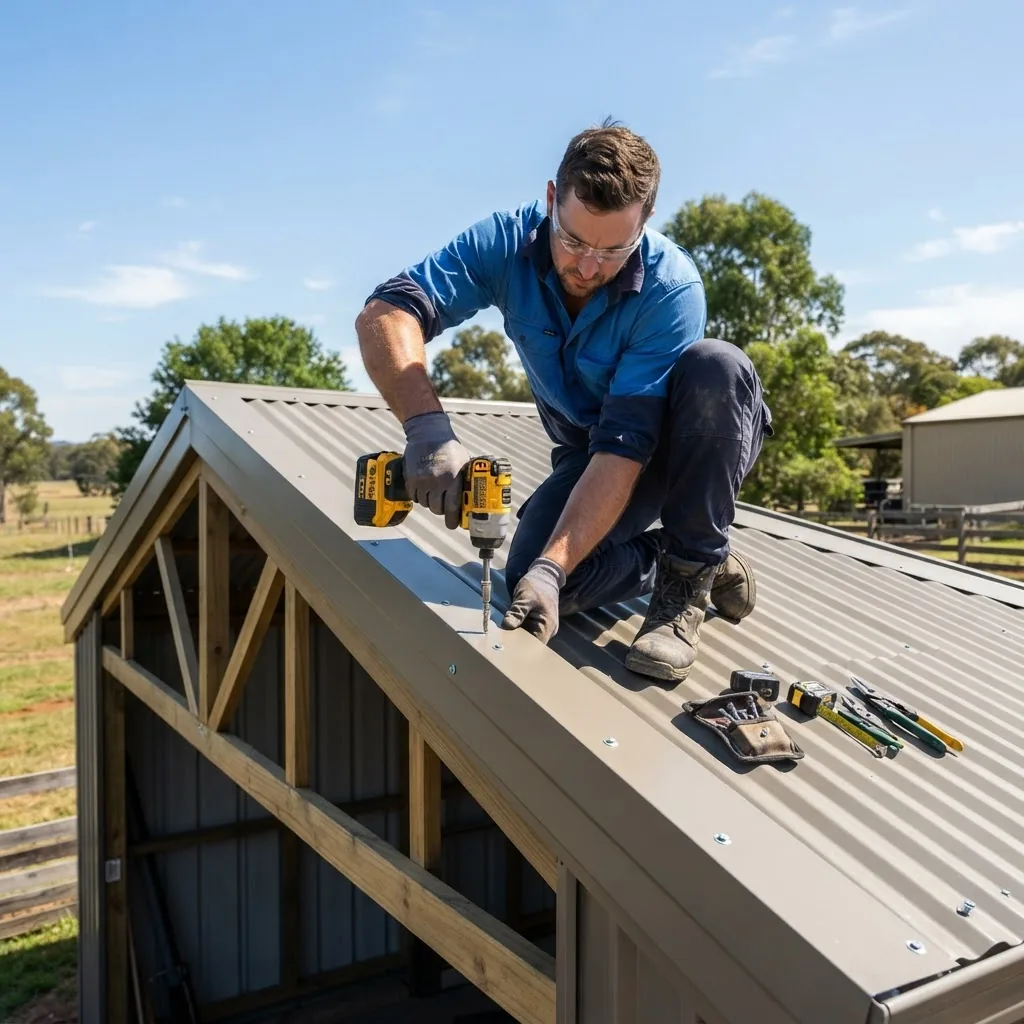
Case study — Melbourne backyard shed (experience signal): A 4m x 6m Colorbond steel shed in Brunswick had old, warped verge capping replaced. Tradespeople dry‑fitted pre-coloured capping, sealed mitres with MS-polymer, and used 200mm screw spacing; result: no leaks after two heavy spring storms. Labour: two roofers, half a day. Materials: Colorbond capping in Monument.
Common pitfalls from experienced roofers:
- Avoid over‑tightening screws — this crushes the EPDM washer and causes leaks.
- Do not mix batches of Colorbond paint without checking lot numbers — subtle color shade differences appear in sunlight.
- Always clear metal swarf immediately — tiny filings accelerate corrosion under trims.
- Account for thermal expansion gaps at long run lengths to prevent paint flaking at ends.
Regulatory note: Verify local requirements and wind classifications before fixing permanent capping — consult the Australian Building Codes Board (ABCB) and relevant permit authorities for roof works.
Transition: install costs depend on these steps and local rates; the next section breaks down Melbourne-specific costs in detail.
How Much Does Colorbond Capping Cost in Melbourne?
Answer: Colorbond capping in Melbourne typically costs between AUD 25–60 per linear metre installed, varying by material, profile complexity, finish and labour; expect materials to be roughly 35–60% of total installed cost.
Below is a clear cost breakdown with ranges and explanations for homeowners and DIYers. According to a 2024 industry pricing survey of Melbourne roofing suppliers, the ranges reflect suburban supply and typical labour rates (source: industry pricing survey).
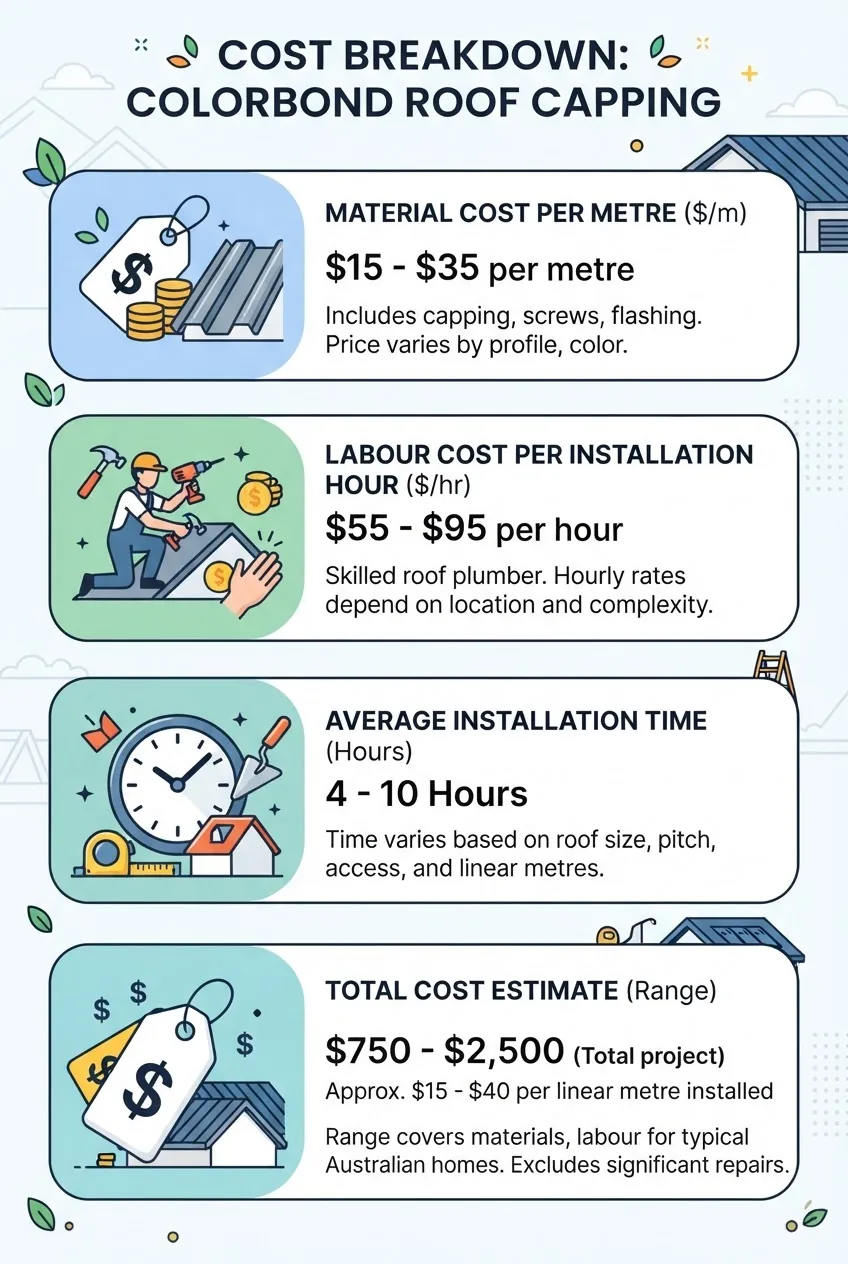
| Item | Typical Melbourne range (AUD) | Notes |
|---|---|---|
| Colorbond capping material (per linear metre) | $12 – $30 | Depends on profile complexity and colour (special finishes cost more) |
| Zincalume capping (per linear metre) | $8 – $20 | Cheaper metal finish but limited colours |
| Aluminium capping (per linear metre) | $18 – $40 | Preferred for coastal exposure; higher material cost |
| PVC capping (per linear metre) | $4 – $12 | Low cost, limited lifespan in UV exposure |
| Labour (per hour per tradesperson) | $60 – $120 | Rate varies by licencing, access, and job complexity |
| Typical installation time (small shed) | 2–6 hours | Two tradespeople can complete standard verge/ridge capping faster |
| Average installed price (per linear metre) | $25 – $60 | Includes materials, fixings, sealant and labour |
Example cost scenarios (Melbourne suburb pricing guide):
- DIY, 20m perimeter, Colorbond material: Materials $240–$600; tools & consumables $80–$150; total: ~$320–$750 (labour excluded).
- Contracted install, 20m perimeter: Materials $240–$600 + Labour (4 hours × 2 trades @ $90/hr) $720 = total $960–$1,320.
- Complex profile or coastal site: Add 15–40% for specialised fixings, extra flashing and protective finishes.
Hidden costs to watch for:
- Removal and disposal of old capping and corroded fixings.
- Replacement of timber supports or battens if rotten.
- Site access costs (scaffolding hire) for elevated roofs — scaffolding can be $200–$600/day.
For broader roofing cost context see the Colorbond roof pricing guide and compare with cheap roofing sheet options if budget is the priority.
Transition: after spending, maintain your capping to extend lifespan — maintenance guidance follows.
What Maintenance Extends Longevity of Colorbond Roof Capping?
Answer: Regular cleaning, removing debris, inspecting sealant and fixings, touching up minor paint damage and replacing damaged washers will keep Colorbond capping durable for decades.
Routine maintenance tasks optimise performance and prevent corrosion—most can be completed during annual roof checks.
- Annual wash-down: Use a soft brush and low-pressure hose to remove dirt, salt and organic debris.
- Inspect fixings and washers: Replace any split EPDM washers and re-torque loose screws.
- Check sealants and flashings: Look for cracks or shrinkage and reseal as needed with MS-polymer or manufacturer-specified sealant.
- Remove metal swarf: Clear filings from installation promptly; these accelerate local corrosion.
- Touch-up paint: Use matching touch-up paint per Bluescope guidance when bare metal is visible; according to a 2024 Bluescope maintenance note, touch-ups prolong coating life (source: manufacturer maintenance note).
- Replace damaged capping: Replace capping segments that are dented, heavily corroded, or deformed to maintain continuous weatherproofing.
Troubleshooting tips:
- Leak at lap: Re-seal with butyl or MS-polymer and re-fix with correct screw spacing.
- Paint flaking: Check for improper fastener torque or thermal stress; sand back, prime and touch up.
- Galvanic corrosion near dissimilar metals: Avoid direct contact between Colorbond and copper or stainless without isolating materials.
Transition: comparing Colorbond to Zincalume helps clarify when each is appropriate.
How Does Colorbond Capping Compare to Zincalume Capping?
Answer: Colorbond offers pre-painted finishes and broader colour choice with engineered coatings for domestic use, while Zincalume provides a bare metallic finish with strong corrosion resistance and lower initial cost.
| Feature | Colorbond | Zincalume |
|---|---|---|
| Appearance | Pre-painted in many colours | Unpainted metallic finish |
| Corrosion resistance | High when coatings intact; Bluescope coating systems tested to standards | Excellent inherent resistance from aluminium-zinc alloy |
| Cost | Higher material cost | Lower material cost |
| Colour choice | Extensive | None (metallic) |
| Warranty | Manufacturer warranties apply to coated products | Often similar structural warranty but without paint warranty |
Decision guidance: choose Colorbond when visual matching and finish matter (e.g., painted sheds and garages); choose Zincalume where cost and raw corrosion resistance are primary concerns (e.g., industrial roofs). For an extended comparison of materials see the Zincalume guides linked in our sibling articles.
Transition: final summary and recommended next steps follow below.
Conclusion: What Should I Remember About Colorbond Capping?
Answer: Colorbond capping is the preferred trim for matching and protecting Colorbond roofs: pick the correct profile and material for your exposure, follow proper fixing and sealing procedures, budget for professional labour where needed, and maintain annually to maximise life.
Key takeaways: measure carefully, choose capping material suited to coastal vs inner-city exposure, use correct fasteners and sealants, and consult manufacturer data and local building codes for compliance. For larger roofing cost context, refer to the Colorbond roof pricing guide.
Call to action: For a tailored Melbourne quote, measure your ridge and verge runs, note your roof profile, and contact a local Colorbond supplier for matching capping costs and lead times; for DIYers, follow the installation checklist and safety guidance above.