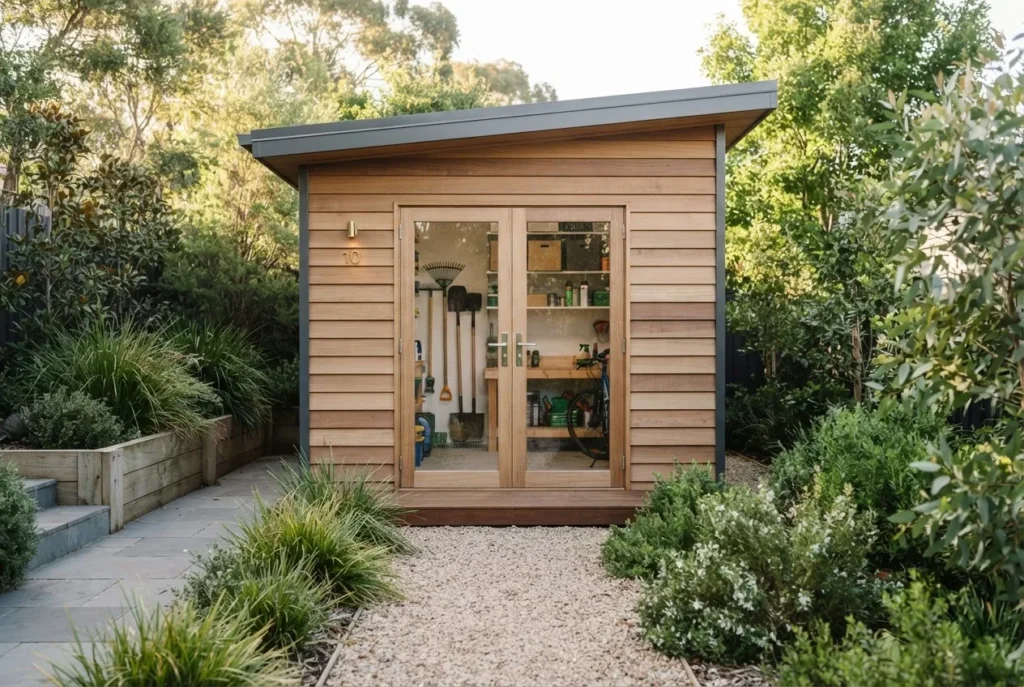

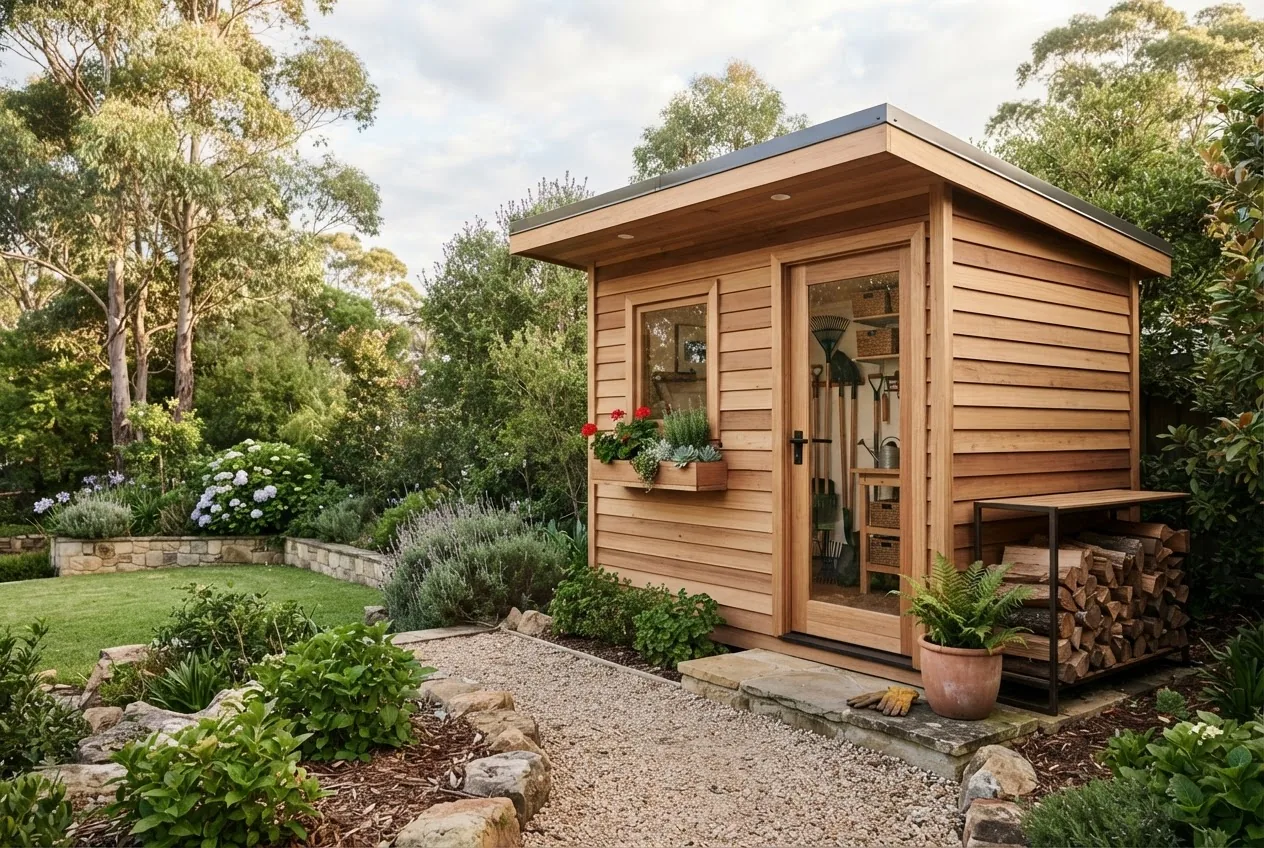

Shed wood shed: by the end of this hands-on guide you’ll have a step-by-step plan to choose, layout, and either buy or build a wooden garden shed for Melbourne conditions, plus an itemised cost estimate. Expect 2–10 days of planning and purchasing and 1–3 full weekend days for DIY assembly; skill level: intermediate DIY (basic carpentry, power tools, and plumbing or electrical subcontracting as needed).
Before you start
- Permits & approvals check (local council) — measure site and slope in metres.
- Tools: circular saw, impact driver, spirit level (1m), post-hole digger, hammer, tape measure (5m), jigsaw, drill bits, caulking gun.
- Materials you may source: treated pine or hardwood planks, structural studs, exterior-grade plywood, flashing, bitumen membrane, stainless fasteners, decking joists for floor.
- Safety: eye protection, dust mask, hearing protection, gloves.
- Two helpers recommended for lifting panels and roofing sheets.
Introduction to Wood Shed Designs for Garden Storage
This guide focuses on practical, Melbourne-ready *garden storage solutions* built from timber — from compact small wooden sheds for a lawnmower and hand tools to larger wooden outbuilding kits used as workshop-adjacent storage. Wooden garden sheds combine natural aesthetics and repairability with strong load capacity for shelving and racking; they excel for storing garden equipment storage like push mowers, leaf blowers, potting benches, and long-handled tools.
You’ll learn how to match *wooden garden sheds* to the tools you own, compare portable shed vs permanent shed decisions, and weigh sustainable timber choices for longevity in Melbourne’s coastal and inland microclimates. The next sections take you from choosing a shed type through materials, an itemised cost breakdown, shelving layouts and installation/maintenance specific to Australian conditions.
Transitioning now to the practical options you’ll consider when choosing the right wooden shed for your garden.
Types of Wood Sheds and Their Uses in Gardens
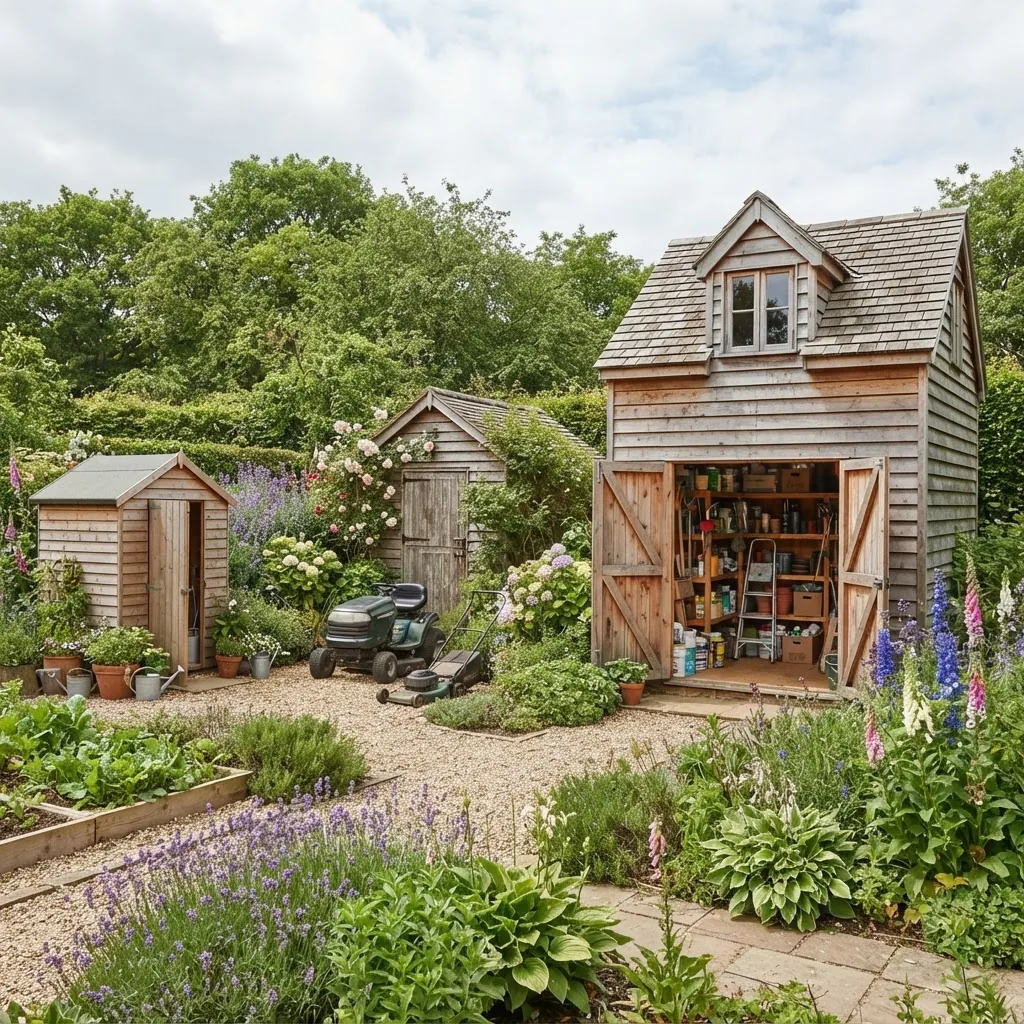
- Portable wooden shed (prefab panels) — Lightweight framed panels on a skidded base for relocation. Use: temporary garden tool storage, seasonal potting. Pros: low site prep, can be moved with a trailer. Cons: lower longevity than fixed foundations; not ideal for heavy shelving.
- Small storage buildings (standard 2–6 m2) — Single-door units for lawnmower, trimmer, and garden chemicals. Use: compact yards. For a quick size comparison, see the 10×10 storage shed guide for a larger footprint contrast.
- Mower shed (single-purpose) — Low-height, robust floor, wide door or roller door to get a ride-on mower in/out. Use: suburban blocks where mower security and ventilation for fuel fumes matters. Add chemical-safe shelving and spill trays.
- Double storage shed — Two-door dual access; one side for large equipment, the other for potting bench and shelving. Use: homeowners who want separation of storage tasks.
- Off the wall garden shed (wall-mounted) — Narrow footprint attached to an existing fence or wall; “off the wall shed” designs save space and use vertical storage. Use: sloping blocks or slim side-yards.
- Tall garden shed / storage shed tall — Higher eaves to store tall ladders, long-handled tools, or timber. Use: taller shelving systems and overhead hooks.
- Two storey garden shed — Loft space for lightweight seasonal storage; requires proper structural design and often council approval. For vertical options reference the 3 bay shed dimensions when comparing scales.
- Flat pack shed (kit) — Factory-cut panels shipped with fixings; good for consistent quality and predictable build times. Use: DIYers who want faster assembly. Pros: lower labour time; Cons: may need customising to fit site drainage.
- DIY garden shed kit — More flexible than flat pack; often timber-framed with labelled studs; use for owner-builds where local design tweaks are required.
- Wooden outbuilding kits — Larger timber buildings for workshop-plus-storage; typically require a concrete slab and are closer to a permanent shed solution.
- 3-bay and garage-scale wooden sheds — Heavy-duty framing, often used as multi-vehicle or heavy equipment storage. See the large-scale comparison with 3 bay shed dimensions.
- Specialised roller-door garden sheds (small-to-mid) — Incorporate a roller door (often in 3×6 footprints); useful for wheeled equipment. Compare a similar mid-small solution at 3×6 garden shed design.
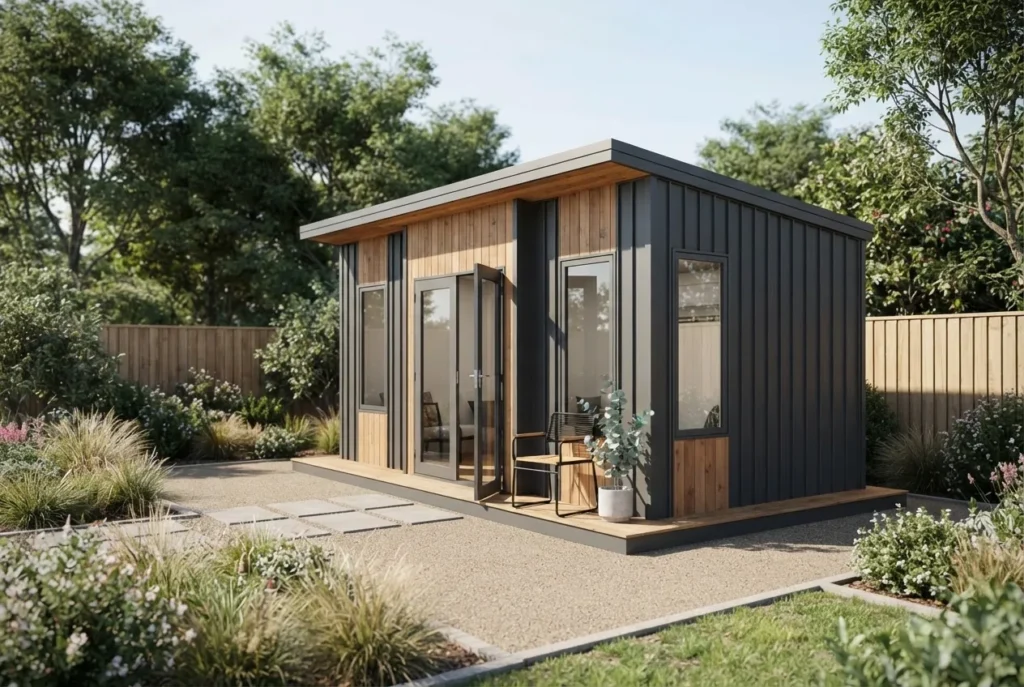
- Modern vs traditional wooden sheds — Modern garden shed uses clean lines, sloping roofs, composite cladding; traditional uses vertical shiplap and gabled roofs. Choice affects cost and maintenance cycles.
- Modular double-use sheds (shed + studio) — Larger footprint wood sheds that double as hobby rooms; often need building approval.
- Slimline shed (narrow gardens) — Long, narrow footprint for side-yard storage; see contrast with standard mid-sized options at related size guides.
Transition: once you know the type of wood shed you want, the next section walks through the key design choices that affect both usability and cost.
Key Design Considerations When Planning a Wood Shed
Use these how-to steps in order while planning. Each step is action-first and concrete so you can check off measurements, approvals and construction choices.
- Measure and map your tools and equipment. List everything you intend to store (e.g., petrol mower 1.2m L × 0.6m W, push mower 0.9m L, lawn roller 0.6m Ø, 6 long-handled tools 1.8m each). Create a 2D plan: mark door swing clearances (minimum 1m clear inside for maneuvering). For shelving, allocate 300–400mm depth per shelf for pots and hand tools; allot 600–900mm clearance for wheeled equipment.
- Decide permanent vs portable. If you plan to move the building in future, choose skidded base with lifted timber bearers and removable fastenings; this adds ~$300–600 to the kit but avoids a concrete slab. Portable sheds limit heavy fixed shelving load — cap shelf loads at 50kg/m for portable designs.
- Choose footprint and height based on use-case. For a compact mower + tools shed aim for 3m x 2m (3×2 shed equivalent) with 2.1–2.4m ridge height. For workshop + storage choose 4m x 3m (garden shed 4m x 3m) or larger. When vertical storage is required, consider lofts or a tall garden shed with minimum 2.4m internal wall height.
- Plan doors and access. Use double doors or roller door for wheeled equipment. Minimum clear door opening: 900mm for push mower, 1.5m for larger ride-on. Position doors on the shortest wall for efficient circulation unless prevailing access dictates otherwise.
- Specify floor system and load ratings. Permanent stores benefit from a concrete slab (100mm thick, compacted base). Timber floor on bearers: use 90mm x 45mm treated joists at 450mm centres with 18mm exterior-grade plywood for 250kg/m2 distributed load. For heavy items, use 70–100mm concrete or reinforced timber floor joists.
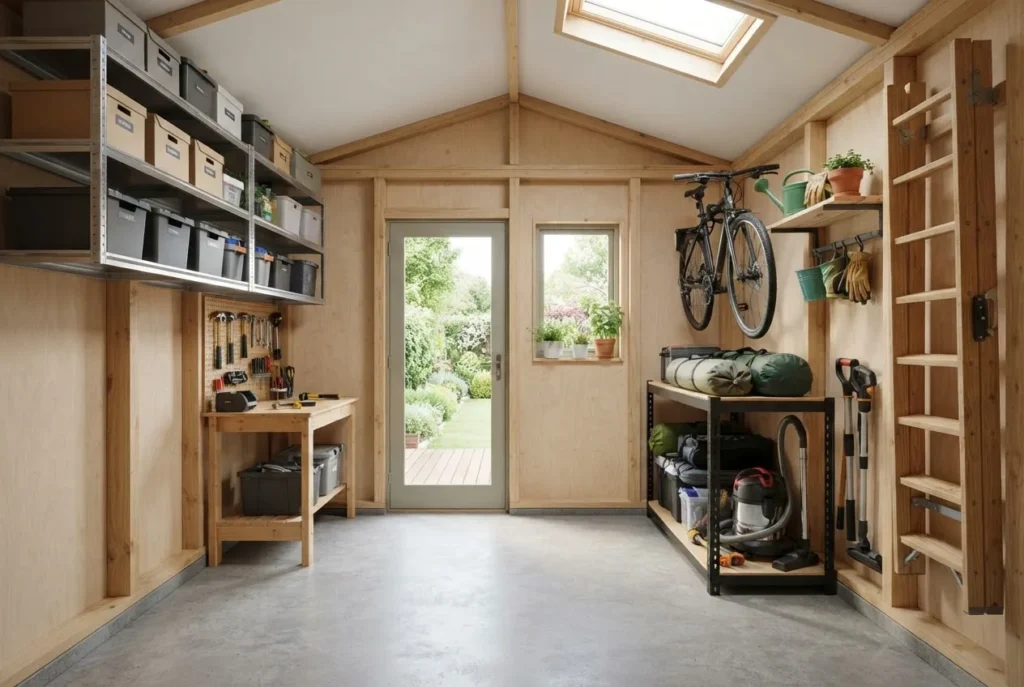
- Plan internal layout with zones. Zone A: heavy/wheeled equipment at floor level. Zone B: frequently used hand tools at shoulder height. Zone C: seasonal and light items up high/loft. Leave 600mm clear aisle for ergonomic access.
- Design fixed vs adjustable shelving. Fixed shelves: use 18mm ply on 45×45 battens, rated 30–40kg per linear metre. Adjustable systems (slotted standards) provide flexibility — provide vertical clearance at 300mm increments. Consider metal racking for >100kg loads.
- Account for ventilation and condensation control. Include two cross-ventilation vents (75–150mm) and a ridge vent for pitched roofs. Add a breather membrane under roof cladding and a 20mm air gap behind external cladding to reduce wetting in coastal Melbourne suburbs.
- Decide on insulation and interior finishes. Insulate if you store chemicals or plan a workshop — 50mm foil-backed insulation between studs reduces condensation. Line interior with 9–12mm ply for screw-holding capacity for brackets and hooks.
- Plan electrical and lighting needs. For basic lighting, run a single 10A circuit to a spare RCBO-protected outlet with LED batten light; for heavy workshop use, plan 15–20A dedicated circuits installed by a licensed electrician in compliance with local regulations.
- Consider rainfall, drainage and site fall. Provide 150–300mm fall away from shed perimeter; if slab sits where water pools, raise floor 150mm on treated bearers or make a floating reinforced slab with adequate drainage; add a 50mm gravel strip around perimeter.
- Check local council & permit thresholds. In Melbourne, many small wooden sheds under 9m2 and with eaves below 2.4m do not require building permits, but site-specific overlays or heritage controls can change that. Verify with council before purchase — see the Australian Building Code Board for rules on building classifications and thresholds. Australian Building Code Board
- Plan for finishes and weatherproofing. Use paint or oil-based stain with two coats plus primer; flashing around roof-wall intersections must be stainless or powder-coated; use aluminium or galvanised steel flashings with silicone sealant at joints.
- Design for security. Fit three-point locks on double doors, bolt-down floor plates for large tools, and consider a ground anchor for ride-on mowers. For high-value equipment, upgrade hinges and fixings to stainless steel and use tamper-proof screws.
Transition: after you finalise these design decisions, compare timber types and construction options to match performance and budget.
Wood Materials and Construction Options for Garden Sheds
Below is a comparison of common timber types and construction approaches for wooden outbuilding kits, timber frame garden shed systems, flat pack sheds and DIY garden shed kits. Use this to match durability, appearance and cost.
| Option | Pros | Cons | Typical Melbourne lifespan |
|---|---|---|---|
| Treated pine framing + shiplap cladding | Affordable; easy to source; good paint finish | Needs regular maintenance; vulnerable to rising damp without proper flashing | 10–20 years with maintenance |
| Hardwood timber cladding (e.g., Blackbutt, Spotted Gum) | High durability, premium look; naturally rot-resistant | Higher material cost; requires skilled installation | 20–40 years with maintenance |
| Cedar cladding | Lightweight, attractive grain, good rot resistance | More expensive; needs protective finish to prevent greying | 15–30 years |
| Timber frame garden shed kit (labelled studs) | Easier DIY, predictable material list, faster to raise | Less flexibility for non-standard openings; junctions need care to stop water ingress | 10–25 years depending on cladding |
| Flat pack shed (pre-cut panels) | Quick assembly, less waste, fixed cost panels | Limited customisation; may require sealing at joints | 8–20 years with maintenance |
| Timber with composite cladding (hybrid) | Lower maintenance, modern appearance | Higher initial cost; not wholly timber if composite used | 15–30 years |
Pros and cons summary (quick checklist):
- DIY garden shed kit: lower labour cost, needs basic carpentry, good for custom site adaptation.
- Flat pack shed: fastest assembly, consistent quality, limited adaptation.
- Timber frame shed: best long-term repairability and load-bearing capacity for shelving.
- Wooden outbuilding kits: ideal for larger workshops and heavy loads; expect slab and trades involvement.
Sustainable sourcing: choose FSC-certified or PEFC-certified timber where possible. Forest Stewardship Council certification reduces risk of unsustainable harvest — check product certificates.
Transition: with materials chosen, costs hinge on material selection, labour, site works and permits — next section breaks these down.
Cost Breakdown of Building or Buying a Wooden Garden Shed
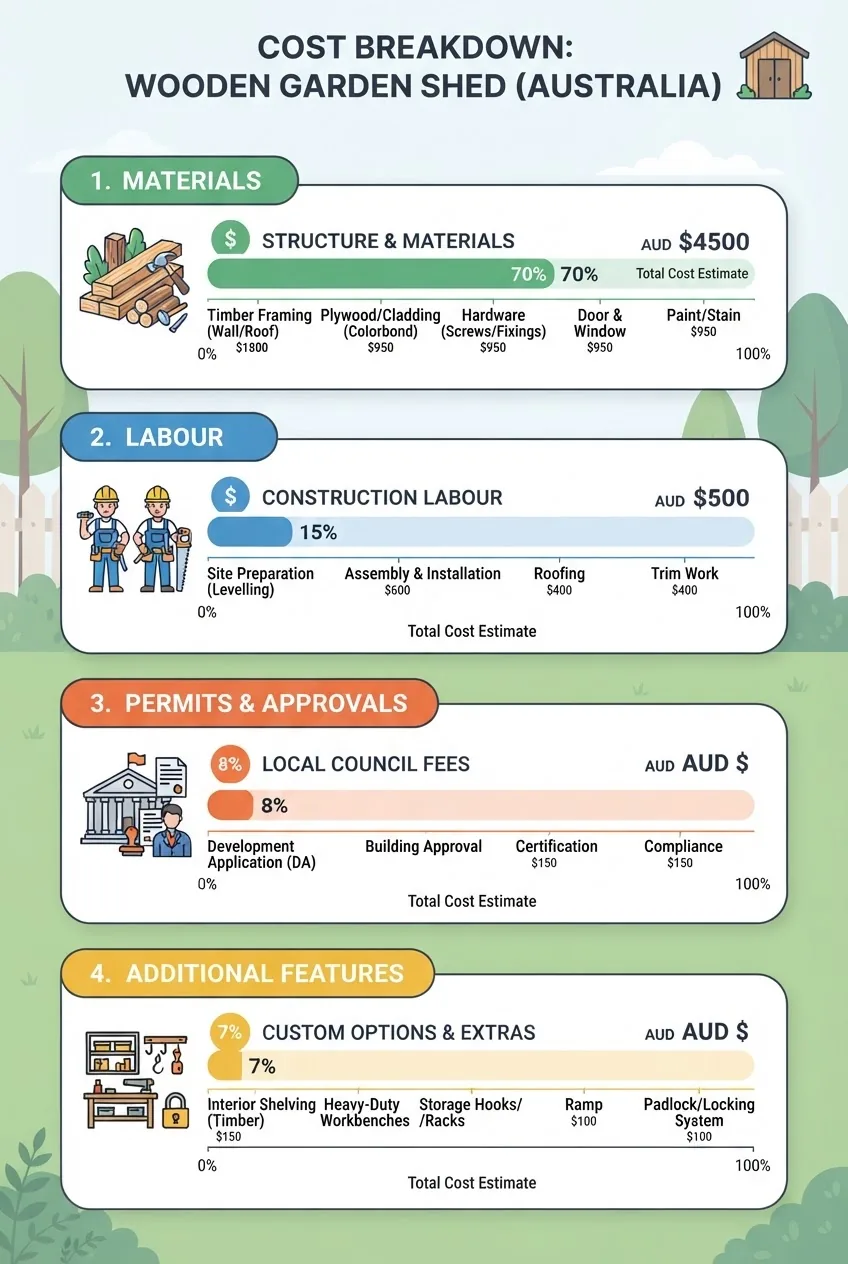
This section provides stat-block style estimates with ranges for Melbourne (2024). All figures are AUD and reflect market averages for quality materials and licensed labour. According to a 2024 industry report, material costs rose ~6–9% year-on-year, so expect fluctuations by supplier.
Quick reference ranges (Melbourne, 2024)
- Small flat pack timber shed (2–4m2): $1,200–$3,000 (kit only)
- Mid-size timber kit (4–9m2): $2,500–$6,500 (kit); +$1,200–$3,500 for installation
- 4m x 3m timber shed (garden shed 4m x 3m): Kit $3,500–$8,000; Installed $6,000–$14,000
- Large wooden outbuilding (10–20m2): $8,000–$25,000 kit; Installed $14,000–$45,000
- Timber floor on bearers: $600–$1,800 depending on materials and joist spacing
- Concrete slab (4m x 3m, 100mm): $1,200–$3,000 including compaction
- Shelving & internal fit-out: $200–$2,000 depending on racking and custom benches
- Permits & engineering (if required): $0–$2,500 (varies by council and complexity)
Detailed cost components and example calculations:
Materials
- Timber framing (treated pine): $6–$12 per linear metre for studs and plates depending on grade.
- Cladding: treated pine shiplap $25–$45/m2; cedar or hardwood $55–$120/m2.
- Roofing: corrugated Colorbond steel $35–$65/m2; underlay and flashings $8–$15/m2.
- Floor sheeting: exterior-grade plywood 18mm $45–$80 per sheet (1.2m x 2.4m).
Labour
- Carpentry (framing and cladding): $65–$95/hr per licensed carpenter in Melbourne; smaller jobs often billed as day rates $550–$900 per day.
- Electrical (if required): $110–$180/hr, plus fixture costs.
- Concrete subbase and slab: $800–$3,000 depending on size and access.
Permits, engineering and site costs
- Site clearing, levelling and drainage: $250–$1,500 depending on complexity.
- Building permit or Certificate of Compliance: varies by council — typical small shed under permit thresholds may cost $0–$250 in application fees; complex or larger builds attract higher fees and engineering costs ($800–$2,500).
- According to a 2024 local council guidance summary, sheds exceeding 10m2 or with fixed power and plumbing commonly trigger building permit requirements.
Kit vs DIY vs Fully installed examples
Example 1 — Melbourne backyard, 3m x 2m treated pine flat-pack kit for tools (DIY):
- Kit price: $2,200 (includes pre-cut panels, fixings)
- Floor bearers & plywood: $450
- Basic paint/stain: $220
- Estimated total DIY cost: $2,870
- Estimated pro-install total: $5,200 (adds labour + slab if chosen)
Example 2 — 4m x 3m timber-framed shed with shed-grade timber cladding, installed on compacted crushed-rock base (no slab):
- Kit: $5,000
- Timber floor & bearers: $900
- Pro carpentry & assembly: $4,400
- Shelving & internal fitout: $1,200
- Total installed estimate: $11,500
For larger buildings, refer to the in-depth comparison at 10×20 garden shed prices and the pillar page for dimensional influences on cost: Shed Sizes and Cost Guide for Standard Storage Dimensions.
Caveats and variability: costs vary by access, site slope, customisation and material selection. According to a 2024 industry report, expect +10–20% cost uplift for constrained access sites in inner-Melbourne. Use the cost ranges above as planning estimates and obtain three quotes for trades and kits.
Transition: after budgeting, you’ll want to make the internal layout efficient — the next section provides practical shelving and layouts to maximise storage in wooden sheds.
Maximizing Storage Efficiency with Shelving and Layouts in Wood Sheds
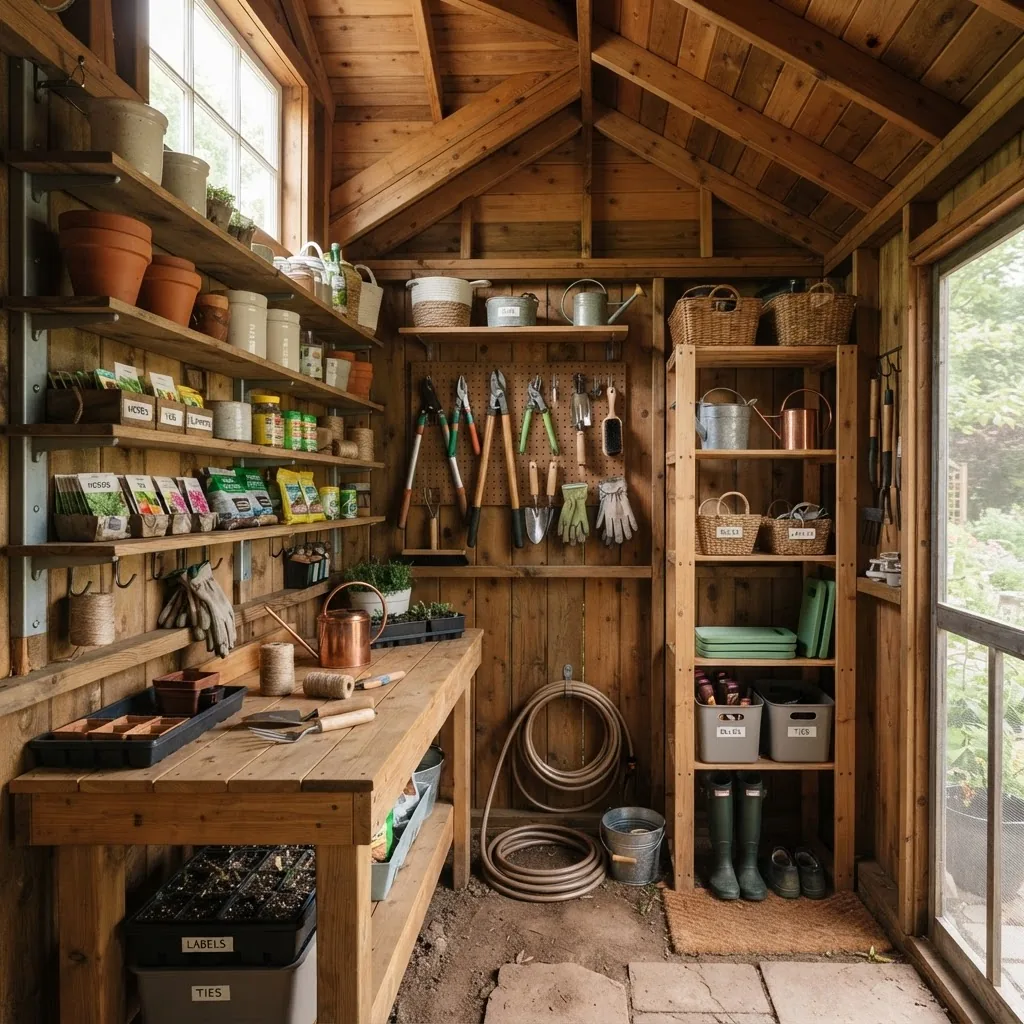
Follow these steps to lay out your shed like a pro. For very small footprints, see the 3×3 garden shed layout guide and the 10m2 shed layout guide for layout strategies in constrained areas.
- Inventory and frequency map. Place items you use daily within arm’s reach (0.5–1.2m from door). Less-used items go higher or deeper. Example: lawn mower (daily/weekly) at floor zone A near door; fertilizer (monthly) on top shelf.
- Install a universal racking wall. Use 18mm ply wall lining and insert slotted standards every 600mm; shelves 300–400mm deep for pots and hand tools. For heavy items, use metal brackets rated 75–150kg per shelf length.
- Use vertical storage for long-handled tools. Fit a 100–200mm tall timber cleat 200mm from the floor and hooks at 1.5–1.8m for rake and spade heads to sit between cleat and hooks. This prevents handles sliding and keeps items organised.
- Create a dedicated chemical and petrol storage cupboard. 400mm deep metal or timber locker with spill tray (20mm lip) and ventilation vents; store liquid fuels in compliant containers. Keep chemicals away from direct sunlight and floor drains.
- Mount a fold-down potting bench. 600–750mm high, 400–600mm deep worktop that folds to the wall when not in use. Reinforce brackets to 200–300kg to allow leaning and repotting.
- Plan for wheeled equipment circulation. Leave a 600–900mm clear path between stored equipment and shelving for safe maneuvering. For ride-on machines, aim for 1.2–1.5m turning clearance where possible.
- Label bins and use translucent storage tubs. 300–400mm deep tubs on shelving make seasonal swaps quick. Assign colours for categories (green for garden, grey for hardware) to save search time.
- Fit ceiling-mounted storage for light seasonal items. Use timber or metal ceiling joist racks rated 25–50kg/m for things like holiday decor, spare pots and seed trays.
- Use magnetic strips and pegboards for small tools. Mount a pegboard 900–1200mm above workbench height and magnetic tool strips for metal hand tools; keeps tools visible and reduces drawer clutter.
- Prioritise modular shelving. Adjustable shelving is versatile — set shelves at 300mm increments and reserve one bay for 600–900mm deep storage for wheelbarrow parts and bulk soil bags.
Small-space specific tip: For a 3×2 or 3×3 shed use a single 600mm deep shelf along one wall and vertical tool storage on the opposite wall; keep centreline clearance 700–900mm. For a practical deep-dive see the 10m2 shed layout guide and the 3×3 garden shed layout guide.
Transition: once your layout is set, plan the install and maintenance strategy to protect the investment in timber.
Installation and Maintenance Tips for Wooden Garden Sheds
Below is a practitioner-level installation walkthrough followed by a maintenance checklist. For permit thresholds consult the Australian Building Code Board and local council pages; for cost data see the Australian Bureau of Statistics for industry averages.
Walkthrough: Assembling a standard flat pack wooden garden shed kit (example 3m x 2m)
- Prepare the site and base (Day 1). Excavate to remove topsoil to compacted subgrade. For a skidded timber base, lay 4 x 100mm compacted crushed rock and compact to 95% MDD; set two treated bearers 90x45mm on 100x100mm bearing pads 1200mm apart. Allow 24hrs for settlement if new excavation.
- Lay the floor (Day 2). Install treated joists at 450mm centres using galvanized joist hangers. Screw 18mm exterior plywood with 8x40mm galvanised screws at 150mm centres. Verify level within 3mm across 2m with spirit level.
- Assemble wall panels (Day 2–3). Lift pre-cut panels into place. Fix studs with 75mm galvanised framing nails or 7x90mm screws. Ensure top plates align and check squareness by measuring diagonals — they must match within 5mm for a 3m frame.
- Install roof battens & cladding (Day 3). Fit breathable membrane over rafters, battens, then corrugated steel roofing. Overlap sheets by two corrugations and fix with stainless steel screws with neoprene washers — 6 screws per sheet line at 300–400mm centres depending on wind rating.
- Flashings and sealing (Day 3). Install soffit and eave flashings, seal apron flashings with exterior-grade silicone, and fit ridge caps. Check all lap joints and around doors for gaps; seal with polyurethane caulk.
- Internal fittings and shelving (Day 4). Line interior with 9–12mm ply, screw to studs at 150mm centres; fit slotted standards for adjustable shelving. Fit hooks and tool racks at 1500–1800mm height for ergonomic access.
- Final checks and finishing (Day 4). Sand and apply primer coat to cladding and trims, then topcoat with two finish coats. Install three-point door locking hardware and ground anchors if needed.
Maintenance checklist (seasonal / annual)
- Annually: inspect and recoat external timber every 2–4 years (thin coats annually where exposure is high).
- Every 6 months: clear gutters, check flashings, and verify vents remain unobstructed.
- After storms: check roof screws and sheet fastenings; retighten or replace if corrosion appears.
- Every year: treat base plate and bearers for rising damp and termites; inspect for moisture ingress at floor edge.
Installation caveats: timber expands when wet — leave 8–12mm expansion gaps between cladding boards and at corners. If unsure about electrical work or slab engineering, call licensed trades. For legal thresholds and classification consult the Australian Building Code Board: https://www.abcb.gov.au.
Transition: choosing wood brings environmental trade-offs and practical benefits — the final content section outlines them with sustainability suggestions.
Environmental and Practical Benefits of Choosing Wood for Garden Sheds
Wooden sheds offer strong environmental and practical advantages compared with plastic and metal alternatives, when sourced and maintained correctly.
Sustainability and embodied carbon. Timber stores carbon and can have lower embodied energy than steel or plastic when sourced from certified forests. Choose FSC or PEFC certified timber to reduce ecological impact; see Forest Stewardship Council resources for certified product lists.
Repairability and adaptability. Timber is easy to repair — replacing a single cladding board or stud is cheaper than repairing moulded plastic panels or metal frames. For owners who plan incremental upgrades (adding windows, insulation, or benches), timber framing simplifies alterations.
Aesthetic and resale value. Wooden garden sheds often integrate visually with landscaping and can add perceived property value, especially with quality hardwood cladding or well-finished painted joins.
Durability caveats. Wood requires proactive maintenance in coastal or high-rainfall suburbs near Melbourne to avoid rot and salt damage; annual inspections and appropriate surface coating schedules are essential for longevity. According to a 2024 industry survey, maintenance increases service life by 30–50% compared to untreated installations.
Practical comparisons:
- Wood vs plastic sheds: wood is repairable and better for heavy shelving; plastic resists rot but fails under prolonged UV and heavy loading.
- Wood vs steel sheds: steel is durable and low-maintenance but prone to corrosion at fastener points and has higher embodied energy; insulation and condensation control can be harder in metal sheds.
Transition: below are practitioner-derived common mistakes and a checklist so you can validate your build before calling a professional.
Common mistakes and how to avoid them
I once saw a well-intentioned DIYer skip the sub-base compaction on a small 3m x 2m flat pack shed. Within a year the floor sheet flexed and doors jammed. Lesson: compact crushed rock to 95% MDD and check level before laying floor joists. I also commonly see insufficient ventilation leading to mould — install ridge vents and eave vents during build. Finally, don’t skimp on flashings at eaves and wall joins; they’re cheap insurance against leaks.
Final verification checklist
- Site: level within 10mm over shed footprint; fall away from shed ≥150mm within 1m.
- Base: crushed-rock compaction ≥95% MDD or 100mm slab cured 7 days.
- Floor: joists at 450mm centres, plywood 18mm screwed at 150mm intervals.
- Doors: clear opening width as planned; three-point lock fitted for security.
- Ventilation: at least two vents and ridge vent fitted; condensation membrane installed.
- Finish: two coats of exterior-grade paint or oil-based stain applied; flashings sealed.
- Electrical: certificate from licensed electrician if circuits installed.
- Permits: council approval or exemption documented.
When to call a professional
Hire a structural engineer for two-storey sheds, sheds on slope or retaining walls, or when connecting to mains power/waste. Engage licensed carpenters for complex joinery and licensed electricians or plumbers for services. If your planned shed exceeds local permit thresholds (commonly >10m2 or fixed services), consult your local council and a registered builder.