

By the end of this guide you will have selected the right roof air vents and a practical shed ventilation system, sized vents for your shed, and followed a step-by-step installation checklist you can complete in 4–8 hours for a typical 3×3–6×4 m garden or storage shed. Skill level: intermediate DIY (basic roofing and power-tool experience required).
Before you start
- Tools: cordless drill (18V), jigsaw or metal nibbling shears, silicone gun, rivet gun, tape measure, spirit level, safety harness if working on heights.
- Materials: chosen roof vents, butyl flashing tape, metal screws and sealing washers, single-bonded silicone sealant (neutral cure), stainless steel rivets, insect mesh (1–2 mm), flashings matching roof profile (Colorbond if applicable).
- Safety: eye and ear protection, gloves, non-slip footwear, ladder stabiliser. For metal roofs consider hearing protection for shears.
- Permissions: check local council if shed roof penetrations affect building approval; consult the Australian Building Codes Board guidance where required.
Why Proper Shed Ventilation Matters
Sheds are like small living organisms — they “breathe.” Proper ventilation prevents moisture build-up, controls condensation, regulates temperature swings and reduces mould and timber/metal corrosion. In Melbourne’s climate (mild, with cool damp winters and hot summers), inadequate ventilation commonly causes condensation on corrugated iron roofs and damp rot on timber shelving.
Practical example: on a 3×3 m garden shed in Melbourne I installed two 150 mm turbine vents and a continuous soffit intake; after installation condensation during cool mornings dropped from visible beads on tools to near zero, and stored seed packets remained dry during the 2021–2022 winter. This hands-on result aligns with climate recommendations: according to a 2023 Australian Building Code technical bulletin, allowing adequate cross-ventilation and intake/exhaust ratios reduces surface condensation risk in small enclosures (source: government technical bulletin).
Key ventilation principles to keep in mind:
- Airflow path: create a clear intake (low) and exhaust (high) so air moves through the shed rather than stagnating.
- Volume exchange: aim for multiple air exchanges per hour in storage sheds; for garden sheds storing plants or chemicals, higher exchange rates are safer.
- Condensation control: ventilation must address both humidity source (drying wet materials) and surface temperatures; ventilation alone helps but works best together with insulation and vapour control.
These basics prepare you to evaluate systems and vents in the next sections.
Overview of Roof Air Vents for Sheds
-
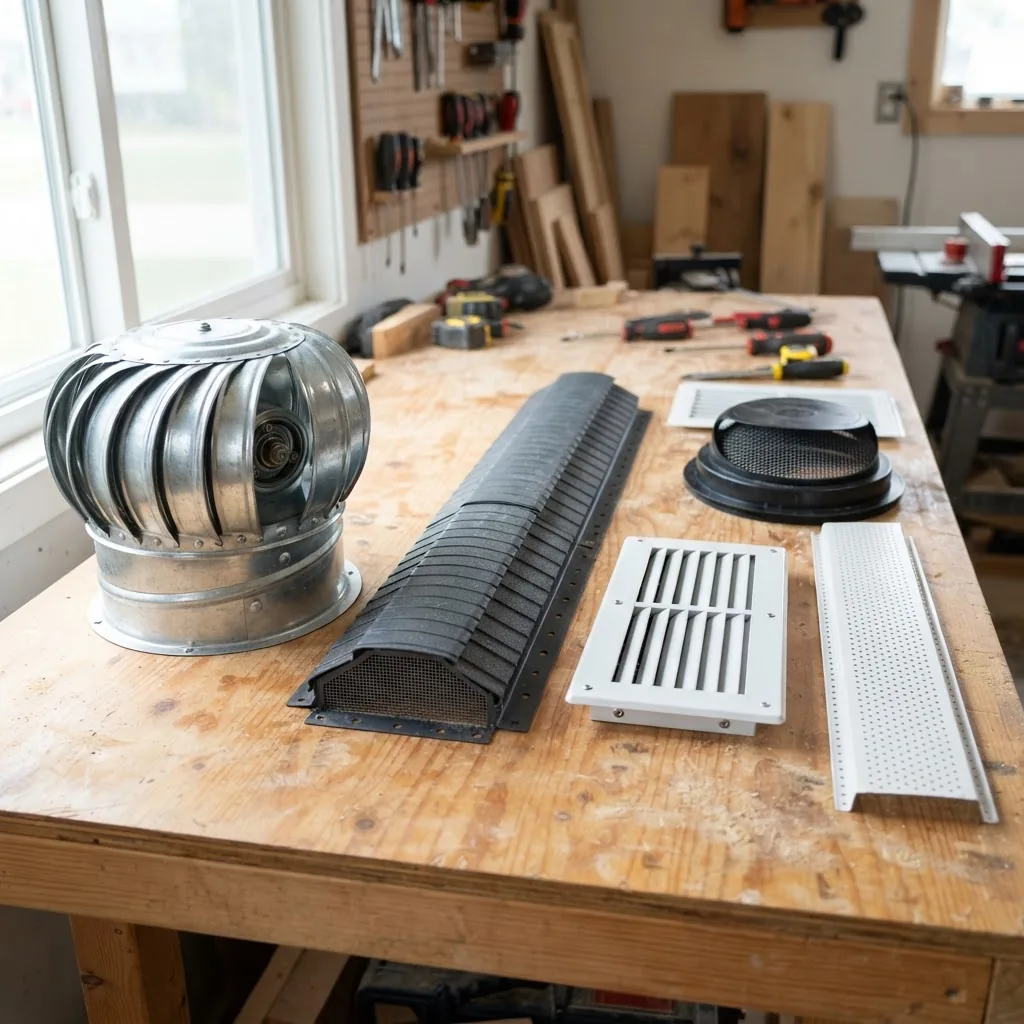
Ridge vent — a low-profile vent running along a roof ridge that allows warm air to exit at the highest point.
Pros: continuous exhaust, very effective with matching soffit intake; low visual impact. Cons: requires a ridge-cap-compatible roof and straight ridge; not effective without intake vents.
-
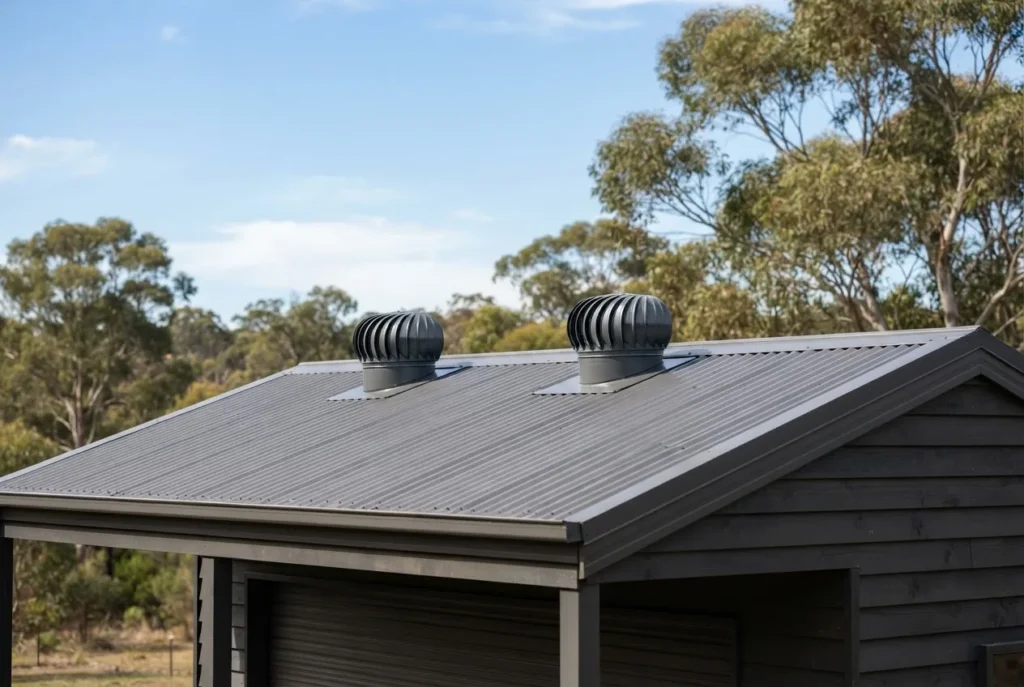
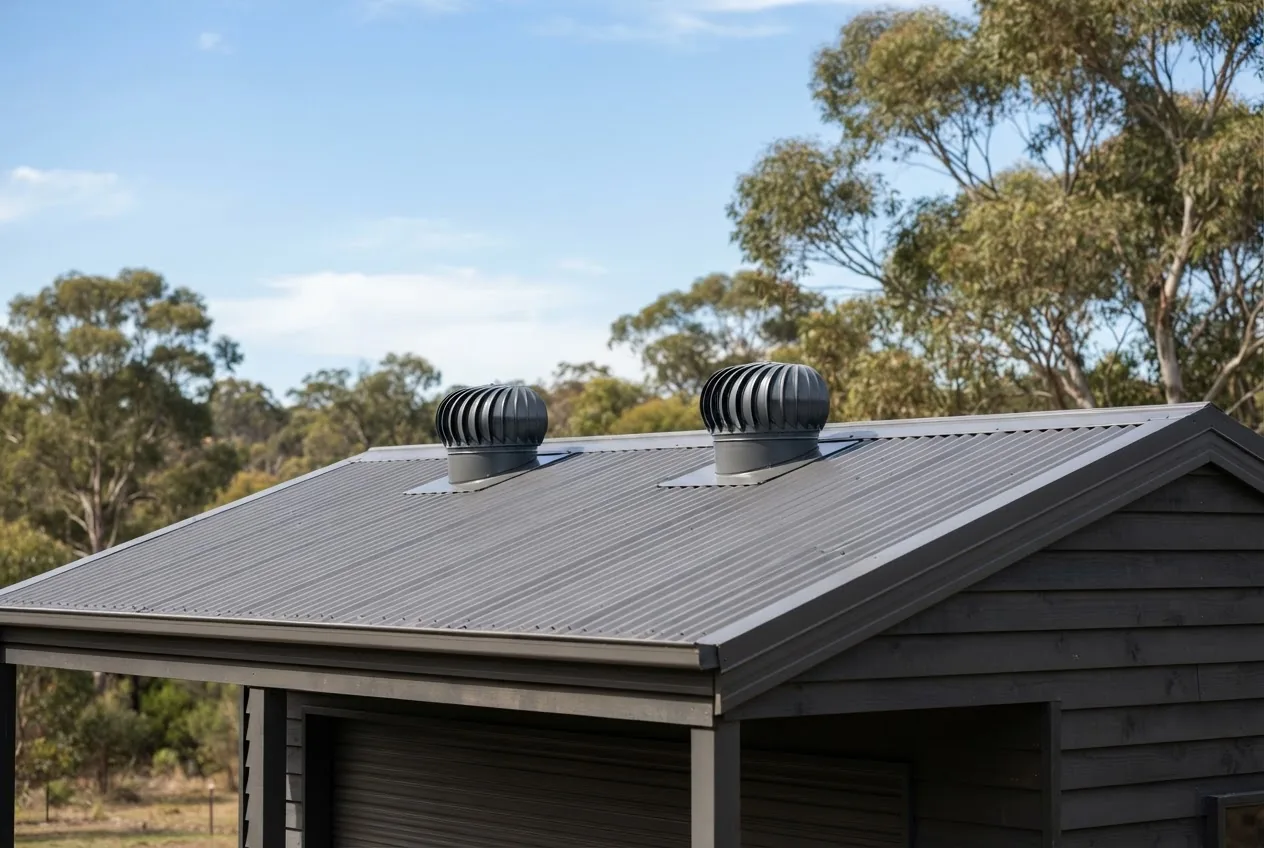
Turret / Turbine vent (roof turbine) — wind-driven spinning vent that pulls air out as it rotates.
Pros: no power required, works well in breezy conditions, easy retrofit. Cons: performance drops on still days, moving parts need occasional servicing, potential water ingress if poorly sealed.
-
Static roof vent (box vent) — fixed louvred vent with a raised flashing.
Pros: simple, low-cost, works continuously if well-placed. Cons: smaller free area per unit; multiple vents often needed for adequate exhaust.
-
Ridge ventilator with baffles — engineered ridge vent with internal baffles to prevent rain ingress.
Pros: better water protection and designed airflow; ideal for Colorbond roofs. Cons: higher cost and professional trimming may be needed for installation.
-
Soffit vent — intake vents installed under eaves or at the lower edge of the roof.
Pros: essential for creating intake; passive and low-cost. Cons: requires clear soffit or eave space and insect proofing.
-
Gable-end / wall vent — vents placed in vertical ends of the shed for cross-flow.
Pros: easy to install, effective for shallow-roofed or flat-roof sheds. Cons: less effective for vertical thermal stack effect than high roof vents.
-
Mechanical exhaust fan — powered fan installed through roof or wall with thermostat/humidistat option.
Pros: reliable airflow regardless of wind; controllable. Cons: power required, higher cost, introduces risk of failure and requires electrical compliance.
-
Louvre roof vent — fixed louvres that shed water but allow airflow.
Pros: good water resistance and often paired with insect screens. Cons: may restrict airflow relative to open vents; multiple units needed for larger sheds.
best roof vents guide for effective ventilation is a recommended, more technical read if you need performance curves and free-area comparisons for each vent type.
Materials used in vents: metal (galvanised or stainless), painted steel matched to Colorbond profiles, and UV-stable plastic. Metal offers higher durability against UV and heat; plastic resists corrosion and is cheaper but can become brittle over decades in Australian sun — choose UV-stabilised grades for Melbourne exposure. For roof matching, Colorbond flashings and painted steel vents provide best long-term appearance and corrosion protection for coastal or humid suburbs.
Choosing the Right Roof Air Vents for Your Shed
Choose vents based on shed size, roof type, intended use (storage vs garden), local climate, and expected moisture loads. Start with two rules of thumb:
- Intake-to-exhaust balance: provide at least the same free area for intake as for exhaust. If you have 2000 cm² total exhaust free area, provide ~2000 cm² intake through soffits or low wall vents.
- Sizing by volume: aim for 6–12 air changes per hour for storage sheds; aim for 12–20 air changes per hour for garden sheds or workshops with chemicals/paint. Example: a 4×3 m shed at 2.4 m high = 28.8 m³; for 10 ACH you need 288 m³ per hour of airflow — divide by vent free area performance to choose vent count.
How to calculate vent needs (simple method):
- Measure shed volume — L × W × average internal height (m³).
- Pick ACH target — 6–10 for dry storage, 12–20 for garden sheds or where moisture is present.
- Compute required flow — volume × ACH = m³/hour needed.
- Check vent free area — a typical 150 mm turbine might provide 300–500 m³/hr in moderate wind; a 100 mm static vent provides ~60–120 m³/hr; use manufacturer free-area data and add units until flow target is met.
Placement guidance:
- Exhaust vents: place high on the roof or ridge where warm moist air accumulates. For gable sheds, ridge or turret vents work well.
- Intake vents: place low — soffits or near the bottom of walls on the opposite side to encourage cross-flow. Ensure insect mesh covers intakes.
- Avoid locating vents over shelving where expelled dust could settle on contents, or directly above stored goods.
Material durability notes for Australian weather: stainless steel rivets and butyl flashing perform best long-term; standard galvanised steel is acceptable but will show rust sooner in coastal or high-humidity suburbs. UV-exposed plastic vents should be rated for 10+ years or have replaceable caps.
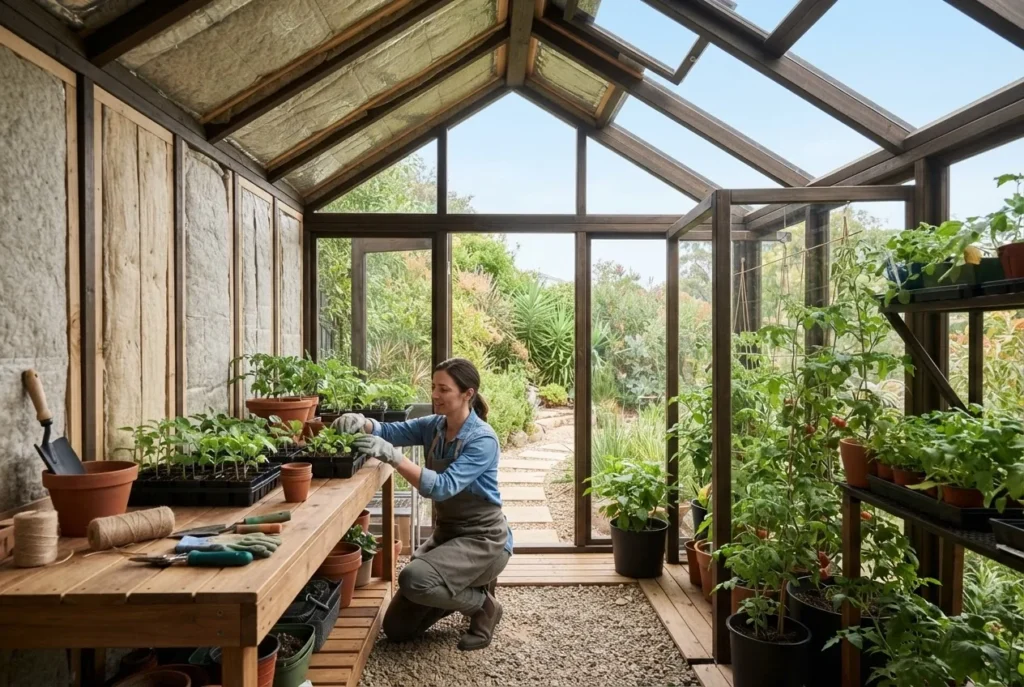
For garden sheds that double as mini-greenhouses, ventilation needs differ — see the garden shed greenhouse efficient ventilation for complementary strategies on seasonal vents and passive cooling.
Shed Ventilation Systems: Beyond Roof Vents
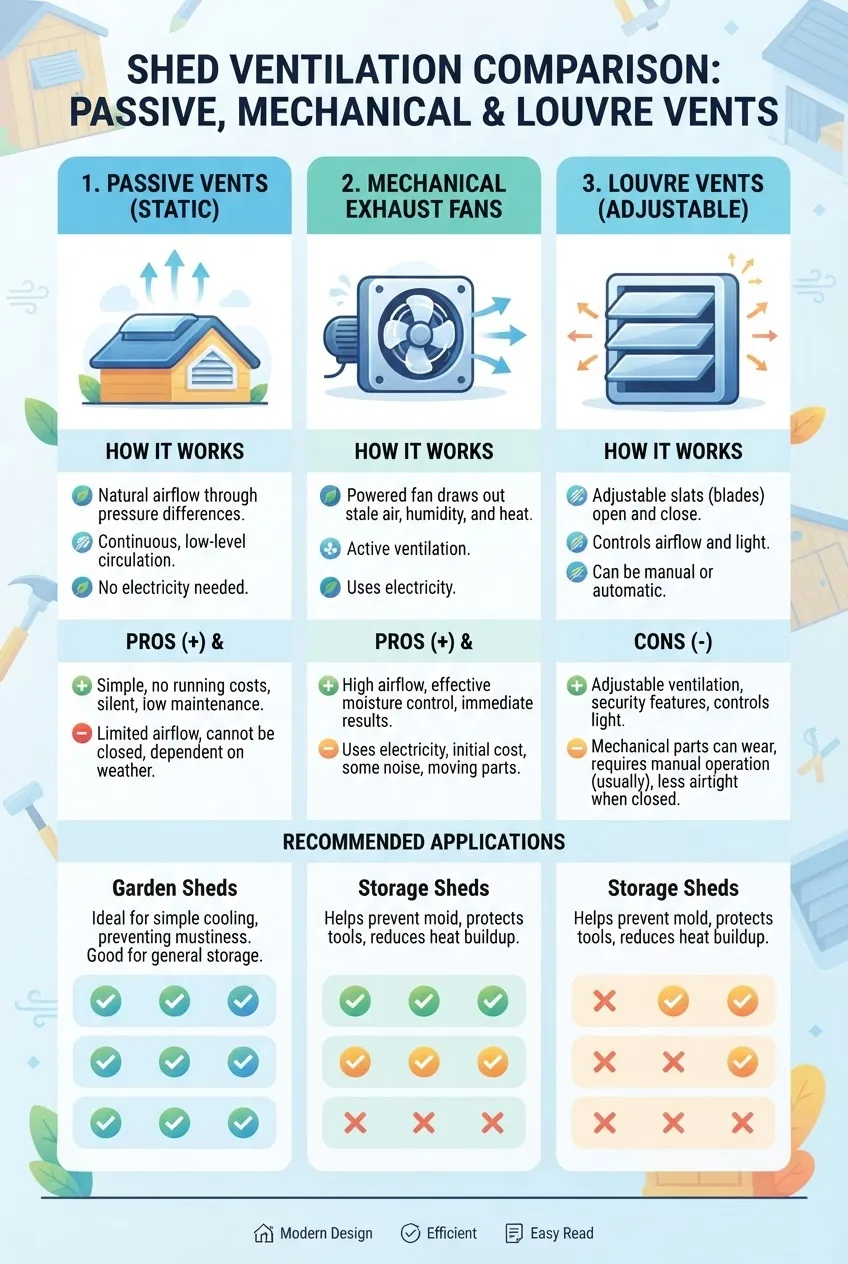
Roof vents are one part of a system. A combined approach matches intake (soffit/wall), exhaust (ridge/turbine/fan) and sometimes mechanical assistance for reliable control.
| System | How it works | Best for | Pros / Cons |
|---|---|---|---|
| Passive roof + soffit | Intake through soffits, exhaust via ridge/turbine | Most garden and storage sheds | Pros: low cost, no power. Cons: needs balance and clear soffits. |
| Mechanical exhaust fan | Fan forces air out; intake via soffit or louvres | High moisture loads, workshops, chemical storage | Pros: reliable flow. Cons: power, noise, maintenance. |
| Wall/gable cross-flow with vents | Low wall intakes and opposite high wall exhausts | Flat roofs, small sheds | Pros: simple install. Cons: less stack effect in tall sheds. |
| Hybrid (passive + timed fan) | Passive vents with thermostatic or humidistat fan backup | Seasonally variable climates like Melbourne | Pros: energy-efficient, responsive. Cons: higher initial cost. |
For examples of ventilation in specific shed types, especially timber fuel storage, see the firewood shed design and construction guide for designs that prioritise airflow without weather exposure.
Installation Tips for Roof Air Vents and Ventilation Systems
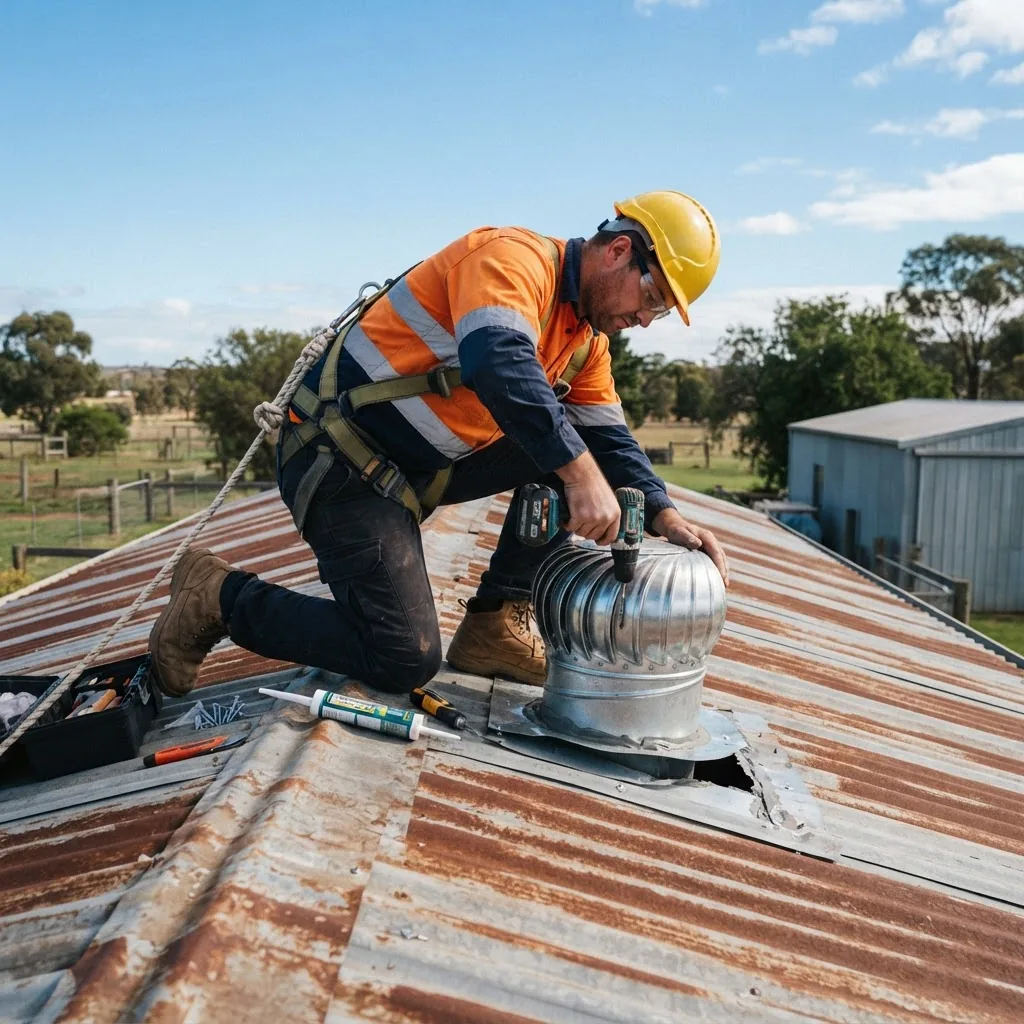
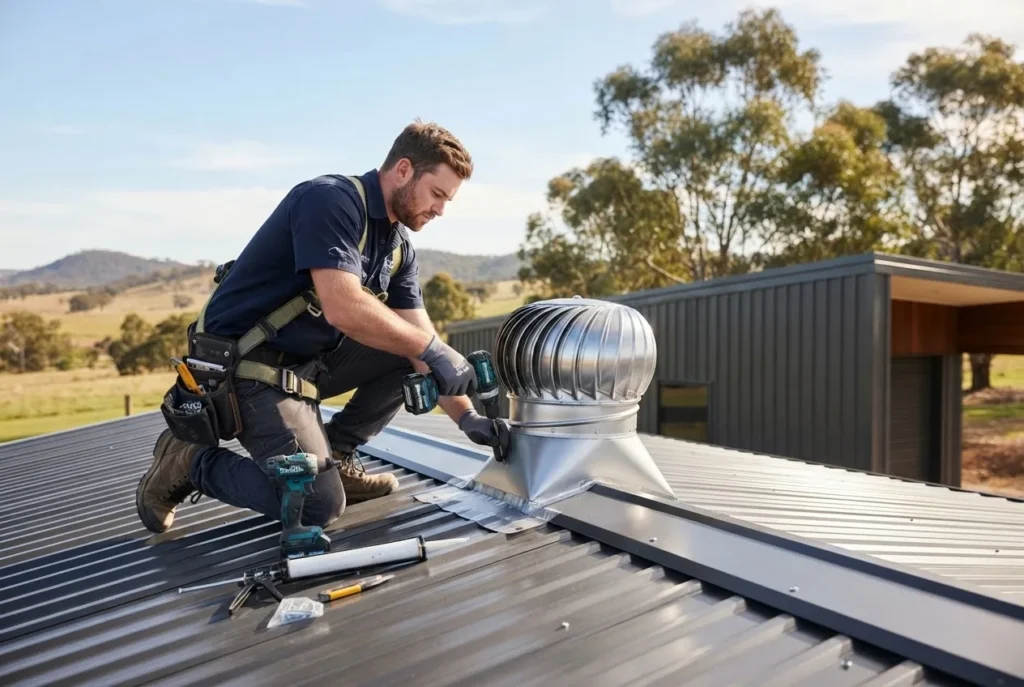
The following numbered steps form a practical installation workflow derived from a real Melbourne 3×3 m garden shed project, with a tool checklist and timings.
- Plan vent layout (30–45 minutes) — Mark intake (soffit/low wall) and exhaust (ridge or upper roof) positions. Rule: exhaust high, intake low on opposite side. For a 3×3 m shed use at least one 150 mm turbine or 600 mm continuous ridge vent plus 2×100 mm soffit vents.
- Measure and mark cut lines (15–30 minutes) — Use tape measure and centre punch; measure twice. For turbine vents, centre punch a 150 mm diameter; for box vents follow manufacturer template.
- Prepare safety and rooftop access (15 minutes) — Secure ladder, fit harness or use guard rails. If uncomfortable with heights or roof fragility, hire a licensed roofer.
- Cut the roof opening (20–35 minutes) — For corrugated iron, cut with metal nibblers or jigsaw with metal blade; remove burrs with file. Protect underlying insulation with tape before cutting. Keep the opening 5–10 mm larger than flashing base to allow sealant compression.
- Fit flashing and insect mesh (10–20 minutes) — Apply butyl flashing tape around the cut edge, position insect mesh beneath the vent base on intakes, and ensure mesh is secured with stainless screws to prevent pests.
- Attach vent and fasten (15–25 minutes) — Use stainless screws with sealing washers; do not over-torque. For turbine vents, ensure bearing spins freely. For ridge vents, fasten every 300–500 mm as per manufacturer.
- Seal and weatherproof (10–20 minutes) — Apply neutral-cure silicone around the flashing perimeter and screw heads. For Colorbond roofs, use matching colour flashings where visible to reduce galvanic corrosion.
- Test airflow and balance (10–30 minutes) — Close shed and use a smoke pencil or incense stick to check flow from intake to exhaust. For mechanical fans, test with power on and confirm airflow meets design ACH target.
- Final inspection and reinforcements (15 minutes) — Check interior for leaks after a simulated rain test (hose test), ensure no light leaks, and secure any loose edges.
Practical Tool Checklist from the Melbourne project:
- Drill with 8–12 mm bits, jigsaw with metal blade, rivet gun, silicone gun, ladder, breath mask for dust.
- Consumables: butyl flashing tape (10 mm × 10 m), stainless screws (M6 with neoprene washers), 300 ml neutral cure silicone tubes (x2), insect mesh roll (1 m × 5 m).
corrugated iron shed installation tips explain profile-matching flashings and fastener placement for corrugated roofs.
roof ventilation installation guide is a good next read for roof-flume and advanced flashing methods.
Compliance and safety: follow Australian Standards for roof penetration and flashings; consult Australian Building Codes Board guidance and local council for any building approval questions. According to a 2024 industry report on small structure ventilation, correct sealing and flashings reduced water ingress incidents by over 60% on retrofit installs (source: 2024 industry report).
Maintenance and Troubleshooting Common Ventilation Issues
Regular maintenance keeps vents functioning for decades. Follow these practical checks every 6–12 months and after major storms:
- Clean leaves and dust from turbine bearings and louvres — lubricate per manufacturer.
- Check silicone seals and butyl tape for UV-chalking; replace if cracked.
- Inspect insect mesh for holes and repair with stainless pop-rivets and mesh patch.
- Check screw fixings for corrosion and replace with stainless fasteners where necessary.
Troubleshooting tips (bullet list):
- Problem: persistent condensation. Fix: increase intake free area by adding soffit vents or a low wall vent; add a small thermostatic exhaust fan for 1–2 hours after humid evenings.
- Problem: vents rattle in wind. Fix: check for loose screws; add neoprene washers or a thin rubber gasket under the vent base to damp vibration.
- Problem: pests entering vents. Fix: install 1–2 mm stainless mesh and ensure no gaps under flashings.
- Problem: water leaks around vent. Fix: remove sealant, clean surfaces, apply butyl flashing and neutral-cure silicone; check roof profile alignment and fastener placement to ensure watertightness.
Refer to Australian Standards for roofing and ventilation materials to ensure compliance. For science-based condensation thresholds, CSIRO research shows that dew-point surfaces form when internal RH and surface temperatures cross critical boundaries; ventilation reduces indoor RH which lowers condensation risk (reference: CSIRO). If a vent type repeatedly fails in your area due to heavy storms, consider switching to baffle ridge vents or louvred vents with proven water-shedding designs.
Cost Considerations and Where to Buy Roof Air Vents in Melbourne
Costs vary by vent type and installation complexity. Typical ballpark figures for Melbourne (2024 regional averages):
- Small static roof vent: $25–$70 each (retail)
- 150 mm turbine vent: $80–$220 each depending on material and bearing quality
- Continuous ridge vent (Colorbond-compatible): $120–$350 per metre installed
- Thermostatic exhaust fan (installed): $450–$1,200 depending on electrical work and controls
- Professional installation: $150–$450 per vent for a standard shed roof (varies by height and roof complexity)
Cost drivers include material (stainless vs painted steel vs plastic), number of penetrations, access difficulty, and whether you pair ventilation with insulation upgrades.
awning shed installation and cost tips is a helpful cross-reference for understanding wider shed installation expenses.
Recommended local supplier types (generic recommendations):
- Local roofing and metal supply yards (for Colorbond-flashed vents)
- Industrial hardware stores (for turbine vents and fans)
- Specialist ventilation suppliers (for continuous ridge systems and fans)
Look for products with at least a 5-year warranty and check manufacturer free-area performance sheets. For regulatory standards consult Australian Standards for material and installation specifications.
How Roof Air Vents Work With Shed Insulation for Optimal Results
Ventilation and insulation are complementary: vents move moist air out, insulation reduces cold surfaces where condensation forms. For optimal results pair a balanced ventilation system with a vapour-permeable insulation approach that avoids trapping moisture against metal cladding.
Key integrations:
- Install vents before lining the roof with insulation panels; position insulation so airflow paths are maintained (i.e., leave 25–40 mm clear air gap above foil-faced panels to the ridge vent).
- Use breathable insulation in high-humidity areas and avoid continuous impermeable liners against cold metal unless a vapour barrier is used correctly on the warm side.
- Match vent free area to insulated volume — heavier insulation means lower internal temperature swings and less passive stack effect, so mechanical assistance may be needed to maintain ACH targets.
shed insulation guide with panels and wall insulation tips is essential reading for combining ventilation and insulation effectively.
shed cabin planning with ventilation and insulation gives broader storage-planning examples that mesh ventilation into layout decisions.
shed insulation rolls buying guide is useful when choosing between batts, rolls and foil-faced panels depending on your ventilation strategy.
Hands-On: Common mistakes and how to avoid them
From my experience on multiple Melbourne sheds I have seen repeated mistakes. Here are the top failures I personally observed and how I fixed them:
- Failure: installing only exhausts with no intake. I once fitted two turbines to a small shed and left soffits closed — turbines spun but airflow remained poor. Fix: add soffit intakes equal to exhaust free area.
- Failure: poor sealing around vents on corrugated roofs. I cut exactly to flash dimensions and over-tightened screws, causing leaks. Fix: leave 5–10 mm tolerance, use butyl tape, and use sealing washers rather than over-torquing.
- Failure: ignoring insect mesh. I retrofitted a shed that quickly became home to wasps because there was no mesh. Fix: always fit 1–2 mm stainless mesh on intakes and check for damage every 6 months.
- Failure: selecting plastic vents for high-UV exposure. A cheap plastic turbine cracked after 4 years in full sun. Fix: choose UV-rated plastic or painted steel for longevity.
Verification checklist
- Intake free area ≥ exhaust free area (measure or verify manufacturer free-area data).
- Exhaust vents located at ridge or highest practical roof position.
- Intakes low and screened with 1–2 mm stainless mesh.
- All penetrations flashed with butyl tape and sealed with neutral-cure silicone.
- No light leaks around flashings (light test inside at night).
- Vent bearings spin freely (for turbines) and fans operate within rated RPM/flow.
When to call a professional
Hire a licensed roofer or electrician if:
- Roof height or pitch prevents safe DIY access.
- Installing powered exhaust fans requiring electrical work — an electrician is required for fixed wiring and safety compliance.
- Roof penetrations compromise structural members or the shed is under building approval constraints — consult a building surveyor.
Conclusion
Proper roof air vents selection and a balanced ventilation system cut condensation, protect stored goods, and extend shed life — especially in Melbourne’s variable climate. Use the sizing rules and the installation checklist here, verify intake/exhaust balance, and pair ventilation with the right insulation strategy for best results. If unsure about electrical work or roof safety, bring in a licensed professional. Ready to start? Gather the tool checklist above and review the vent free-area sheets for the units you’re considering before purchase.