

Shed insulation rolls Buying Guide — By the end of this hands-on guide you will have measured your shed, chosen the most cost-effective insulation roll for Melbourne conditions, estimated quantities, and completed a safe DIY installation. Expect 4–10 hours total (depending on shed size) and a moderate DIY skill level (basic carpentry and safe handling).
Before you start
- Prerequisites: basic measuring tape, step ladder, stable work gloves, safety glasses.
- Tools: utility knife with new blades, straight edge, staple gun (or tek screws and washers for metal sheds), insulation tape, respirator rated for dust, tape measure, marker, chalk line.
- Materials: chosen insulation rolls, vapour barrier (if required), battens or furring strips for fixing, aluminium foil tape, sealant.
- Permissions: check local council requirements if you alter structural elements or change electrical/heating systems.
Understanding Shed Insulation Rolls: What They Are and How They Work
This section explains exactly what you’re buying and why the roll format performs differently from batts, sheets or sprayed foam. Think of the insulation roll as a thermal blanket you unroll across your shed’s roof or walls to reduce heat transfer and control condensation.
What shed insulation rolls are: long, flexible insulation products sold in continuous lengths designed to fit between framing or to be attached to surface planes. Common roll constructions include reflective foil-faced rolls, fiberglass rolls, foam-backed rolls and bubble wrap insulation. They create layers that resist conductive and radiant heat transfer.
How they work: rolls combine two thermal mechanisms — conductive resistance (measured by R-value of insulation) and, for foil/reflective types, radiant barrier performance. R-value quantifies how well a material resists heat flow; higher R-values equal better thermal performance per thickness. For reflective rolls, the primary effect is reducing radiant heat exchange by reflecting infrared energy away from metal roofs.
Key performance factors:
- R-value of insulation — determines conductive resistance. For rolls this varies by material and thickness.
- Thermal performance — how the roll performs in roof vs wall applications changes because of orientation and air gaps.
- Moisture and condensation control — foil-faced and closed-cell foam rolls help manage condensation; fibreglass is hygroscopic unless protected by foil/vapour barrier.
- Longevity and durability of insulation rolls — depends on material, exposure to moisture, UV and mechanical damage.
Standards and regulation: When selecting a minimum R-value and installation approach, consult the national guidance. According to a 2024 Australian Building Codes Board report on thermal performance, minimum acceptable R-values vary by climate zone and application — check the AB… guidance before final selection. Australian Building Codes Board
For a broader look at panel and wall solutions, see Shed Insulation Guide with Panels and Wall Insulation Tips.
Transition: With the basics covered, next we compare the popular roll materials so you can match thermal performance, moisture control and cost to your Melbourne shed.
Types of Shed Insulation Rolls and Their Pros & Cons
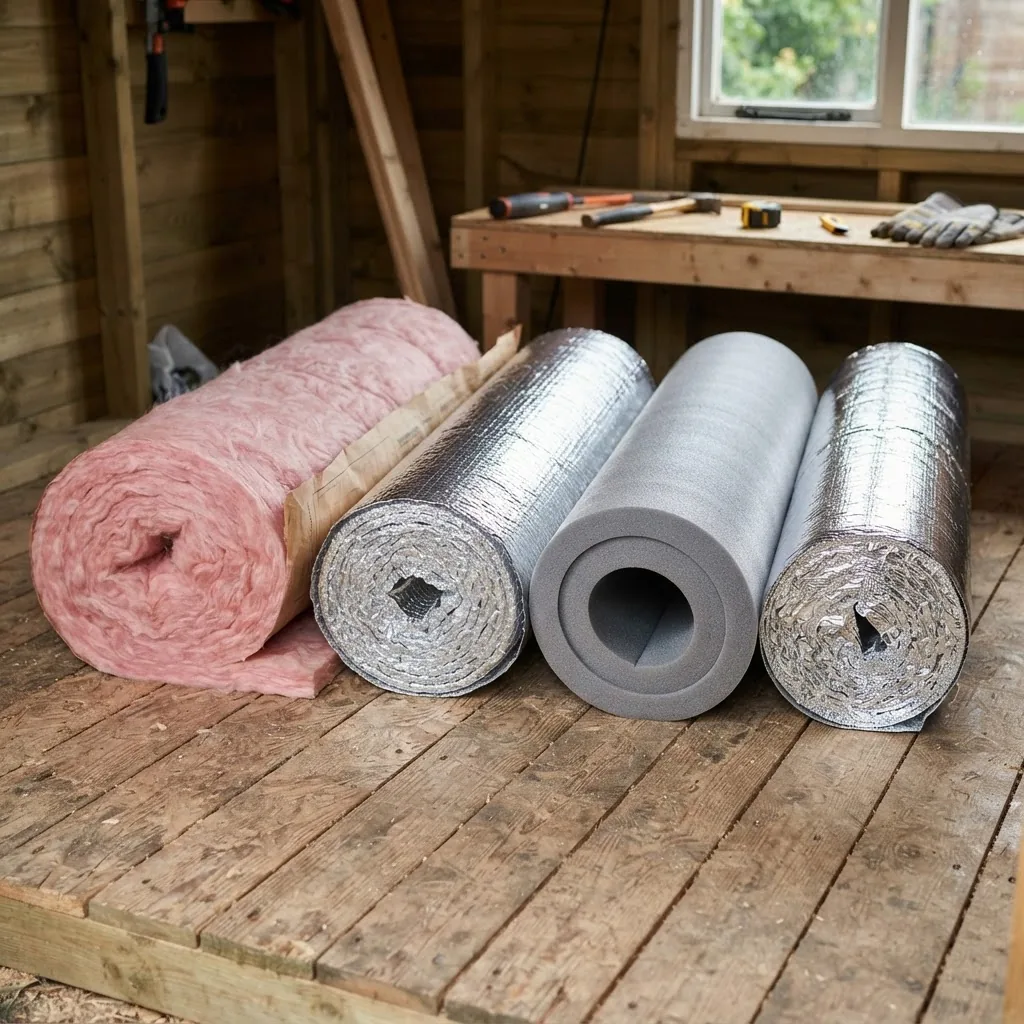
| Type | Typical R-value (per installed layer) | Thermal performance | Moisture / condensation control | Cost per m² / roll (Melbourne typical) |
|---|---|---|---|---|
| Foil / reflective rolls (single/double sided) | Low to moderate (R0.5–R1.5 with air gap) | Excellent radiant barrier in hot sun; less effective conductively | Good for condensation when facing inner airspace; doesn’t absorb moisture | ≈ $3–$8 /m²; rolls $40–$120 |
| Fiberglass rolls | Moderate to high (R1.5–R3.0 depending on thickness) | Good conductive resistance when installed with correct thickness and air gaps | Can trap moisture unless foil-faced or paired with vapour barrier | ≈ $6–$15 /m²; rolls $80–$250 |
| Foam-backed rolls (closed-cell) | Moderate (R1.0–R2.0) | Balanced; adds insulation and barrier effect with thinner profiles | Good moisture resistance; closed-cell resists water | ≈ $8–$20 /m²; rolls $100–$300 |
| Bubble wrap insulation (foil-laminated) | Low (R0.5–R1.0) | Best for reducing radiant heat and draft sealing; poor conductive value | Does not absorb water; requires proper sealing to control condensation | ≈ $3–$10 /m²; rolls $30–$120 |
Comparison notes (prose):
- Foil/refelctive insulation is highly cost-effective for metal sheds in Melbourne that heat up under the sun; it reduces radiant heat gain in summer but contributes less to winter thermal resistance unless used with an air gap and supporting layers.
- Fiberglass rolls provide the best R-value per thickness for cold-season comfort and are a proven choice for timber-framed walls and ceiling cavities. They must be protected from moisture and require safety precautions during handling.
- Foam-backed rolls are easier to install in exposed roofs because they combine insulation and a moisture barrier; they perform well on both metal and timber but are pricier.
- Bubble wrap (reflective bubble) excels as a cheap radiant barrier and for draught sealing; it’s commonly used as cheap shed insulation when combined with ventilation.
Which should you prioritise? For Melbourne’s mixed climate, a combination often works best: reflective foil on the outside of the rafters to block summer heat, plus a thin fibreglass or foam roll for winter R-value. This layered approach manages both radiant and conductive heat transfer while addressing condensation.
Transition: Now that you know material differences and price bands, the next section helps you pick the right roll by matching local climate, shed material and budget.
Choosing the Right Shed Insulation Rolls for Your Needs in Melbourne
Choose insulation by weighing climate, shed structure, moisture risk and cost. Below is a how-to selection process with a Melbourne-focused infographic placeholder to guide visual comparison.
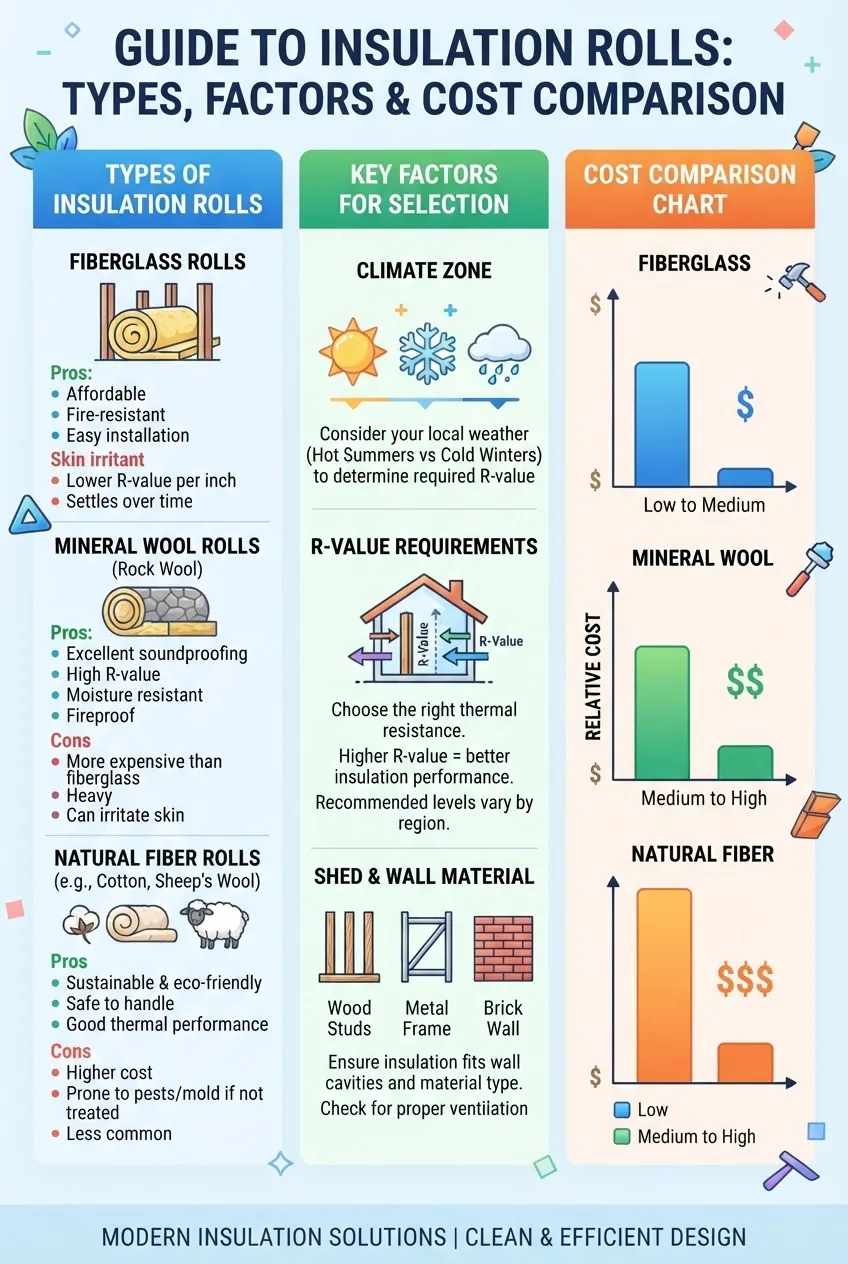
- Assess your Melbourne climate exposure — check local stats: average summer highs ~25–26°C and winter lows around 6–8°C, with coastal humidity and occasional cold snaps. According to the Bureau of Meteorology 2023 climate averages for Melbourne, seasonal temperature swings and humidity increase condensation risk in metal sheds. Bureau of Meteorology
- Decide target R-value — match to shed use:
- Unheated garden shed: R1.0–R1.5 (basic comfort and condensation control)
- Workshop or hobby room used year-round: R2.0–R3.0 recommended
- Temperature-sensitive storage (tools, paint): aim R2.5+
Reference: According to a 2024 Australian Building Codes Board report, recommended R-values vary by climate zone and internal use—check specific zone tables when finalising R-values. Australian Building Codes Board
- Match material to shed wall/roof type — metal sheds (corrugated iron/Colorbond) heat and condense quickly; foil reflective rolls plus foam-backed layers work well. Timber-framed sheds accept fibreglass rolls easily.
For corrugated metal specifics, see corrugated iron shed installation.
- Decide budget vs longevity — cheap shed insulation (bubble wrap or single-layer foil) will reduce peak summer temps and save upfront costs but typically needs replacement sooner. Foam-backed and fibreglass rolls cost more but offer better long-term thermal performance. Use the cost analysis section below for precise price points and ROI estimates.
- Check for moisture and condensation control — for Melbourne’s cool humid winters, prioritise vapour barriers or closed-cell foam layers on the warm side of the insulation to avoid interstitial condensation. For metal roofs, create a small air gap between metal and insulation when using foil to avoid heat bridging.
- Estimate area and quantity — measure shed internal area:
- Measure length × width for walls (perimeter height) and length × width for roof slope area.
- Allow 5–10% waste for trims and overlaps.
- Checklist example: 3 m × 4 m shed, walls 2.4 m high, roof single slope 12 m² — total insulation area ~(perimeter walls 14m × 2.4m = 33.6m²) + roof 12m² = 45.6m²; buy 50m² of roll to allow waste.
- Local supplier and brand check in Melbourne — compare local prices and availability. Example suppliers: hardware chains, insulation specialists and building suppliers in Melbourne metro. Check local availability before committing to foam-backed rolls that may be stocked less widely.
- Final check: ventilation strategy — insulation must pair with ventilation to prevent moisture build-up. If you’re unsure about vents, see the roof air vents buying guide and roof ventilation installation tips for compatible systems.
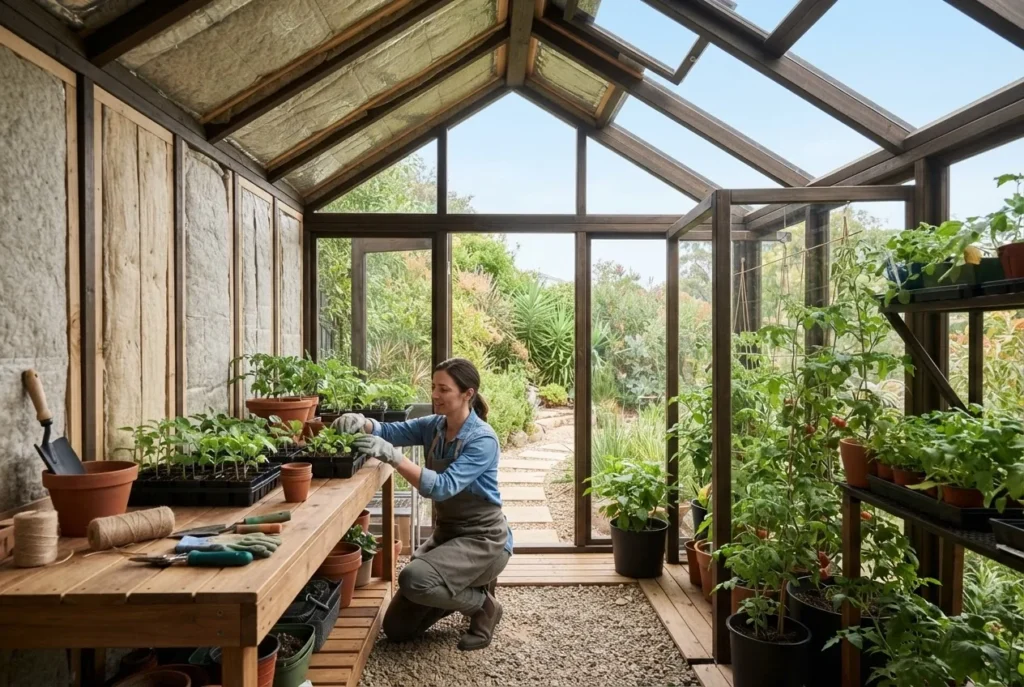
- Consider local variations — if your shed sits exposed or in coastal salt air, prefer closed-cell foam or foil-faced materials for corrosion and moisture protection. For garden sheds with greenhouse features, see garden shed greenhouse efficiency.
- Other useful links and local supplier discovery — If you’re exploring sheds for sale or local builders to bundle insulation with structure, see:
Transition: Once you’ve selected the roll type and quantity, follow the step-by-step installation method below for best results and safety.
Installation Guide for Shed Insulation Rolls: Tips for Best Results
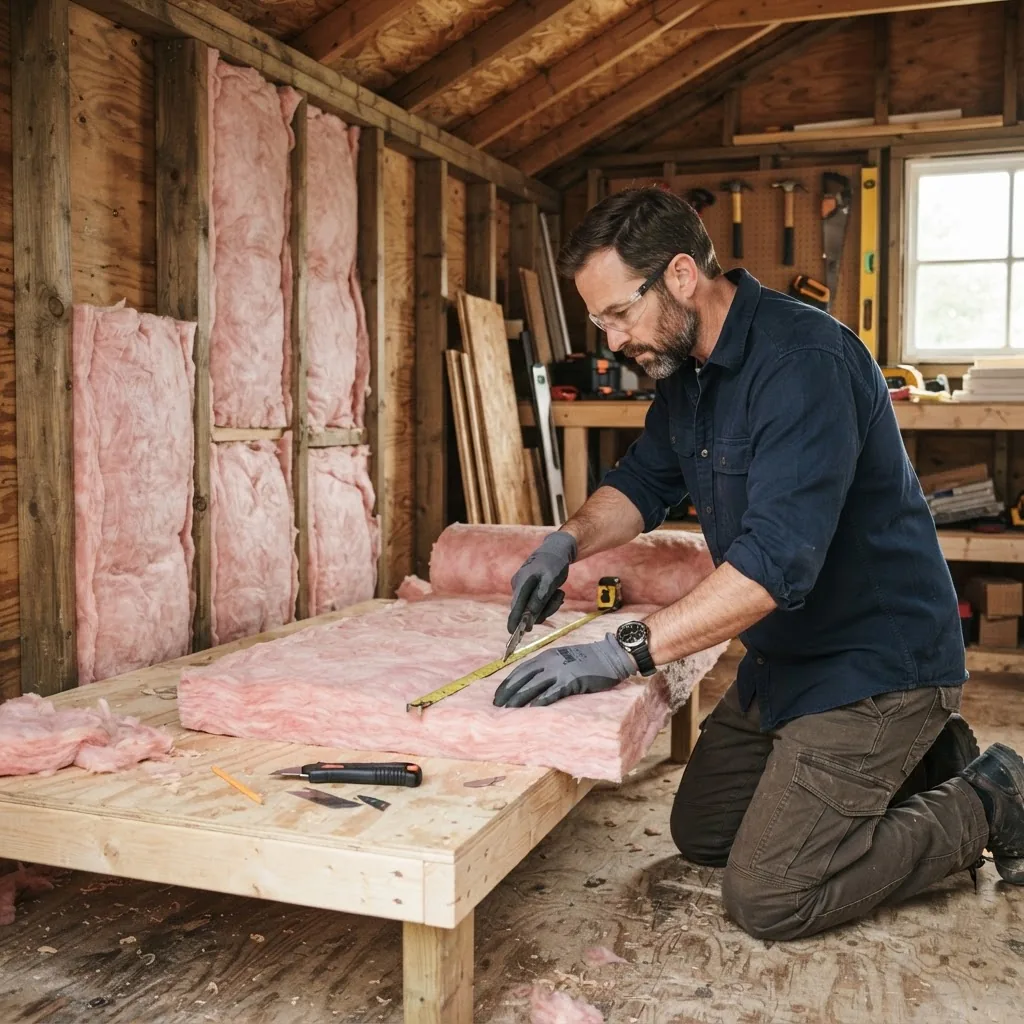
Before the numbered steps: safety first. Read the safety considerations section below: wear gloves, eyewear and a respirator when handling fibreglass; avoid compressing rolls (reduces R-value); ensure adequate ventilation during and after installation.
- Measure and mark the area — measure each wall and roof panel. Record lengths and heights on a sketch. For sloping roofs, measure slope length. Add 10% for waste. Example: for a 3×4 shed with 2.4 m walls, buy 50 m² of roll for 45.6 m² measured area.
- Prepare the shed interior — clear tools and materials, sweep dust, and inspect the structure for leaks or rust. Fix any gaps in the roofing or wall flashings that could allow water ingress. For metal sheds, check for sharp edges and protect insulation from abrasion.
- Cut insulation to fit — unroll to a flat surface, mark, and cut with a sharp utility knife using a straight edge. For fibreglass, cut from the back using a serrated blade to avoid loose fibres. Wear gloves and respirator. Cut pieces 10 mm shorter than cavity width so roll fits without compression.
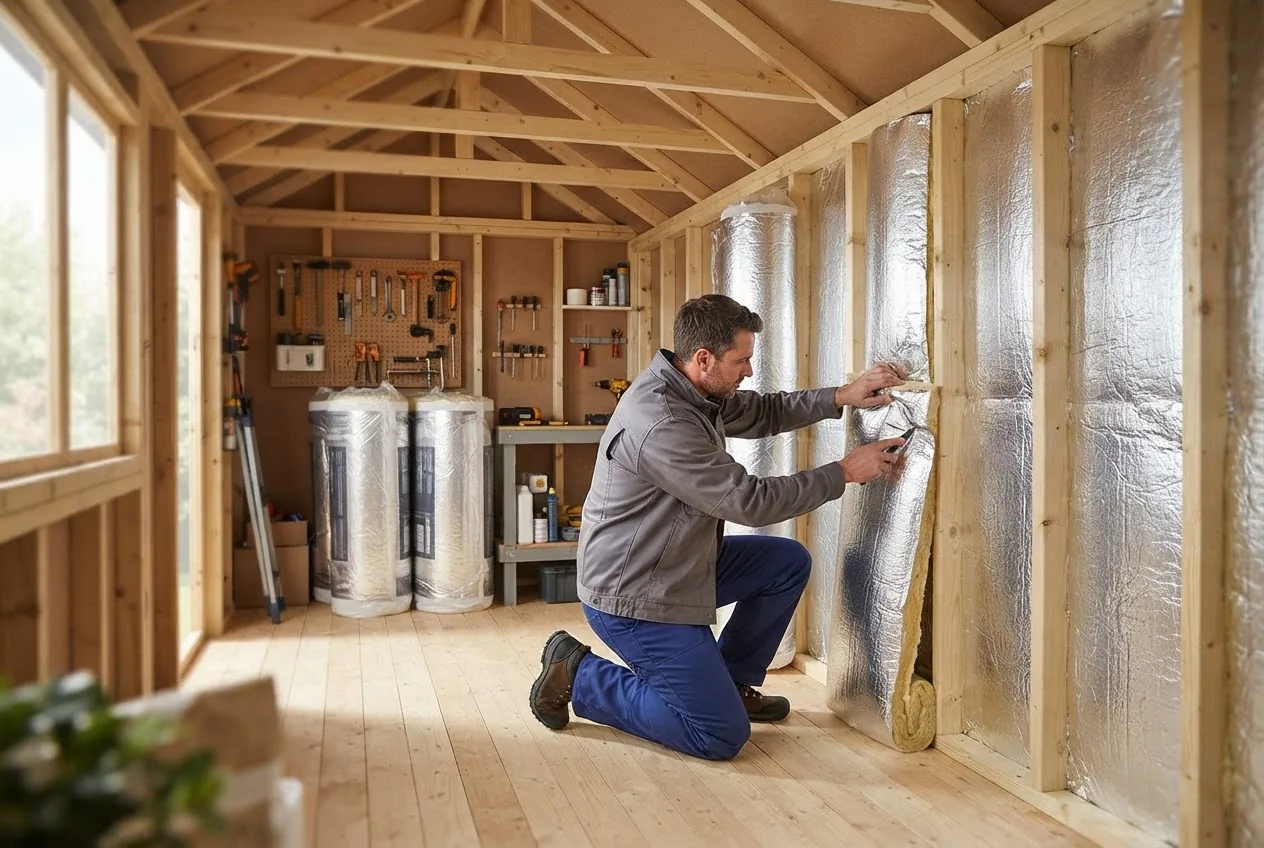
- Fixing to timber studs — staple or friction-fit fiberglass or foam rolls between studs. Use battens if you need a clean finish or to create an air gap. Do not compress rolls; maintain manufacturer’s thickness to preserve R-value.
- Fixing to metal sheds — for foil and foam rolls use tek screws with large washer plates or adhesive where recommended. Create a 10–20 mm air gap under metal roof sheets if using reflective foil to maximise radiant barrier effect. Use sealant on screw penetrations to prevent moisture entry.
- Sealing joints and overlaps — overlap foil-faced rolls by 50–100 mm and tape with aluminium foil tape. For fibreglass, install a continuous vapour barrier on the warm side (interior for Melbourne) where condensation is a risk. Seal around penetrations (lights, vents) carefully to maintain the barrier.
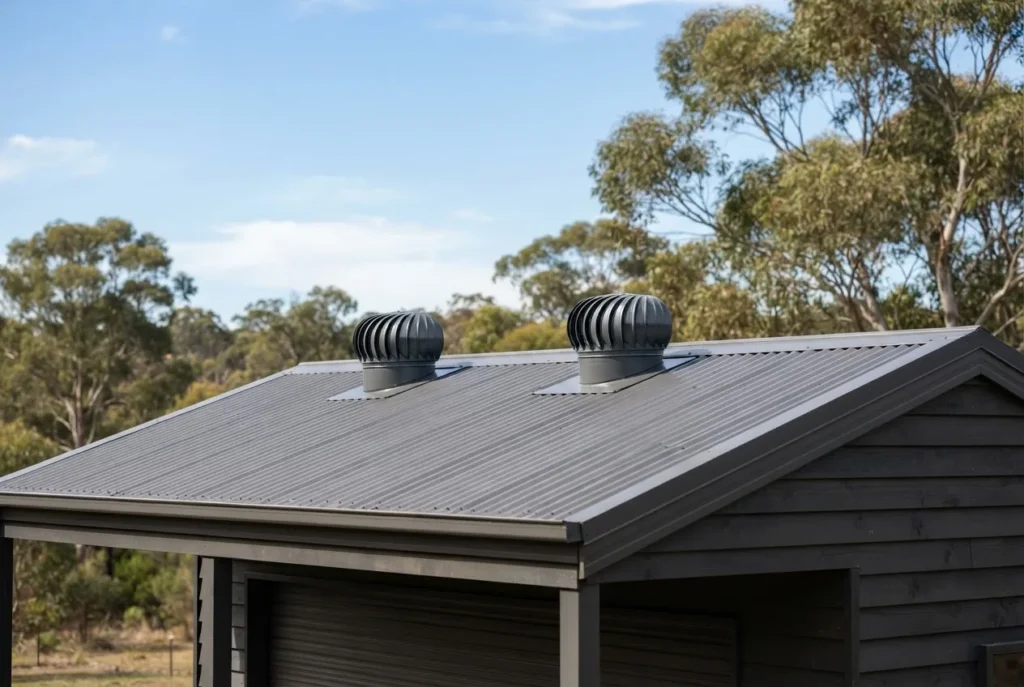
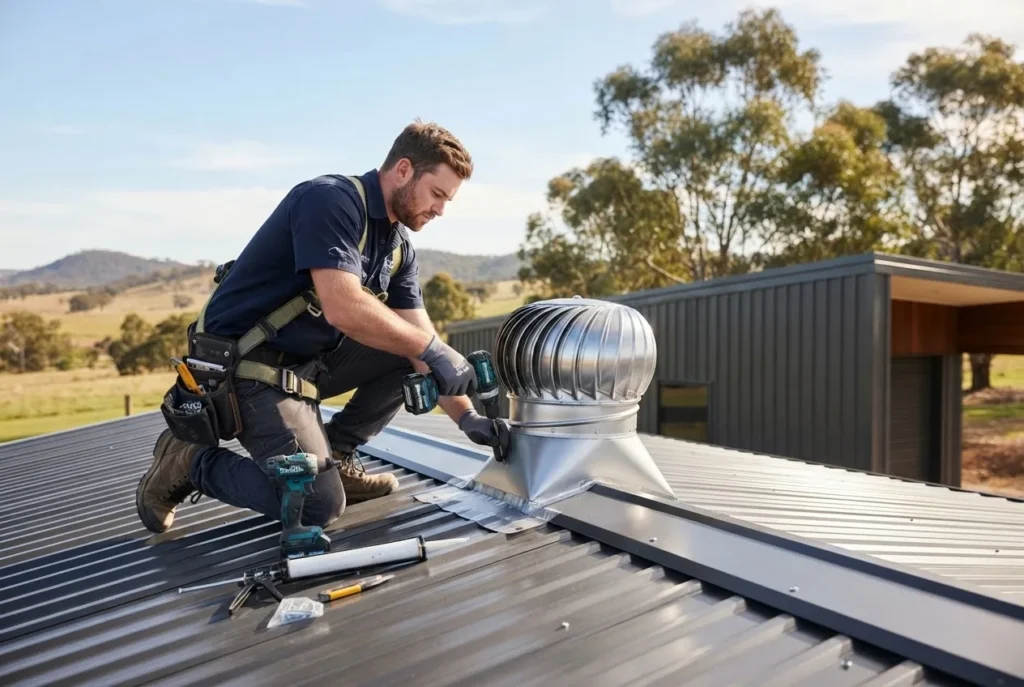
- Provide ventilation — install roof vents or eave vents to allow moisture-laden air to escape. Ventilation complements insulation and prevents condensation on metal surfaces; see the best roof vents for ventilation, roof air vents buying guide, and roof ventilation installation tips for compatible systems.
- Install interior lining (optional) — attach ply or gyprock over insulation for a clean finish and added protection; ensure the lining does not compress insulation or block ventilation paths.
- Inspect and test — check for gaps, sagging or exposed insulation, and confirm vents are unobstructed. After finishing, monitor the shed for 2–4 weeks for signs of condensation or hot spots.
DIY vs professional installation: small timber-framed sheds (under 20 m²) are usually sensible DIY projects. For large metal sheds, high roofs or where cutting structural elements is required, consider professional help. Labour charges in Melbourne for professional installation typically add 30–70% to material costs but reduce risk of condensation mistakes and warranty issues.
Transition: cost considerations help you choose whether to DIY or hire a pro; read the cost analysis below.
Cost Analysis: Cheap Shed Insulation Rolls Options and Budget Tips
Stat block — Typical Melbourne price bands (2024 estimates):
- Foil reflective rolls: $40–$120 per roll (~$3–$8 /m²)
- Fiberglass rolls: $80–$250 per roll (~$6–$15 /m²)
- Foam-backed rolls: $100–$300 per roll (~$8–$20 /m²)
- Bubble wrap reflective rolls: $30–$120 per roll (~$3–$10 /m²)
Prices vary by brand, thickness and supplier; local Melbourne hardware and insulation merchants may offer bulk discounts.
Cheap shed insulation options (and caveats):
- Reflective bubble wrap or single-layer foil: cheapest upfront and easy to install — good for summer radiant heat and to reduce glare; poor winter R-value and longevity. Expect replacements in 5–10 years in exposed sheds.
- Cheap fiberglass rolls: lower-grade fibreglass is budget-friendly but compresses easily and suffers performance loss if wet. Use vapour barriers and protect from rodents.
- Used or surplus rolls: can be very cheap; inspect for mould, compression or water damage before purchase.
Budget tips to save money without sacrificing long-term value:
- Layer for cost-effectiveness: pair inexpensive reflective foil to cut summer peaks with a thin fiberglass layer for winter R-value — often cheaper than a single thick foam roll that provides similar year-round comfort.
- Buy local in bulk: larger rolls and pallet pricing at Melbourne distributors can reduce per-m² cost by 15–30%.
- Shop off-season: buy insulation outside peak construction periods when suppliers clear stock.
- DIY installation: for small sheds, install yourself to save labour costs — but budget safety gear and take time to seal joints properly.
- Compare cost per R-value: divide cost per m² by R-value to compare thermal bang-for-buck; lower ratio = better value.
Consider your shed’s Colorbond type when planning — see Windspray Colorbond shed costs for how finish and colour affect heat absorption and insulation needs.
Local supplier options and pricing in Melbourne: check major hardware stores, insulation specialists and local wholesalers. Ask for product data sheets showing R-values and moisture resistance; insist on Australian standards compliance and manufacturer warranties. Sample price-check call script: “I need 50 m² of 50 mm fibreglass roll with foil facing, price per roll, availability and delivery to Melbourne postcode 3000.”
Transition: after purchase and installation, maintain your insulation properly to preserve thermal performance and longevity.
Maintenance and Longevity of Shed Insulation Rolls
Proper maintenance extends lifespan and preserves R-value. Most rolls last 10–30 years depending on material, installation quality and environmental exposure.
Practical maintenance tips and troubleshooting:
- Inspect annually for tears, sagging and moisture stains. Address any leaks immediately to avoid mould and R-value loss.
- For fibreglass, look for clumping or discolouration; if damp, fully dry or replace the affected section. Drying in place is rarely sufficient if saturation is heavy — replacement is safer.
- For foil rolls, check tape joints for degradation and re-seal with aluminium tape as needed.
- Protect from pests: apply rodent barriers and inspect for gnaw marks. Replace small chewed sections promptly.
- Ventilate seasonally: open vents for a few days after wet weather to remove trapped moisture.
Troubleshooting example: If you see condensation on the underside of a metal roof after installing fibreglass, check that you installed a warm-side vapour barrier and that roof vents are unobstructed. Often the fix is adding 25–50 mm air gap and re-sealing vapour barrier seams.
For sheds storing wood, layout and airflow affect insulation durability—see firewood shed construction tips for design impacts on insulation lifespan.
Transition: If you still have questions, consult the FAQ below or call a professional for complex roofs or persistent condensation issues.
Frequently Asked Questions
What are shed insulation rolls and why should I use them?
Shed insulation rolls are long, flexible thermal layers you attach to walls or roofs to reduce heat transfer and manage condensation. They’re cost-effective for seasonal comfort and protecting stored items, offering quick coverage and ease of installation compared with rigid panels or spray foams.
How do foil insulation rolls compare to fiberglass for sheds?
Foil rolls excel at reflecting radiant heat (best for summer and metal roofs) but have low conductive R-value. Fiberglass rolls provide higher R-value for winter thermal resistance. Combining foil for radiant control and fiberglass for R-value gives balanced year-round performance.
What is the best R-value rating for shed insulation rolls in Melbourne?
For Melbourne’s mixed climate, aim for R1.0–R1.5 for basic sheds and R2.0–R3.0 for workshops or year-round use. According to a 2024 Australian Building Codes Board report, choose higher R-values for conditioned or frequently used spaces.
How do I install shed insulation rolls myself safely?
Measure accurately, wear gloves, eye protection and a respirator for fibreglass, cut rolls with a sharp knife, avoid compressing material, seal joints with aluminium tape and ensure roof ventilation to prevent condensation. Expect 4–10 hours for a typical small shed.
How much do shed insulation rolls typically cost per roll?
Typical Melbourne price bands (2024): foil $40–$120/roll (~$3–$8/m²), fibreglass $80–$250/roll (~$6–$15/m²), foam-backed $100–$300/roll (~$8–$20/m²). Prices vary by thickness, brand and supplier.
What are common problems when installing shed insulation rolls and how can I fix them?
Common issues: compression (reduces R-value), gaps at joints, trapped moisture and blocked vents. Fixes: use correct thickness, tape overlaps, add vapour barrier on warm side, and maintain continuous ventilation paths.
Are there any health or safety risks when handling shed insulation rolls?
Fibreglass can irritate skin, eyes and lungs; use gloves, goggles and a P2/P3 respirator. Follow local safety guidance from WorkSafe and dispose of waste per council rules. For detailed guidance see WorkSafe Victoria. WorkSafe Victoria
How long do shed insulation rolls usually last before needing replacement?
Longevity varies: reflective bubble and cheap foil 5–10 years in exposed locations; fibreglass and foam-backed rolls 10–30 years with good installation and dry conditions. Check annually for moisture damage and replace affected sections promptly.