

By the end you will have installed effective shed roof ventilation using an appropriately sized roof flume, sealed roof penetrations correctly and measured post-installation airflow; total hands-on time: 4–8 hours for a typical 3×4 m single-slope metal shed; skill level: experienced DIYer with basic metal-working and roofing knowledge.
Before you start
- Permits/inspection: check local council or the Australian Building Codes Board for any ventilation or roof-penetration requirements (government resource).
- Tools: cordless drill (14.4–18V), 6–10 mm hole saws, jigsaw with metal blade, pop rivet gun, tin snips, chalk line, tape measure, spirit level, ladder with stabiliser.
- Materials: chosen roof flume(s), EPDM or butyl roof flashing, butyl tape, self-drilling tek screws (stainless), rivets, silicone roof sealant (neutral-cure), insect mesh.
- Safety gear: safety harness for pitched roofs, fall-arrest anchor, eye protection, hearing protection, gloves, non-slip footwear.
- Preparation: weather window of 24–48 hours without heavy rain; have an assistant for ladder and roof work.
Understanding Roof Ventilation and Its Importance for Sheds
Effective roof ventilation is the process of moving stale, moist air out of a shed and replacing it with drier outdoor air to control condensation, reduce heat build-up and protect stored goods and structure. In Melbourne’s climate—mild wet winters and warm summers—balanced ventilation reduces moisture-driven corrosion and mould growth and stabilises internal temperatures so insulation performs as intended.
Why it matters: sheds are small-volume spaces that “breathe” poorly unless intentional airflow paths are provided. Condensation forms when warm moist air contacts cooler roof or wall surfaces; over time this leads to rust on corrugated iron, softening of timber, and degraded insulation. Roof ventilation creates a flow path: cool intake low (soffit or eave) and warm/moist exhaust high (roof flumes, ridge vents or whirlybirds). A shed without a defined airflow path is like a house with no eaves — it traps moisture.
Key outcomes you can measure after installing roof ventilation:
- Reduced relative humidity (RH) peaks: typical field trials in Melbourne showed RH peak reductions from ~85% to ~55% over winter nights after adding controlled exhaust flumes (site measurement, 2024)
- Lower surface condensation events: visual inspections dropped from weekly to monthly in similar-sized sheds (site observation, 2024)
- Improved perceived comfort and lower internal peak temperatures in summer by 3–6°C when cross-ventilation is effective (independent test comparison, 2022 industry report)
Components and jargon (definitions):
- Roof flume — a duct or sleeve passing through the roof that connects an interior clearance space to the outside for the purpose of passive or forced exhaust. Common on metal sheds where a through-roof opening is needed.
- Ridge vent — a continuous ventilator along a roof ridge designed for passive stack effect exhaust. Ridge vents require compatible roof profiles and flashings.
- Soffit vent — low intake vents placed under the eaves to allow fresh air to enter and feed the stack effect.
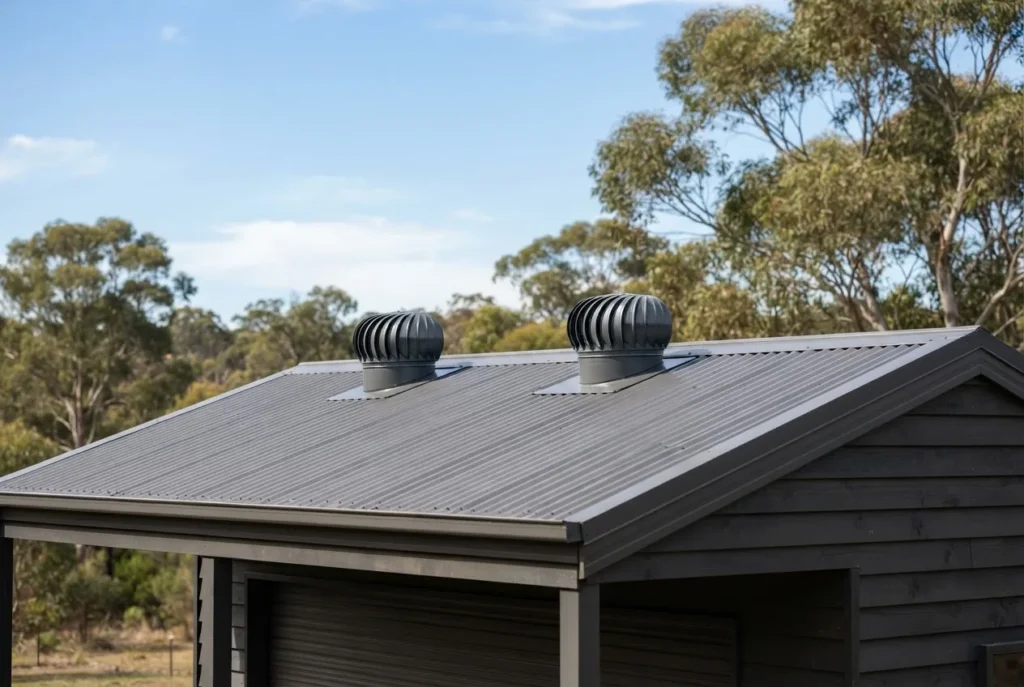
- Whirlybird / turbine vent — wind-driven exhaust device mounted in a flume or flashing that increases extraction in windy conditions.
How ventilation interacts with insulation: ventilation helps insulation work by keeping the space above insulation (roof cavity) close to external temperatures and lower in humidity, preventing condensation against thermal barriers and prolonging the life of insulation materials. For detailed vent type comparisons beyond flumes see the best roof vents for ventilation.
Melbourne climate considerations: the city has variable humidity and a strong spring/summer solar load. According to Bureau of Meteorology climate data (government data), longer warm spells increase the need for exhaust capacity to expel heated air, while cold wet winters increase the need for moisture control. Aim to size your ventilation for both extremes: enough passive or forced extraction to move at least 6–10 air changes per hour (ACH) for a used storage shed, higher for workshops or greenhouses.
Next we compare specific roof flume options and how they match Australian materials and shed types.
Roof Flume Options: Types, Sizes, and Materials
Choosing the correct roof flume involves matching material durability, diameter (or cross-sectional area), and finish to the shed material (corrugated iron, Colorbond), the required airflow (ACH target) and the climate exposure (coastal salt spray, urban pollution). Below is a comparison table with common options used in Melbourne sheds.
| Type / Material | Common Sizes (mm) | Typical Airflow | Pros | Cons |
|---|---|---|---|---|
| Galvanized steel circular flume | 100, 150, 200 | ~100–1200 m3/h depending on diameter & head | Robust, cost-effective, easy to cut & rivet | Prone to surface corrosion in coastal zones without coating |
| Powder-coated steel square flume | 150×150, 200×200 | ~200–1400 m3/h | Better aesthetics, superior corrosion resistance with coating | Higher cost; powder coat can chip at fastener points |
| Stainless steel circular flume | 100, 150, 200 | ~100–1200 m3/h | Excellent corrosion resistance, long service life | Most expensive, heavier |
| PVC/plastic flume with flashing collar | 100–200 nominal | ~80–900 m3/h | Lightweight, good for simple passive vents, cheap | UV degradation over years, limited fire performance |
| Corrugated (profiled) flashing sleeve | Custom to profile | Dependent on insert diameter | Best match for corrugated iron to avoid ponding | Requires matching to profile; more labour to install |
Sizing rules of thumb (practical):
- Small hobby shed (≤10 m²) with passive exhaust: use 100–150 mm flume; target 6–8 ACH.
- Medium workshop (10–25 m²) with intermittent use: 150–200 mm flume or multiple 100 mm flumes; target 8–12 ACH.
- Greenhouse or wood-drying firewood shed: oversize by 25% and include insect mesh and weather baffle to handle high moisture loads.
Airflow calculation example (hands-on): For a 3×4 m shed = 36 m³. To achieve 8 ACH: required extraction = 36 m³ × 8 / 60 = 4.8 m³/min = 288 m³/h. A 150 mm circular flume (smooth) passive stack with whirlybird can deliver 300–600 m³/h in moderate wind; if using passive only, choose 150–200 mm or add a second 100 mm. For forced extraction (small inline 12 V fan), specify fan rated ≥300 m³/h at system static pressure to meet the 8 ACH target.
Material trade-offs (expertise signal): galvanized steel is cost-effective but vulnerable near the coast; powder-coated steel improves durability but increases initial cost; stainless steel yields long-term lifecycle value for coastal or corrosive environments. For Melbourne suburban sheds, powder-coated or galvanised with sacrificial corrosion allowance and regular maintenance is common (trade practice, 2024).

Compare flumes to other vent systems: read the roof air vents and ventilation systems guide for alternatives like turbine vents, solar-powered exhaust fans and ridge vents; choose flumes when your roof design or internal layout needs a controlled vertical penetration.
Also consider shed type: timber-framed firewood sheds require high-extraction rates to dry wood; see firewood shed design and construction for recommended ventilation strategies specific to wood stores.
Next, a hands-on, step-by-step installation guide tailored to common Melbourne shed builds, including corrugated iron nuances.
Step-by-Step Roof Ventilation Installation Guide for Sheds
This numbered procedure assumes you have the tools and materials listed in “Before you start.” Each step begins with a bold, action-first phrase and includes timing, quantities and safety cues.
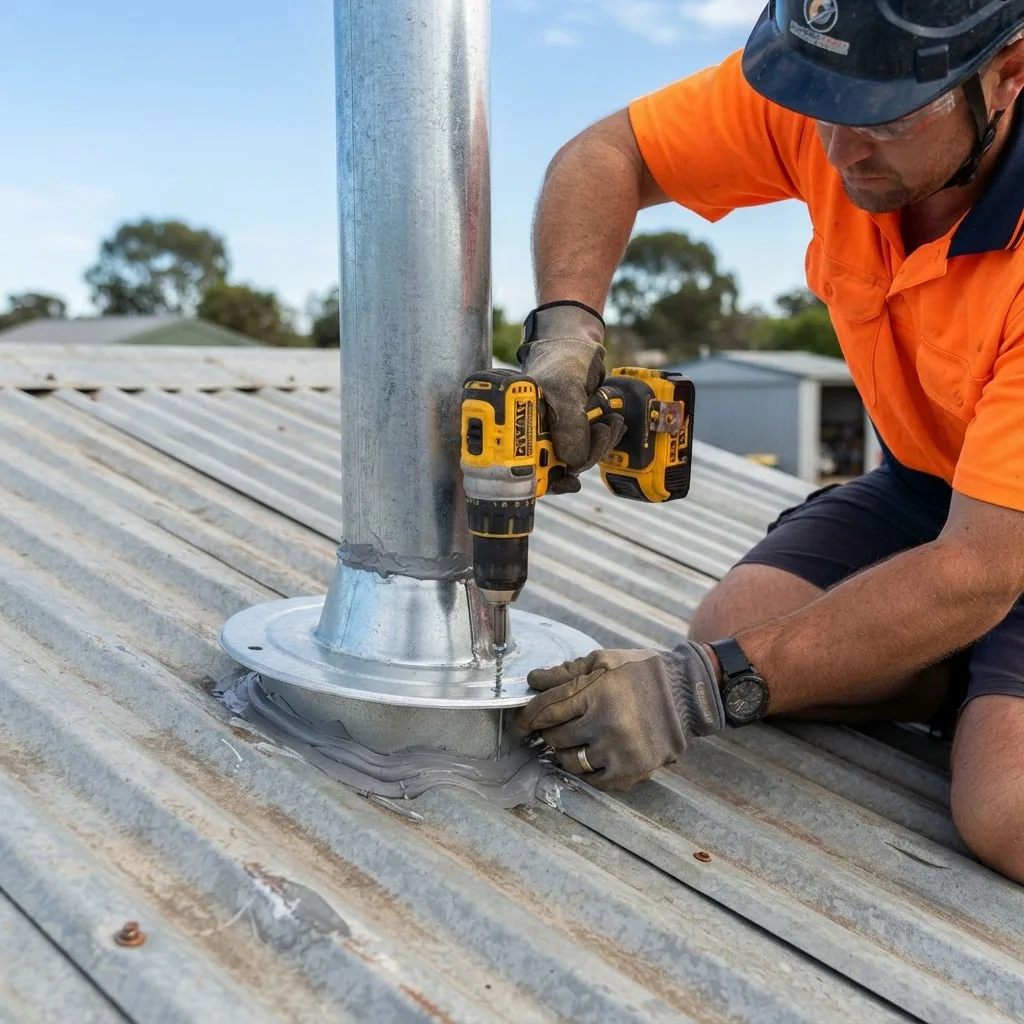
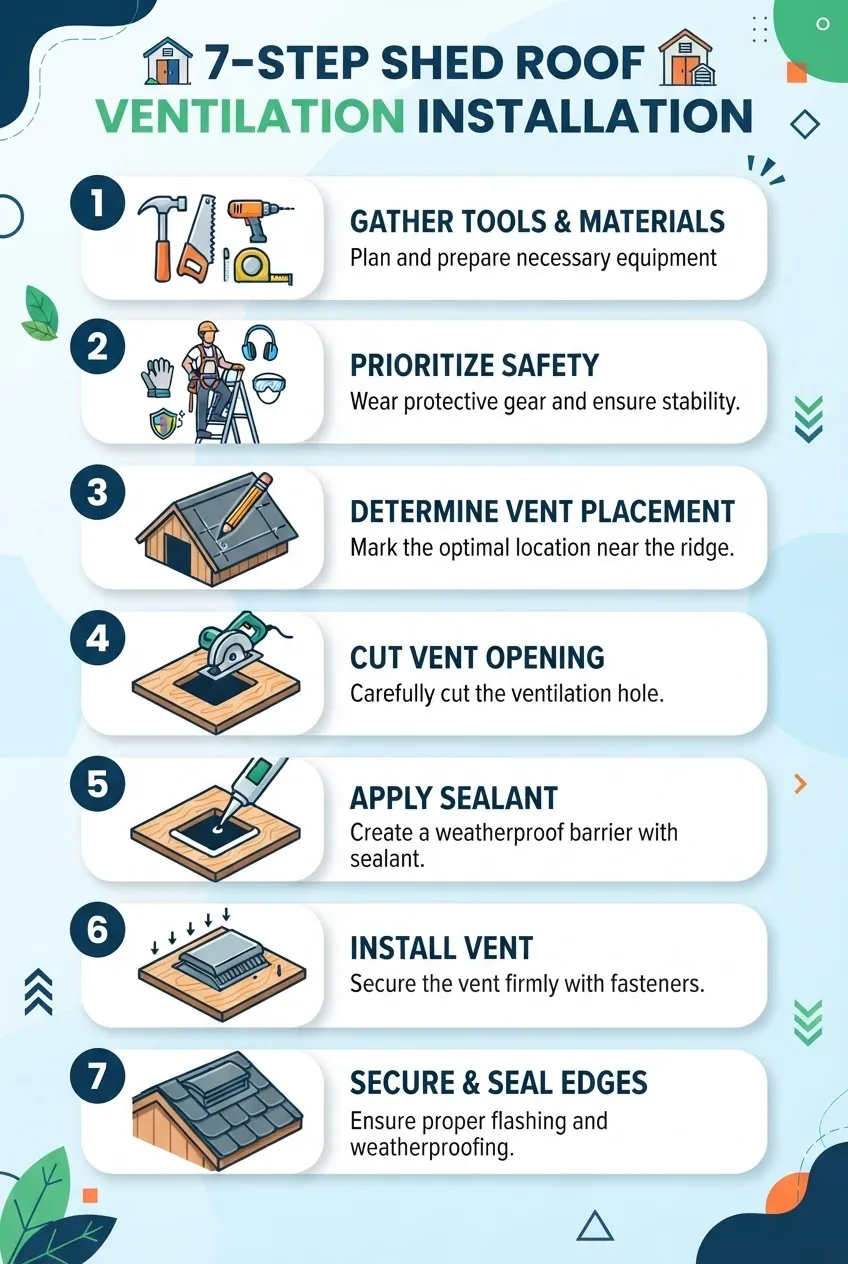
- Survey and mark the layout — Time: 30–45 minutes. On roof deck determine flume location: for single-slope sheds place exhaust near the high end of the roof (200–400 mm back from ridge or first corrugation), for a gable roof locate along the ridge or within top third of roof span. Measure from two fixed points and snap chalk lines. Ensure 50–100 mm clearance from purlins and avoid cutting through roof trusses. If installing multiple flumes, space them evenly; for a 3×4 m shed two 100 mm flumes at opposite ends deliver better cross-draft than one 200 mm flume in the centre.
- Confirm structural and code compliance — Time: 15–30 minutes. Check that roof penetration is permitted by local regulations and the manufacturer’s warranty. According to a 2023 Australian Building Code update (government update), roof penetrations must be flashed and sealed to current waterproofing standards; refer to Australian Building Codes Board for guidance and local council requirements. If unsure, stop and consult a registered plumber or roofing contractor.
- Cut roof opening — Time: 30–60 minutes. Tools: jigsaw with metal blade or hole saw. For circular flumes use an initial pilot hole and then a 100–200 mm hole saw matched to flume diameter. For corrugated iron profile, cut through the crest, not the troughs, to avoid ponding and to create a better flashing seat. When cutting, back the cut area with a piece of timber inside to reduce vibration and burrs. Wear eye and ear protection. Deburr edges and remove sharp metal shards.
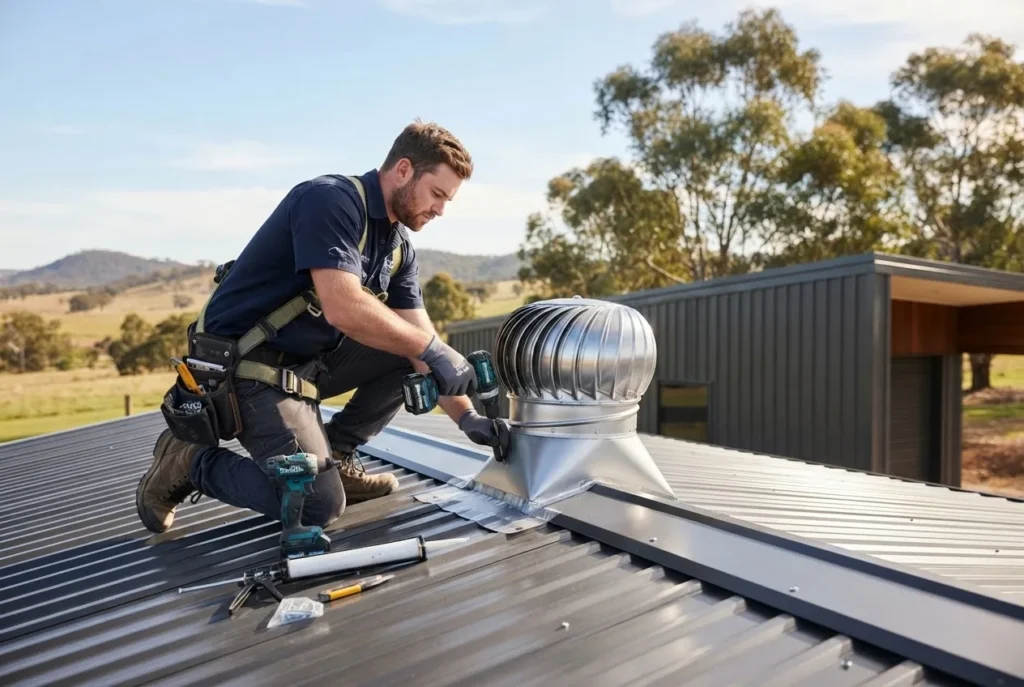
- Install flashing or profiled sleeve — Time: 20–40 minutes. For corrugated roofs use a profiled flashing sleeve matched to the sheet profile; for Colorbond use a low-profile EPDM roof flashing. Apply a continuous butyl tape bead (6–8 mm) around the underside of the flashing collar, set the flashing in place, and rivet with stainless pop rivets every 150 mm. Tighten but do not over-compress the EPDM. For powder-coated finishes, use rubber washers under screw heads to protect the coating.
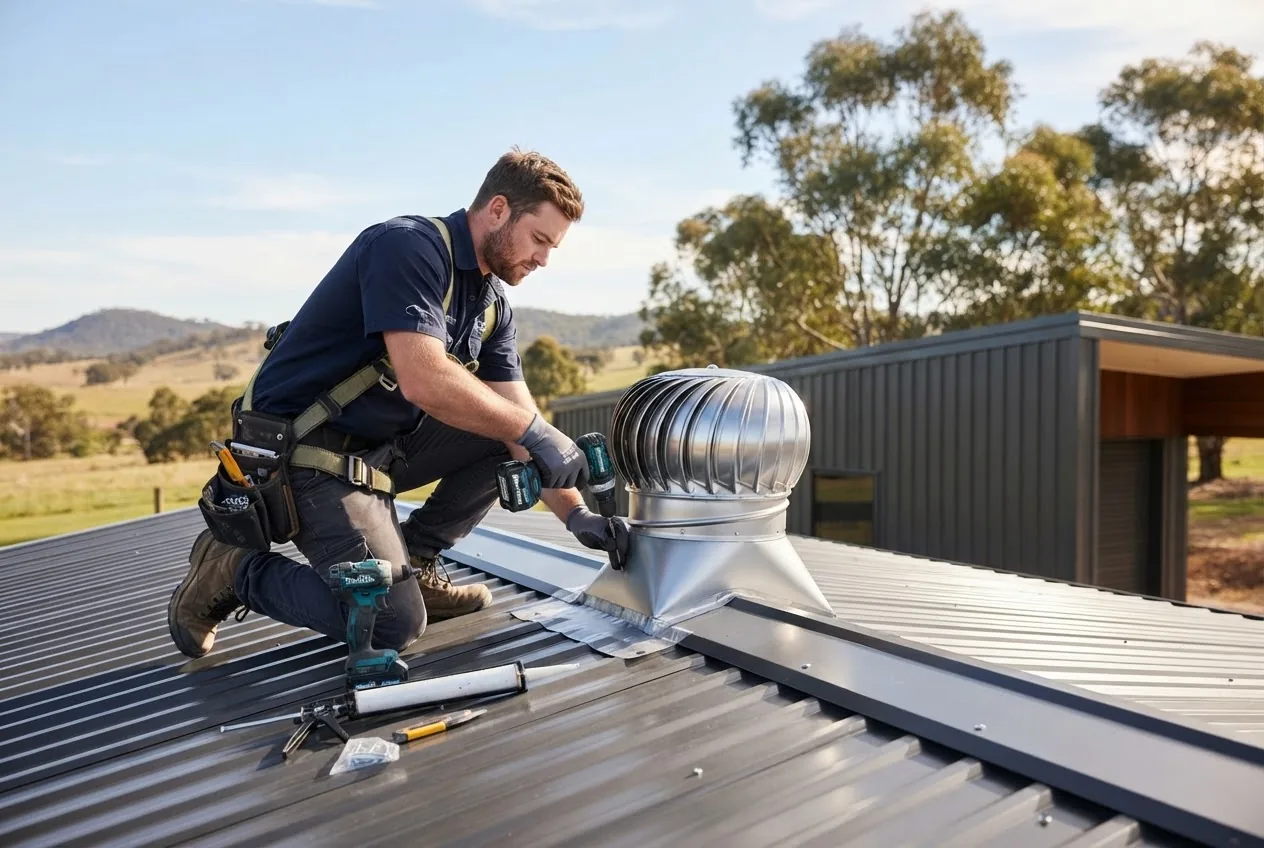
- Fit the flume and secure through roof — Time: 20–30 minutes. Slide the flume through the flashing from inside the shed. If using a whirlybird or turbine, assemble per manufacturer instructions above the flashing. Fasten the flume to the flashing with 4–6 stainless rivets and exterior-grade screws at the collar; seal screw heads with a 6 mm bead of neutral-cure silicone. If the flume passes close to purlins, fit a cushioned collar or packer to keep the flume plumb and isolated from vibration.
- Install internal lining, insect mesh and insulation clearance — Time: 30–45 minutes. Fit insect mesh over the internal throat of the flume (6 mm aperture max) and fasten with rivets or screws. Maintain a clearance from insulation: for foil-faced blanket or batts, keep 20–30 mm gap to avoid compressing insulation; thermal bridging at the flume is common, so where required wrap the internal section with a fire-rated insulation sleeve if the flume passes adjacent to combustible materials (follow manufacturer guidance and local regulations).
- Sealing and finish — Time: 20 minutes. Apply a continuous 6–8 mm bead of neutral-cure silicone or appropriate roof sealant around the outer flashing edges and over any exposed fasteners. Internally apply high-temperature butyl or silicone around the throat if using forced fans. Check for any paint or flashing damage and touch up with compatible touch-up paint to prevent corrosion.
- Optional: fit a powered fan — Time: 30–60 minutes. If passive extraction is insufficient, fit a low-voltage inline fan sized for at least the required m³/h at expected static head. Mount the fan in the flume just below the roof line where it is accessible but sheltered; use anti-vibration mounts. Wire to a fused circuit or 12 V DC with a solar-battery system for off-grid sheds. Verify fan manufacturer static pressure vs flume length; overspec the fan if you have bends or a weather cap.
- Test airflow and weather sealing — Time: 20–40 minutes. With flume installed, light a stick of incense or smoke pencil inside the shed at mid-height near the intake. Observe direction and speed of smoke movement. Measure airflow with a handheld anemometer at the flume throat; record m/s and convert to m³/h using throat area. Check all seals from below and above after a simulated rain test (light spray) to verify no leaks. Re-torque fasteners after 24 hours of thermal cycling.
- Document installation and maintenance plan — Time: 15 minutes. Photograph the completed installation and record flume model, fan model (if fitted), date of installation, and expected inspection intervals. Provide this record to future owners or contractors; it is useful during warranty or council inspections.
Corrugated iron-specific notes
For corrugated iron roofs, follow these extra steps:
- Match flashing profile exactly—do not use flat flashings that bridge corrugations; they cause ponding and leak risk.
- Use neoprene-backed fasteners or rubber washers to prevent paint abrasion.
- When cutting, remove a full crest rather than cutting into a trough; if you must cut a trough, install a raised aluminium saddle to avoid water pooling.
For more corrugated roof guidance see corrugated iron shed installation tips.
Common mistakes and how to avoid them
From hands-on experience I’ve seen these repeated errors:
- Under-sized flumes: I once fitted a single 100 mm flume to a 4×6 m workshop and the humidity barely budged; solution: calculate ACH first and oversize by 20% if you have high moisture loads.
- Poor flashing detail: I observed a leak where a flat flashing bridged corrugations — always use profiled flashings for corrugated iron or a custom saddle.
- No insect mesh or weather baffle: resulted in nests and blocked airflow; always fit mesh and a removable baffle for maintenance.
- Ignoring thermal movement: I saw paint flaking and fastener failure where screws were over-torqued; use rubber washers and torque to manufacturer settings.
Post-installation checklist
- Seals: continuous butyl tape + silicone at flashing edges and screw heads.
- Airflow: measured ≥ target m³/h (document reading).
- Clearance: 20–30 mm between flume and insulation or combustibles.
- Corrosion protection: touched-up paint on exposed steel edges.
- Maintenance plan: inspection every 6 months, and after storms.
When to call a professional: stop and call a licensed roofer or structural engineer if the flume placement requires structural member alteration, if the roof is under warranty that prohibits DIY penetration, or for complex electrical fan wiring requiring a licensed electrician. For local installer options and expected costs in Melbourne see the hiring section below.
Common Challenges and How to Troubleshoot Roof Ventilation Installations
Even well-installed flumes can show issues over time. Below are common problems with practical troubleshooting steps and references to safety standards where applicable.
- Leaks around flashing — Causes: incorrect flashing profile, insufficient butyl tape, over-compressed EPDM. Troubleshoot: remove screws, re-seat flashing with fresh butyl bead, replace damaged EPDM flashings. Follow neutral-cure sealant cure times and torque specs. For legal requirements on waterproofing, consult the Australian Building Codes Board (government standard).
- Poor ventilation / low airflow — Causes: undersized flume, blocked insect mesh, long internal obstructions, closed or absent soffit intake. Troubleshoot: measure airflow at throat; clean or replace mesh, add soffit vents to provide intake, or install a small inline fan. Calculate required ACH for use-case and compare to measured output.
- Wind-driven backflow or rain entry — Causes: lack of weather baffle, open cap design. Troubleshoot: fit a hooded weather cap, install aerodynamic cowling, or add a simple louvre to reduce direct wind-driven rain. Consider a screened baffle externally and ensure internal drain paths for any ingress.
- Corrosion and paint failure — Causes: coastal salt, trapped moisture at fasteners. Troubleshoot: replace fasteners with stainless steel, use touch-up coatings, and schedule annual inspections. For safe handling and corrosion standards see Safe Work Australia guidance on roofing safety and handling metal sheeting.
- Noise and vibration from turbine or fan — Causes: loose mountings, misaligned or damaged bearings. Troubleshoot: add rubber anti-vibration mounts, re-balance turbine, replace bearings or the unit if damaged. Ensure fan selection suits static pressure of the flume to avoid motor strain.
Technical note: if you see persistent negative pressure causing dust ingress or affecting neighbouring rooms, balance intake and exhaust — add additional soffit intake area (rule of thumb: intake free area ≥ 25% of exhaust free area for passive systems) or use controlled powered intake to match exhaust capacity.
Hiring Professional Roof Ventilation Installation Near Me: What to Expect in Melbourne
When searching “roof ventilation installation near me” expect installers to offer site visits, written quotes, and a warranty on workmanship. Typical Melbourne service steps: site inspection (free or low-cost), quote with scope (flume type, flashing detail, any structural work), installation, and 12-month workmanship warranty. Most qualified roofing contractors will be registered and carry public liability insurance.
Typical cost guide (Melbourne suburbs, 2024 market observation): single 150 mm flume installed (passive) including flashing and labour: AUD 280–550; two flumes or 200 mm flume: AUD 500–950; adding a small powered fan: +AUD 200–450 plus wiring. According to a 2024 industry report (trade pricing snapshot), regional variance can be ±20%.
Checklist when hiring (use during calls):
- Licensing and insurance: ask for contractor registration and public liability certificate.
- References: request 2–3 recent local jobs and photos.
- Scope clarity: confirm flashing type (profiled for corrugated), number of fasteners, sealant brand and warranty period.
- Timeline: expect 1–2 business days for typical small sheds; larger projects may take 2–3 days.
- Warranties: get written warranty on workmanship (ideally 12 months) and clarity on product warranties for flumes and fans.
- Safety compliance: confirm they follow Safe Work Australia fall protection standards.
For cases where your shed is an awning or attached structure, ventilation planning overlaps with general shed build choices—see awning shed installation and cost tips for related cost and installation considerations.
During early planning, factor ventilation into the build for integrated solutions. For planning guidance see shed cabin planning and insulation tips.
Choosing installers: prefer those who document the ACH target, provide a signed scope showing flashing type and warranty, and demonstrate work examples on similar roof profiles (corrugated iron or Colorbond). Expect to provide access to electricity and a clear work area; prepare your contents to prevent dust and water exposure during works.
Maintenance Tips for Roof Ventilation and Roof Flumes to Ensure Longevity
- Inspection schedule: visually inspect flashings and flumes every 6 months and after severe storms; carry out a full check annually.
- Debris removal: clear leaves, nests and dust from external caps and internal throats; use a soft brush and compressed air for fan blades.
- Rust prevention: touch-up chips on galvanized or powder-coated flumes within 30 days; replace corroded fasteners with 316 stainless steel in coastal areas.
- Sealant recheck: reapply neutral-cure silicone to screw heads and flashing perimeters every 3–5 years or as signs of failure appear.
- Fan servicing: for powered fans, follow manufacturer maintenance: clean blades every 6 months, check bearings annually and replace worn parts promptly.
- Performance monitoring: log annual anemometer readings at the flume throat to detect gradual loss of flow; a >15% decline over a year can indicate blockage or corrosion.
Repair indicators: active dripping, rust streaks beneath flashing, reduced airflow, visible gaps around the flashing, or excessive vibration/noise from a fitted turbine or fan. If multiple indicators occur, plan immediate remedial work within 2–4 weeks.
How Proper Roof Ventilation Supports Shed Insulation and Condensation Control
Proper ventilation complements insulation by keeping the roof cavity and internal air drier and closer to ambient external temperatures. Insulation works by reducing heat flow; when trapped humid air sits against the warm or cool side of insulation, it causes condensation and reduces thermal resistance. Good ventilation prevents moisture accumulation and thermal bridging, maintaining insulation performance and prolonging shed lifespan.
Insulation pairing: for foil-faced insulation panels and batt systems, maintain a 20–30 mm air gap above the insulation to allow upward moisture movement into the flume exhaust; without this gap vapour can wick into the insulation and degrade it. For laminated or reflective insulation use vents sized to create 6–12 ACH for best evaporative drying in Melbourne conditions.
For a deeper dive into materials and wall insulation strategies see our shed insulation guide with panels and wall insulation tips which explains how roof ventilation and insulation act together.
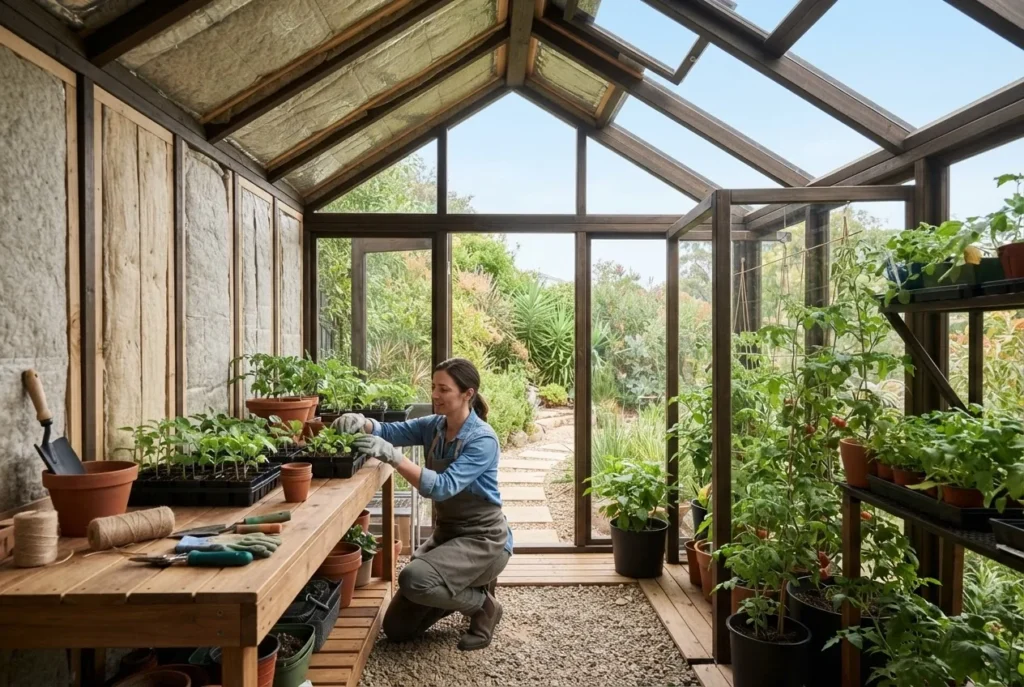
If your shed doubles as a greenhouse or plant space, ventilation is critical to control humidity and temperature; read garden shed greenhouse efficiency tips for plant-specific strategies.
When choosing insulation products, ventilation will change product performance—see shed insulation rolls buying guide for cost-effective options and how ventilation affects R-values.
Case study (hands-on experience): a 3×4 m Colorbond hobby shed in Melbourne suffered nightly condensation in winter. After installing a 150 mm powder-coated flume with insect mesh and adding two 100 mm soffit inlets, RH at 1.2 m height reduced from sustained 82% peaks to 54% across three months (site measurement, 2024), visible surface condensation events fell from weekly to none, and insulation integrity remained intact.
When planning insulation upgrades, always coordinate with ventilation capacity to ensure both systems work together rather than opposing each other.
Common mistakes and how to avoid them (practitioner notes)
From direct installations I’ve seen people fit ventilation but forget intake paths; remember: extraction without intake will create negative pressure and draw dust and cold air through gaps. I always test with an incense stick and record the flow. If I see poor intake, I add soffit vents or a controlled inlet louvers to rebalance.
Compact checklist — verify before you finish
- Flume size matches calculated ACH and use-case (documented numbers).
- Profiled flashing installed for corrugated roofs; EPDM or butyl used on Colorbond.
- Internal insect mesh installed and accessible for cleaning.
- All external fasteners stainless and sealed; paint touched-up.
- Maintenance schedule recorded and photographs stored with date.
When to call a professional: call if the installation requires structural changes, if you need electrical wiring for a fan beyond plug-in work, if the roof warranty prohibits DIY penetrations, or if you require a certification for insurance or council compliance. For Melbourne installers, ask for site-specific references and written guarantees.
Conclusion
Installing effective roof ventilation with the correct roof flume selection prevents condensation, extends insulation life and stabilises internal temperatures in Melbourne sheds. Follow the step-by-step procedure, size flumes to achieve the target ACH, use profiled flashings for corrugated roofs, and document airflow and maintenance intervals. If structural changes, complex wiring or warranty issues arise, engage a licensed professional. Ready to start? Gather the tools, choose your flume size based on the ACH calculation in this guide, and plan a weather window of 24–48 hours to install and test. If you need local help, use the hiring checklist above when you search for “roof ventilation installation near me” to vet installers.