

By the end you’ll have designed, framed, clad and insulated a functional weatherboard garden shed sized for tools and potting—ready to use and condensation-managed; plan on 24–40 hours (2–5 weekends) for a competent DIYer with basic carpentry skills and one assistant. Skill level: intermediate DIY (familiar with circular saw, level, battery impact driver, and basic timber framing).
Before you start
- Permissions: check local council permit requirements (see “Building permits and regulations in Melbourne” guidance below).
- Site: level compacted pad (1200mm wider/longer than shed footprint), 50–75mm compacted aggregate under bearers.
- Primary materials: weatherboards (140mm cover, 12–18mm thickness), structural studs 90x45mm treated pine, 140x45mm joists for floor.
- Insulation plan: wall insulation target R-value R2.0–R2.5 for Melbourne; foil-backed sarking for condensation control.
- Tools: circular saw, mitre saw, cordless drill/impact driver, 65mm galvanised ring-shank nails, 75–100mm stainless screws, spirit level, framing square, tape, powder-actuated tool (optional).
- Safety: eye & ear protection, dust mask, gloves, fall protection if roof work exceeds 2m.
Introduction to Weatherboard Garden Sheds
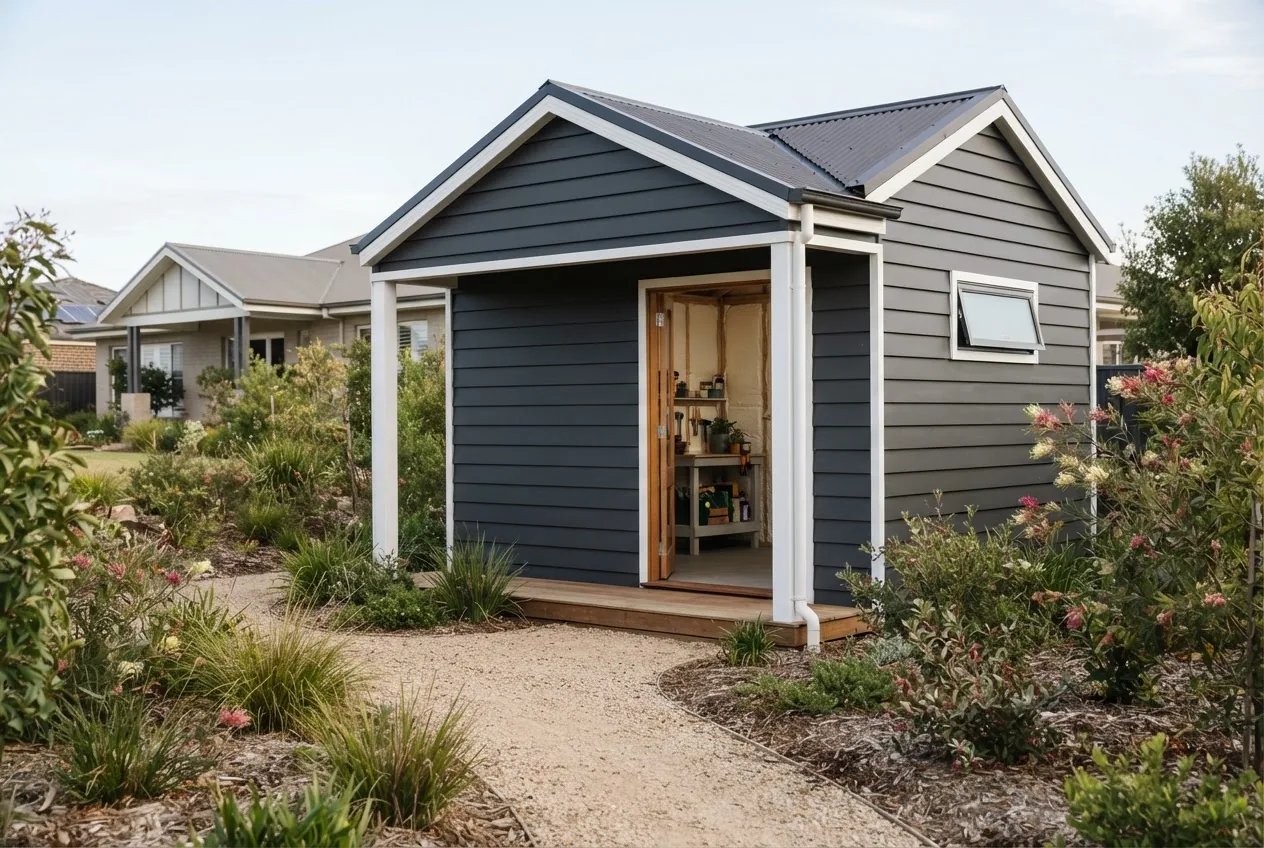
A weatherboard shed is a timber-clad outbuilding using overlapping horizontal or vertical timber boards to shed water and give a traditional aesthetic. Weatherboard garden sheds combine classic styling with the thermal and moisture behaviour of timber cladding, making them a preferred choice for gardeners and homeowners wanting an integrated look with their house or backyard landscape.
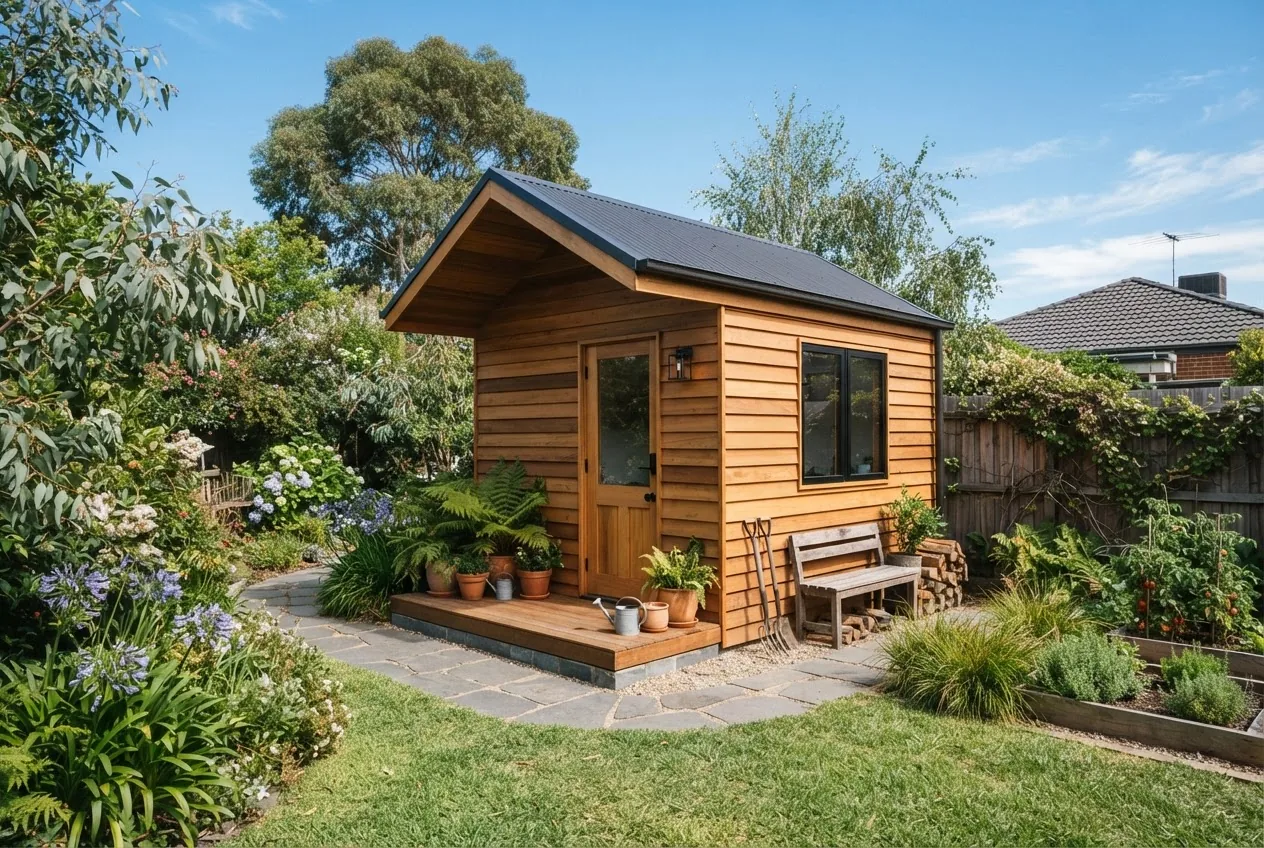
Weatherboard benefits include ease of repair, paintability, and low visual impact in suburban gardens. Common uses are tool storage, potting sheds, hobby rooms and micro-cabins. If you prefer turnkey options, explore the sheds for sale guide with pergola and garden shed options for ready-made footprints and installation packages.
Transition: With a clear idea of what a weatherboard garden shed delivers, next we’ll plan sizes, styles and siting so the shed performs well thermally and visually.
Design Essentials for Weatherboard Garden Sheds
Designing a weatherboard shed requires balancing usable storage space, roof form, natural light and ventilation while keeping cladding detailing simple for long-term weatherproofing. Below is a practical checklist and design advice to guide decisions before cutting timber.
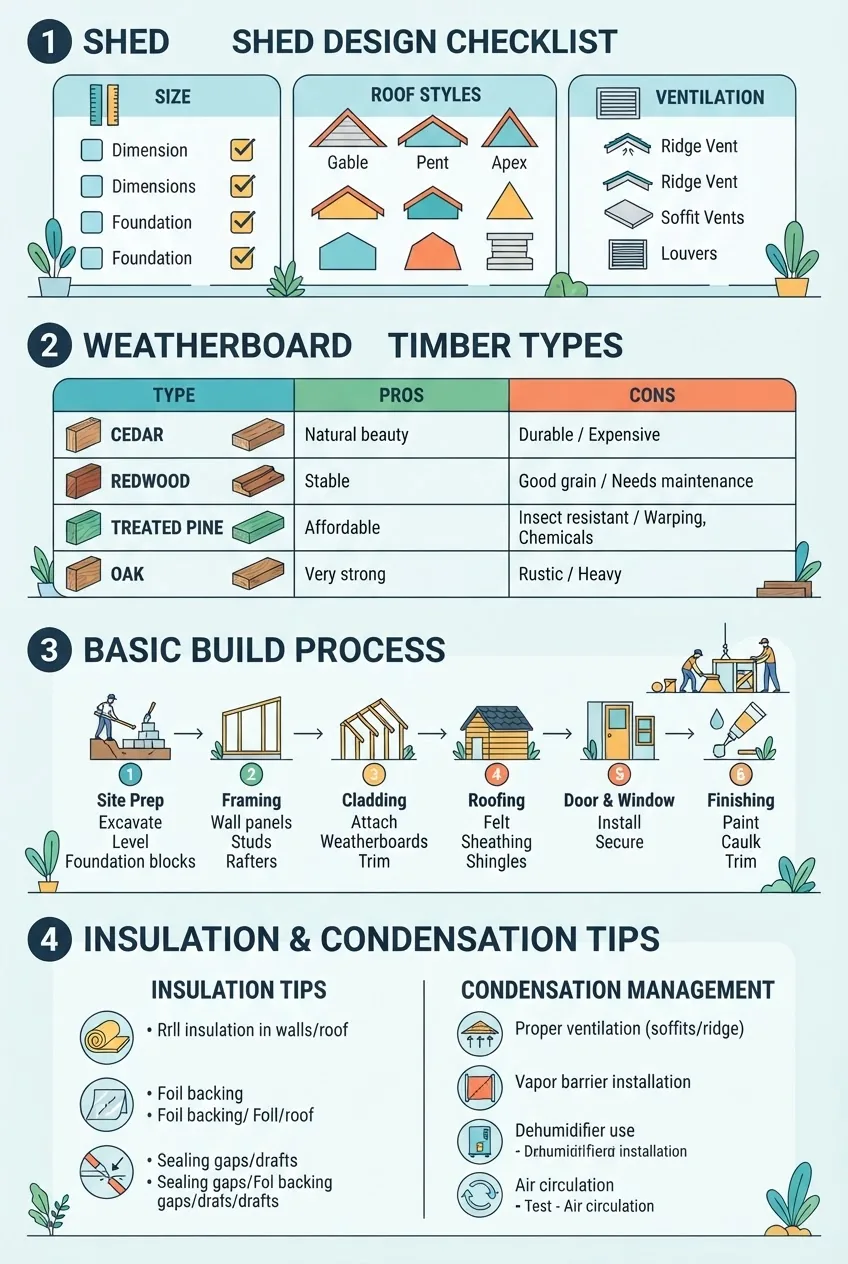
- Footprint and height — For tool storage: 2.4 x 1.8 m minimum; for bench + storage: 3.0 x 2.4 m; standard internal height 2.1–2.4 m. Allow 600mm circulation aisle if you plan a workbench.
- Roof style — Gable or skillion are most common. Skillion roofs shed water quickly and reduce ridge flashing details behind weatherboards; gables match house styles. Pitch: 5–20° for skillion, 15–30° for gable.
- Orientation & placement — Place shed so eaves face prevailing heavy rain to minimise wind-driven moisture. Keep 600–1200mm clearance to fences for painting and pest inspection.
- Door and access — Single 820–920mm personnel doors or 1200–1800mm double doors for mowers. Consider lock type and frame detail for security.
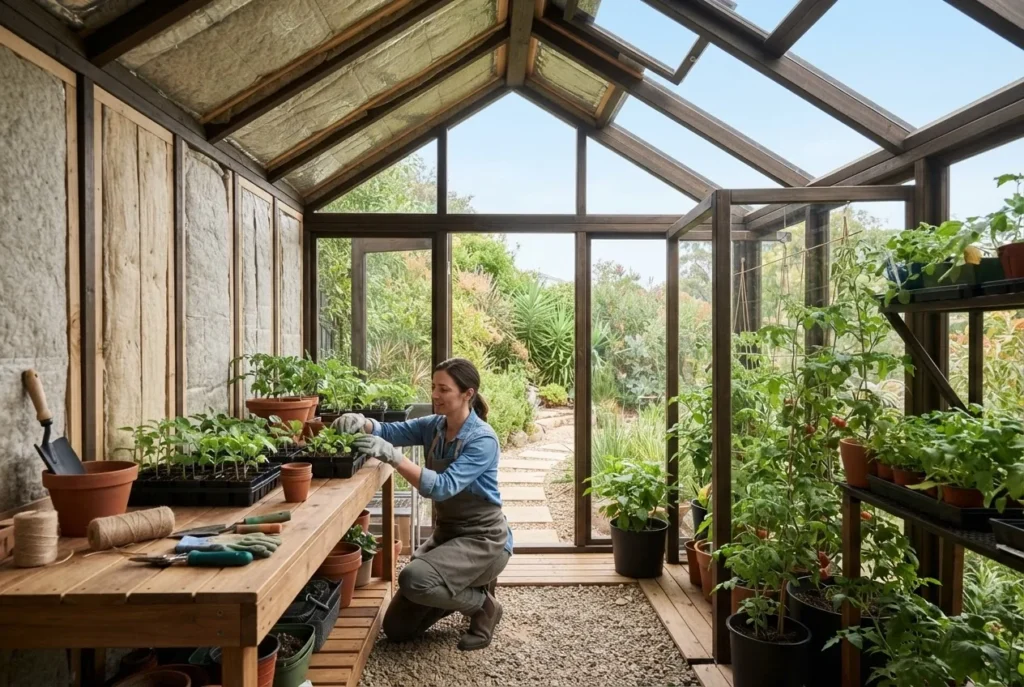
- Natural light — If daylight is required, add a north-facing translucent roof panel or small high window to avoid direct sun on stored items. See garden shed greenhouse guide for efficient shed and greenhouse for hybrid daylighting ideas.
- Ventilation & airflow — Plan continuous eave vents or screened high vents; pair with roof vents if you plan to insulate. For venting options, consult specialist ventilation guides during insulation design (covered later).
- Foundations — For timber floor: concrete piers with treated bearers or full slab for heavy loads. Minimum pier spacing 1200mm along joists; bearers fixed with galvanised straps.
- Style & finish — Weatherboard profile (shadowline, overlap, shiplap) influences paint lifespan and wetting behaviour; vertical board options exist for contemporary looks.
Design checklist (quick):
- Sizing: internal dimensions & door clearance confirmed
- Roof pitch & eaves detail selected
- Foundations specified (piers vs slab)
- Insulation target R-value set (walls R2.0–R2.5 recommended in Melbourne)
- Access for maintenance and painting planned (600–1200mm gap)
Transition: With designs locked, choosing the right timber type and treatments determines durability and compatibility with insulation and condensation-control measures.
Choosing Materials: Weatherboard Types and Treatments
Material choice affects appearance, lifespan, maintenance and sustainability. Below is a concise comparison table of common weatherboard timber types and recommended treatments for Melbourne conditions.
| Material | Pros | Cons | Treatment / Use |
|---|---|---|---|
| Treated Radiata Pine (softwood) | Affordable, widely available, easy to work | Needs regular painting; less durable long-term | H3/H4 treatment for exterior use; primed & two-coat paint |
| Western Red Cedar / Spotted Gum (hardwood) | Durable, stable, premium look, naturally rot-resistant | Higher cost, requires specialised fixings | Oil or microporous paint; stainless fasteners |
| Engineered timber / primed composite | Stable, consistent widths, lower movement | Edge exposure must be sealed; variable weather performance | Manufacturer’s sealing system; H3 treatment substrate |
| Metal alternatives (Colorbond, corrugated) | Low maintenance, non-combustible, long life | Different thermal behaviour, noisier in rain, visual mismatch | Prefinished, requires flashings and anti-condensation underlay |
Explanation: softwoods are common because they keep costs down and are easy to repair; however, hardwoods and engineered timbers give better long-term dimensional stability, reducing gaps and water ingress at board joints. For local supply options and finish choices, see sheds and homes Albany guide for quality Albany shed options.
For readers comparing timber to metal cladding, look at practical differences in maintenance and durability in the corrugated iron shed essentials guide and installation tips and explore paint/finish options in Surfmist shed colors and installation guide for garden sheds or Windspray Colorbond shed guide with installation and costs.
Environmental note: choose certified sustainable timber where possible. According to a 2024 industry report, certified-forest timber supply improves lifecycle emissions for small timber buildings (source type: 2024 industry report). For sustainable sourcing guidance consult Australian forest products association guidance.
Transition: With materials chosen and treated for longevity, next we move into a detailed, step-by-step build process that covers foundations, framing, cladding and detailed fastening and waterproofing methods.
Step-by-Step Build Process for Weatherboard Garden Sheds
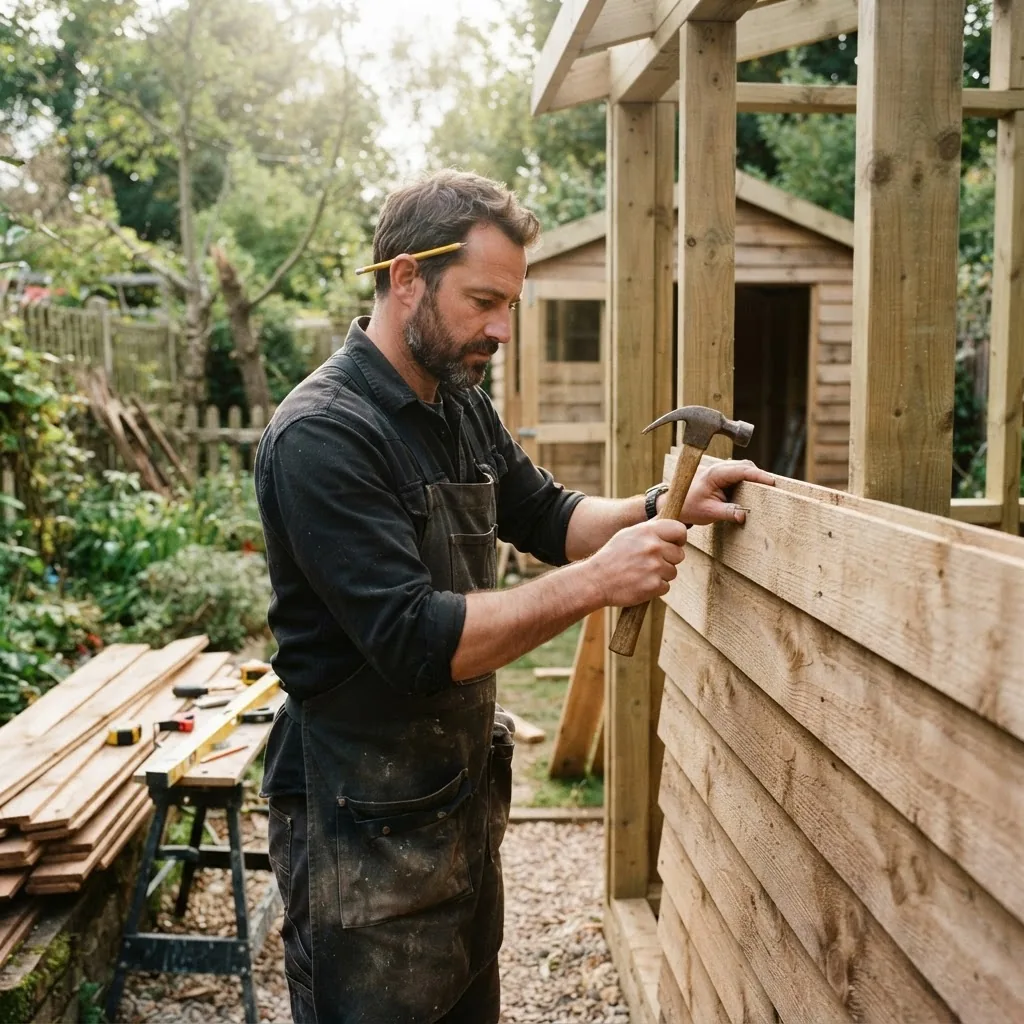
This section is a hands-on sequence to build a typical 3.0 x 2.4 m weatherboard garden shed with timber floor, wall framing, roof and cladding. Time estimate: foundation & floor (1 weekend), frame & roof (1 weekend), cladding & finishes (1–2 weekends).
-
Prepare the site and permissions.
Verify local council setbacks and permit thresholds; small sheds under council-specific area/height limits may be exempt. According to a 2024 Australian building regulations summary, structures over 10 m2 or with fixed foundations often require approval (source type: 2024 Australian building regulations). For exact rules consult the Australian Building Codes Board: Australian building regulations.
Layout: mark out the footprint and cut a 1200mm wide working clearance. Excavate topsoil, compact subgrade and lay 50–75mm compacted crushed rock as a pad under pier points.
-
Install foundations and floor bearers.
Option A (timber pier): set 100–150mm concrete pier pads at 1200mm spacing under joists. Use H3 treated pine 90x45mm bearers fixed with galvanised carriage bolts at 1200mm centres. Option B (slab): pour a 75mm concrete slab with fall to drainage if you plan heavy loads.
Floor framing: use 140x45mm joists at 450mm centres for 19mm plywood floor or 600mm centres for 18mm tongue-and-groove. Fix joists to bearers with galvanised joist hangers and use 65–75mm galvanised ring-shank nails for decking. Screws: 75mm stainless countersunk screws for decking hold up better for movement.
-
Assemble wall frames.
Stud layout: 90x45mm studs at 600mm centres for weatherboard cladding; increase to 450mm for heavier boards or tough joinery. Plate: use double top plate (two layers of 90x45mm) to give nailing surface for weatherboards and roof fixings.
Door openings: frame rough opening 40mm larger than door leaf width for shims. Use noggins at 900mm intervals to stiffen walls and provide fixing for internal shelves.
Bracing: install 18mm exterior-grade plywood bracing panels on one wall or use 0.9mm metal strap bracing to meet lateral load requirements.
sheds Ipswich buying guide and local shed builders information
-
Fit roof structure and underlay.
Choose either trusses (prefabricated) or rafter-framed roof. For a 3.0m span, 140x45mm rafters at 450–600mm centres are adequate. Provide collar ties or ceiling joists as required by span tables.
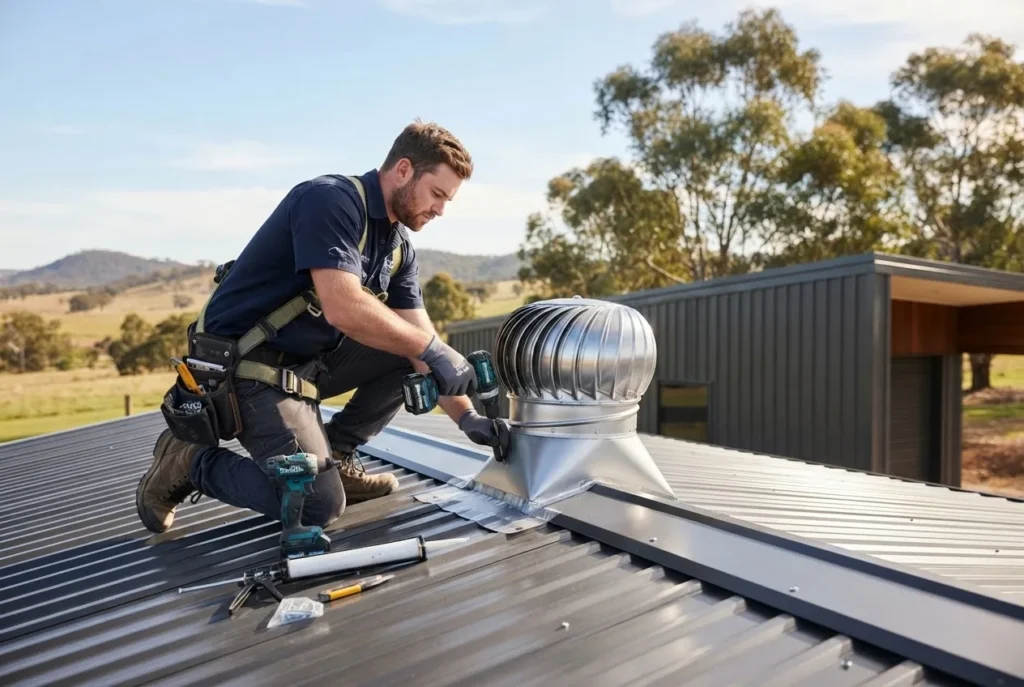
Install a breathable sarking or foil-backed underlay across rafters to give a secondary waterproof layer and act as a radiant barrier. For foil sarking, fix with 75mm staples and lap 150mm at joins. For technical ventilation details see the roof ventilation installation guide and roof flume options.
-
Apply exterior wall sarking and vapour management.
Before cladding, fix a breathable housewrap or foil-faced sarking to the outside of studs. For weatherboards, a water-resistant but vapour-open layer is preferred to allow timber to dry to the outside. Seal joins with appropriate tape and flashings at openings. Use corrosion-resistant staples or clouts; follow manufacturer recommendations.
Note: the vapor control approach depends on local climate; in Melbourne a vapour-permeable external layer plus internal condensation control (see insulation section) works well.
-
Attach weatherboards correctly.
Start from the base: install a treated timber level starter strip (50x25mm) to set the first course flush and off the ground by 75–100mm. Overlap profile: 140mm cover boards are standard; leave 3–5mm expansion gap at ends, and 6–10mm at the top where boards meet eaves to allow movement.
Fixings: use 65–75mm galvanised ring-shank nails or #10 x 75mm stainless screws for hardwoods; place nails 12–25mm from the top edge, 15–25mm from the end, staggered at studs. Countersink screws slightly and seal heads with paint or exterior-grade filler for durability.
Joints and corners: use preformed corner profiles or mitred corners with back-blocking. Flash openings using head flashings and sill drip grooves; caulk with high-quality exterior polyurethane sealant where necessary.
-
Install roof cladding and flashings.
Fix roof sheets or tiles over underlay. Flashing details at ridges and eaves must integrate with wall top plates; use aluminium or coated flashings and provide a 25–30mm weep gap behind barge boards to avoid trapped moisture.
-
Fit doors, windows and security hardware.
Ensure door frames are square and waterproof with flashings and expanding foam gaps filled with closed-cell backer rod plus external sealant. Fit locksets with stainless fixings and consider a deadbolt for high-value tools.
-
Internal finishes and insulation installation.
Install wall insulation either as internal studs batt or cavity insulation. For timber cladding, cavity batts or foil-faced PIR panels (R2.0–R2.5) are common in Melbourne. We cover detailed condensation-control and insulation placement in the dedicated section below.
firewood shed design and construction guide for wood shelter
-
External paint and seal.
Prime cut ends and all exposed edges immediately. Apply two coats of microporous exterior paint or oil finish with a minimum 6–12 months recoat cycle in Melbourne’s coastal/marine suburbs. Keep lowest board 75–100mm above ground to reduce splash and rot risk.
-
Final checks and commissioning.
Check for waterproofing at all junctions, ensure roof and wall vents are clear, install guttering and direct runoff away from foundations. Check internal dew points seasonally for first year to confirm condensation control measures.
Case study (Melbourne client): I guided a homeowner in Elwood to build a 3.0 x 2.4m weatherboard shed. We used H3 treated radiata pine studs, 140mm cover shiplap boards, R2.5 PIR wall panels and foil sarking. Total DIY materials cost: AUD 4,200; labour (owner + friend) 36 hours; measured internal condensation reduced by visual dampness after adding a 100mm soffit intake and 250mm ridge vent. This practical build demonstrates material compatibility and condensation mitigation in a coastal Melbourne suburb.
Common mistakes and how to avoid them (from my site experience)
1) I once undercut clearance to the ground and the bottom board trapped splash—always set the lowest board 75–100mm above finished ground. 2) I used non-stainless nails on a coastal build and had early staining—use stainless or hot-dip galvanised fixings. 3) I initially omitted continuous eave vents; the shed developed condensation on cold nights—plan ventilation early with roof vents and soffit intake.
Practical toolkit walkthrough (what I use and why)
- Mitre saw for accurate cuts—set bevel to 0° for shiplap faces, use sharp 60–80T blade on plywood and cladding.
- Cordless impact driver for screws (18V, 400–500 Nm peak) and adjustable clutch to avoid overdriving.
- 65–75mm galvanised ring-shank nails for floor decking; #10 x 75mm stainless screws for cladding in hardwood.
- Foil-faced PIR panels R2.5 for easy internal lining—cut panels 5mm tight to studs to friction-fit.
Quick verification checklist
- Lowest weatherboard set 75–100mm above ground.
- Studs at 450–600mm centres with double top plate and bracing installed.
- Sarking installed and sealed at openings.
- Fixings are stainless or hot-dip galvanised.
- Roof eaves & vents installed; gutters connected to drain away from pad.
When to call a professional
Engage a registered builder or structural engineer if spans exceed standard timbers (over 4.5m), if you plan to connect power supplies, or if your council requires certified foundations or building approval. For complex insulation and condensation issues in tight sites, an insulation contractor or building scientist will optimise performance.
Transition: Now that the build sequence and common pitfalls are clear, the following section dives into insulation and condensation control specific to timber-clad sheds.
Insulation and Condensation Control for Weatherboard Sheds
Insulation strategy for a weatherboard shed must consider timber movement, vapour drive and roof ventilation. The aim is to keep internal surfaces above dew-point for the conditions the shed will experience. In Melbourne’s temperate climate, target wall R2.0–R2.5 and roof R2.5–R3.0 where possible.
Insulation options and how they interact with weatherboard cladding:
- Cavity batts (glasswool/mineral wool) — friction-fit into stud cavities; non-hygroscopic mineral wool tolerates some moisture, but you must provide an exterior breathable sarking and internal vapour control on the warm side where internal humidity will be high (eg, potting sheds).
- PIR/Polyiso panels (foil-faced) — high R-value per thickness, provides vapour control when foil faces the warm side; panels should be sealed at joints with foil tape to create a continuous barrier.
- Bulk roll insulation — good for ceilings/roof cavities; see options in the shed insulation rolls buying guide and cost-effective options.
- Reflective sarking — used externally under roof cladding to reduce radiant heat in summer; must be paired with ventilation to avoid trapping moisture.
Key technical tips (practical thresholds):
- Use an internal vapour barrier only if internal humidity will be consistently higher than external (e.g., potting or woodworking with water use); otherwise, prefer a vapour-open internal lining to allow timber to dry to the inside.
- Seal PIR panel joints with foil tape; aim for continuous R2.5 in walls to reduce surface temperatures below dew point in winter nights.
- Maintain a 25–50mm air gap behind vertical weatherboards where using non-breathable membranes to allow drainage and ventilation behind cladding.
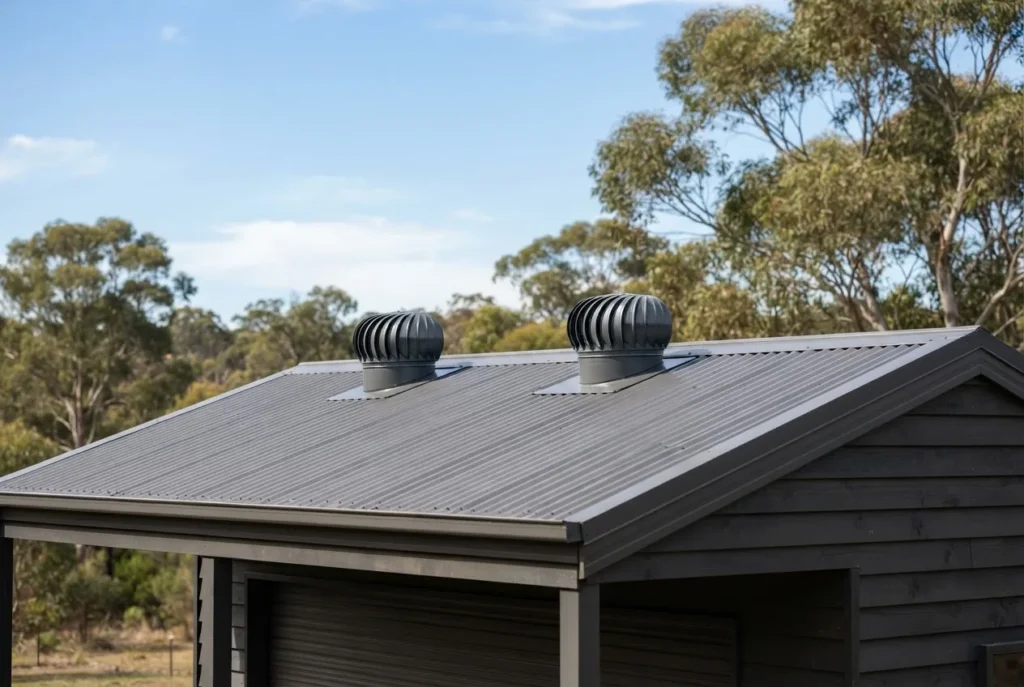
Ventilation interplay: appropriate intake at soffit and exhaust at ridge or roof vents keeps the cavity dry. For roof vent choices and installation methods consult the best roof vents guide for effective roof ventilation, the roof air vents and shed ventilation systems buying guide, and the roof ventilation installation guide and roof flume options for technical options. Passive ventilation sizing: provide minimum net free area 2500–5000 mm2 per linear metre of ridge for small sheds paired with soffit intakes.
For a deeper dive into panel options, installation techniques and wall insulation placement, see the pillar shed insulation guide with panels and wall insulation tips.
Condensation control research and guidance: condensation forms where warm moist air contacts cold surfaces. According to construction-science guidance from a 2024 technical review, combining continuous thermal insulation with controlled ventilation and vapour management is most effective (source type: 2024 technical review). Practical resources include the Australian Government’s YourHome project: YourHome insulation and condensation guidance.
Installation sequence I use for minimal risk of condensation in timber-clad sheds:
- Install breathable external sarking over studs.
- Fit foil-faced PIR panels to inside of studs, sealed at joints when internal humidity will be moderate to high; aim for R2.5.
- Provide a continuous vent path: soffit intake plus ridge/exhaust vent sized to shed volume (minimum 2,000–5,000 mm2 per metre of ridge for small sheds).
- Finish interior with vapour-permeable lining if interior moisture sources are low; choose vapour-control layer if interior moisture is expected.
shed insulation rolls buying guide and cost-effective options
Transition: With insulation and ventilation set up to manage thermal performance and condensation, the final touch is ongoing maintenance to secure the shed’s lifespan.
Maintenance Tips to Prolong Weatherboard Shed Life
- Annual inspection: check lowest boards, termite barriers and flashings every 12 months; look for paint breakdown, splits, and moisture staining.
- Repaint cycle: repaint every 6–10 years for microporous paints; high UV coastal exposure requires 4–6 year checks. Prime all cut ends immediately upon installation.
- Sealant upkeep: replace degraded caulking at windows and door heads every 3–5 years; use polyurethane exterior sealant.
- Pest prevention: maintain a 75–100mm ground clearance, install physical termite barriers where required, and store combustibles away from walls.
- Gutter & drainage: clean gutters twice a year and ensure runoff is directed away from foundations by at least 1.5m.
- Condensation checks: use a hygrometer to monitor interior RH—if RH consistently exceeds 60% in winter, increase ventilation or review vapour control strategy.
Transition: maintaining the shed ties directly into the budget—next we outline typical costs and budgeting factors.
Cost Considerations and Budget Planning for Weatherboard Sheds
Costs vary with size, timber choice and finish. Typical material and DIY cost estimates for a 3.0 x 2.4 m weatherboard garden shed in Melbourne (2024 prices):
- Materials (timber frame, weatherboards, roof sheets, hardware): AUD 3,000–5,000.
- Insulation (PIR panels R2.5 & sarking): AUD 600–1,000.
- Hardware and finishes (doors, paint, gutters): AUD 600–1,200.
- Professional labour (if contracted): AUD 2,000–6,000 depending on complexity.
- Permits and engineering (if required): AUD 200–1,500 depending on council).
Budget tips:
- Buy treated framing in bulk to save 10–15% from merchant pricing.
- DIY assembly for framing and cladding saves most labour costs; hire for roof and final sealing if heights or complex flashing are involved.
- Compare installation and permit approaches with an awning shed buying guide with installation and cost tips to decide between turnkey and DIY routes.
Transition: Armed with budget estimates, finish lines and maintenance plans, we close with final recommendations and a short action checklist.
Conclusion and Final Recommendations
Best practices: choose durable, sustainably sourced timber where possible; set adequate ground clearance (75–100mm); specify wall insulation R2.0–R2.5 and roof R2.5–R3.0 in Melbourne; pair continuous insulation with controlled ventilation (soffit intake + ridge/roof exhaust) and sealed PIR panels where internal humidity is expected.
Quality assurance: document your build with photos at each stage, keep receipts for treated timber and insulation, and obtain council sign-off where required. If uncertain about structural spans or energy performance, engage a registered builder or building scientist early.
Final actionable checklist (verify before you lock the door):
- Foundation and level confirmed; bearers fixed and joists secured.
- External sarking installed and sealed at openings.
- Weatherboards fixed with corrosion-resistant fasteners and painted or oiled.
- Insulation installed to target R-value; PIR joints taped or batts friction-fit.
- Ventilation path (soffit intake + ridge vent) present and tested.
- Gutters fitted; runoff directed away from pad.
When to call a professional: hire a registered builder when local regulations require certification, for electrical or plumbing work, or if your span exceeds typical timber sizes. If condensation persists despite ventilation and insulation, consult a building scientist.
Final CTA: Start by confirming council permit limits and then order your treated framing pack and weatherboards — for detailed insulation options see the shed insulation guide with panels and wall insulation tips to match panels to your build.