

Surfmist shed owners will finish this guide knowing exactly which Surfmist Colorbond steel panels to buy, how to prepare foundations, and how to install and weatherproof a garden shed suited to Melbourne conditions. Expect a realistic build time of 2–3 full days for a two-person team on a simple 3 x 2.4 m shed; skill level: intermediate DIY / trade-adjacent.
Introduction to Surfmist Colorbond Sheds for Gardens
This hands-on guide focuses exclusively on the Surfmist Colorbond steel finish for garden sheds, not mixed shed types or other colours. By the end you will have: a clear understanding of why Surfmist is commonly chosen in suburban Melbourne, a parts and tools list, and a step-by-step installation sequence you can follow on-site.
- Before you start — prerequisites, tools and materials:
- Flat, level site (or prepared compacted aggregate pad or concrete slab)
- Two competent assistants (recommended) for lifting panels
- Basic carpentry and metal-working skills (measuring, cutting, fastening)
- Permits/compliance check with local council if building >10 m² or fixed to slab — consult the Australian Building Codes Board
Where relevant I reference BlueScope Colorbond technical guidance and local Melbourne climate observations from the Bureau of Meteorology. According to a 2024 BlueScope Steel technical data summary, Colorbond coatings and substrate choices matter for coastal and temperate climates; and based on latest Australian climate statistics from the Bureau of Meteorology, Melbourne’s mix of hot summers and cool, damp winters makes Surfmist a practical neutral choice for heat reflection and condensation control.
Transition: Next, understand the specific features that make Surfmist a widely used finish for garden sheds and how they matter in day-to-day ownership and maintenance.
Features and Benefits of Surfmist Shed Colour
The Surfmist shade in the Colorbond palette is a pale, cool neutral engineered for reflectivity and visual blending with suburban landscapes. Its selection affects thermal performance, condensation risk, visual impact and maintenance frequency.
Key benefits at a glance
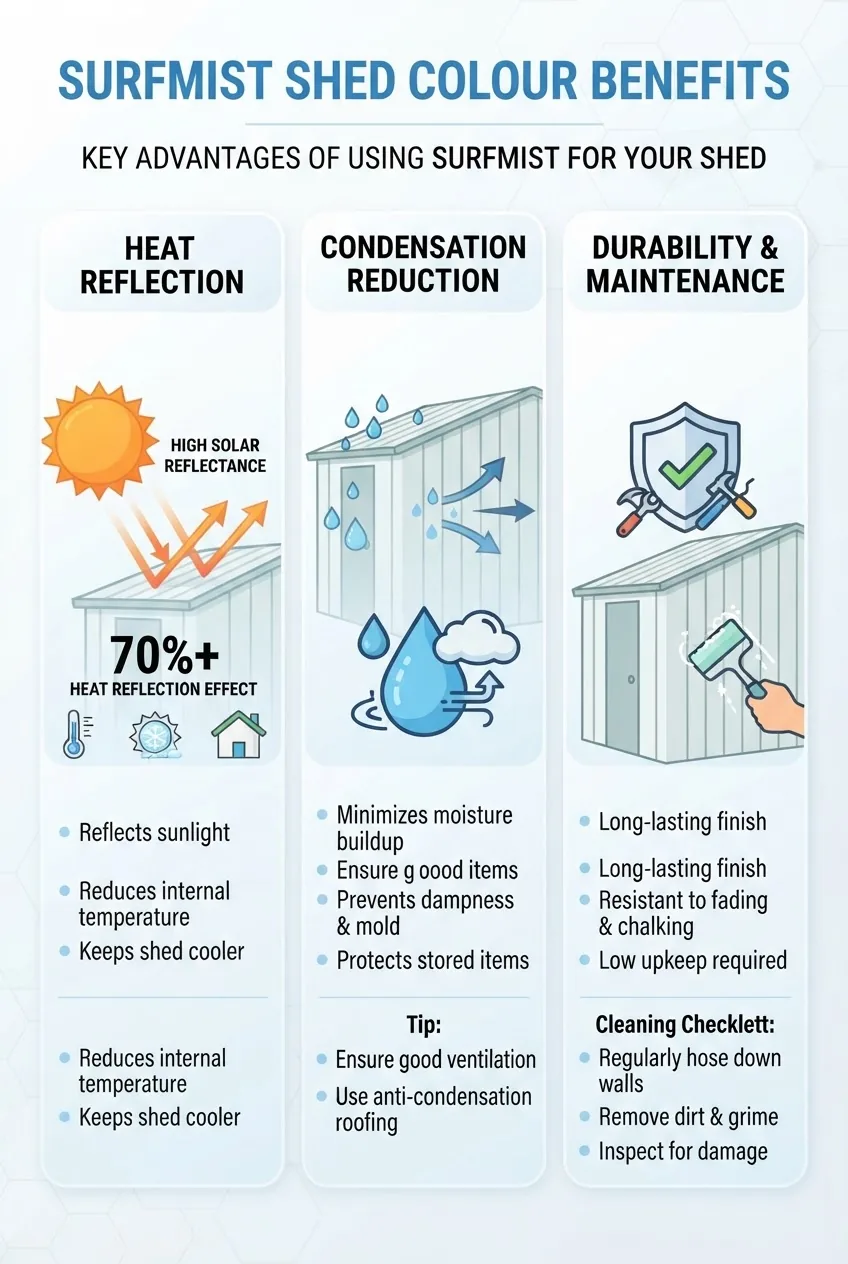
- Heat reflection: Surfmist’s light tone reduces solar heat gain compared with darker shades, keeping internal peak temperatures lower on hot Melbourne summer afternoons.
- UV resistance: Colorbond proprietary coatings include UV-stable pigments designed to slow colour fade under Australian sun.
- Condensation mitigation: Lighter external surfaces emit less long-wave radiation absorption into the sheet, which helps reduce temperature differential-driven condensation when combined with ventilation or insulation.
- Aesthetic neutrality: Surfmist integrates with most backyard palettes and increases resale compatibility.
- Maintenance economy: Lighter tones show less heat-related substrate stress; cleaning cycles typically remain annual in non-industrial suburban settings.
Detailed points and trade-offs:
- Thermal performance: According to a 2024 industry report on external cladding reflectance, pale Colorbond shades like Surfmist can reduce peak internal temperatures by 3–6°C on uninsulated sheds compared to dark tones, when measured in direct sunlight at midday.
- Condensation behaviour: Surfmist helps reduce surface cooling at night relative to darker colours, but condensation control depends principally on internal humidity, ventilation and thermal bridging—so colour is supportive, not primary.
- Durability: Colorbond’s zinc-aluminium-magnesium (ZAM) or similar substrate with a polymer topcoat provides corrosion resistance; BlueScope’s published warranties define expected corrosion resistance periods depending on coastal proximity—consult official BlueScope warranty pages for specifics (BlueScope Steel).
- Visual maintenance: Light-coloured finishes show dirt streaking differently than darker ones; regular gutter clearing and annual wash keeps Surfmist looking fresh.
- Compatibility with insulation and ventilation: Surfmist is fully compatible with common internal insulation systems; pairing Surfmist panels with a breathable membrane, vents and a vapour barrier reduces moisture-related issues.
Comparison note: for a direct colour comparison see Colorbond shed colours like Windspray for installation cost and heat-retention contrasts.
Transition: With the colour benefits established, next examine the material specifications you need to order the right panels and ancillary parts.
Surfmist Colorbond Material Specifications for Garden Sheds
| Specification | Typical Value / Recommendation |
|---|---|
| Steel grade / substrate | Zinc/Aluminium/Magnesium alloy coated steel (BlueScope Colorbond standard) |
| Panel thickness / gauge | 0.42 mm to 0.48 mm for wall panels; 0.55 mm for roofing panels on long spans |
| Coating system | Polyester or PVDF topcoat; UV-stable pigments per BlueScope specs |
| Corrosion resistance | Designed for non-marine suburban environments; consider higher-spec for coastal sites |
| Warranty | Refer to BlueScope Colorbond warranty; terms vary by application and distance to coast |
Prose notes: Colorbond steel comes in application-specific grades. For garden sheds, standard residential Colorbond with a 0.42–0.48 mm wall panel thickness and 0.55 mm roofing is typical; for longer roof spans or heavier loads verify roof panel gauge. According to 2024 BlueScope Steel technical data, roof panels exposed to concentrated loads or heavy debris benefit from higher gauge material and more frequent inspection.
Melbourne-specific considerations: the city’s summer UV exposure and winter cool, damp nights mean you should prioritise UV-stable topcoats and plan ventilation to avoid internal humidity build-up which can accelerate corrosion at fixings and eaves. For regulatory compliance check applicable parts of the National Construction Code via the Australian Building Codes Board (Australian Building Codes Board).
Transition: Below is a practical, step-by-step installation sequence for a Surfmist garden shed. Read the full list of tools and materials first; several steps reference them directly.
Step-by-Step Installation Guide for Surfmist Garden Sheds
This section gives a hands-on, ordered procedure for installing a typical prefabricated Surfmist Colorbond garden shed (example size used: 3.0 m x 2.4 m). Adjust quantities and timings for larger sheds. For alternative garden shed awning options and installation considerations see awning shed installation tips.
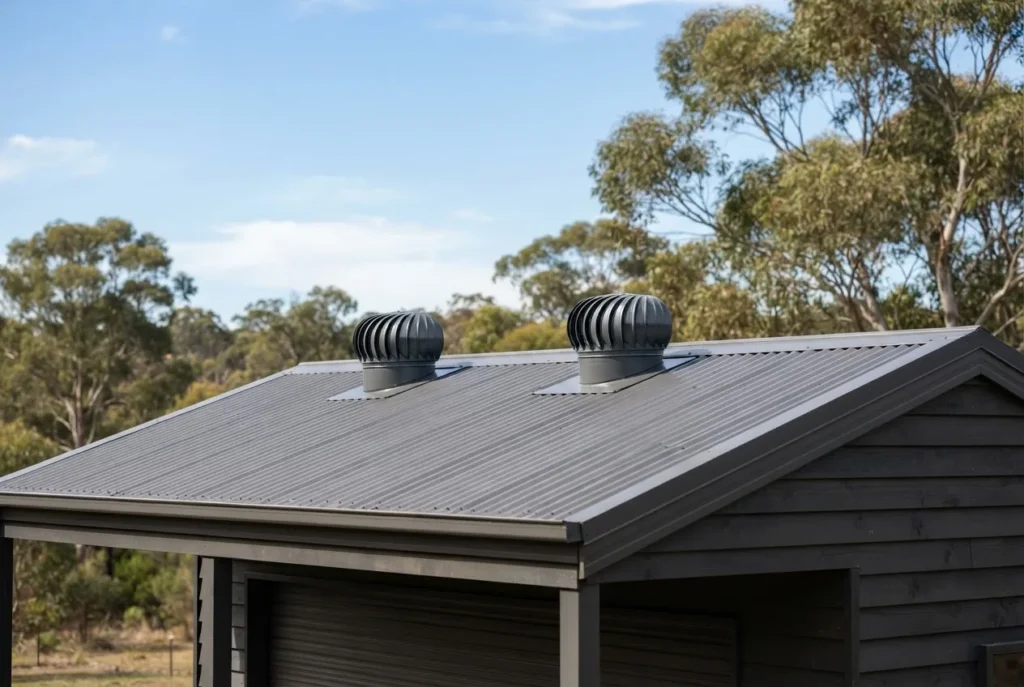
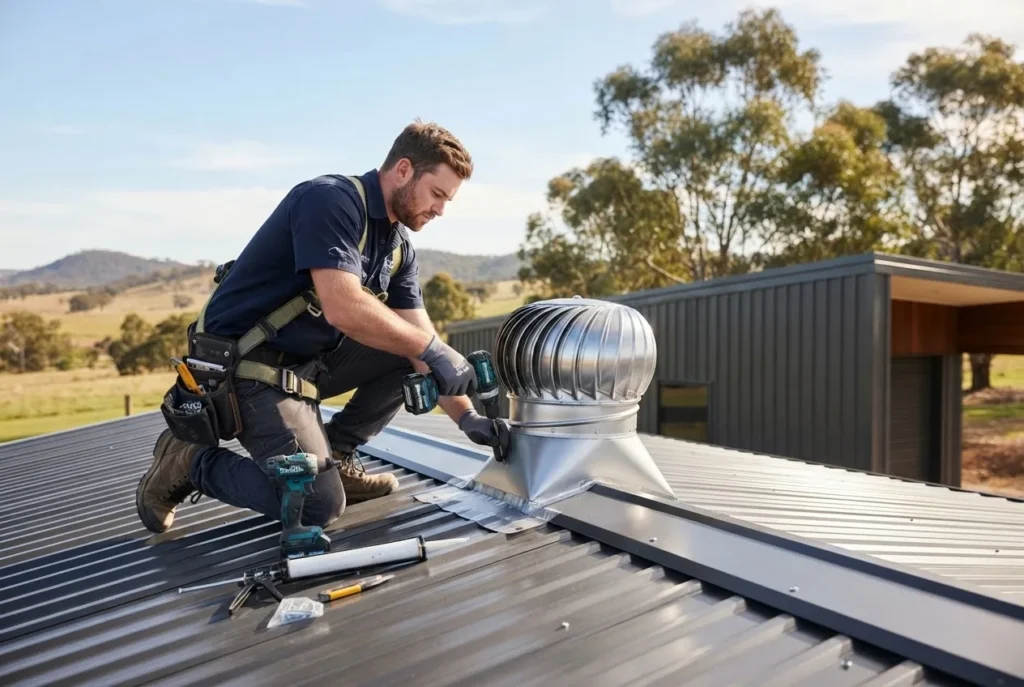
Ventilation note: incorporate passive vents and consider mechanical options; for selecting vents see best roof vents for sheds and for wider system choices see roof air vents and shed ventilation systems buying guide. For roof ventilation assembly options use roof flume installation.
-
Prepare the foundation and ensure level
Time: 4–6 hours for a compacted limestone or crushed rock pad; 2–3 days curing if using a concrete slab. Quantity: compacted 75 mm thick crushed rock base (10 mm minus) under the slab perimeter; concrete slab 100 mm thick with SL72 mesh for a 3 x 2.4 m shed.
Procedure:
- Set out shed footprint using builder’s line and batter boards. Confirm orientation to avoid full western exposure on the long wall if possible.
- Excavate to uniform depth and compact subgrade to 95% Proctor density for aggregate pads. Use a plate compactor.
- For concrete: formwork, 100 mm depth, SL72 mesh, and trowel finish. Allow a minimum 48 hours before light work on top; 7 days before fixing anchor bolts to achieve ~60% strength.
Warning: If local council requires footings or slab certification, obtain them before pouring. Consult the Australian Building Codes Board for code references.
-
Unpack components and verify parts list
Time: 1 hour. Check all panels, purlins, cleats, screws and flashings against supplier packing list. Lay panels on soft, dry timber to avoid scratching the Surfmist coating.
Tip: Photograph damaged panels immediately for warranty claims per BlueScope guidance—According to a 2024 BlueScope Steel advisory, surface damage must be documented promptly for coating warranty considerations.
-
Assemble the base frame (timber or metal)
Time: 2–4 hours. Use treated timber bearers (minimum 90 x 45 mm H3 treated pine) for timber frames or C-section steel base rails. Anchor to concrete with M12 chemical anchors at 1.2 m spacing or to compacted pad with through-bolts on pre-cast pads.
Measurement: Confirm diagonals for squareness: diagonals must match within 3 mm for a 3 m span.
Warning: For timber, use bitumen paint under bearers in areas prone to moisture to reduce rot risk.
-
Fit wall frames and check plumb
Time: 2–3 hours. Erect wall frames, brace temporarily, and verify plumb using a level. Fasten frames to base with galvanised framing plates and 10 mm coach bolts at corners.
Tip: Pre-drill 4.5 mm pilot holes in top rails for easier panel alignment later.
-
Install roofing purlins and ensure correct spacing
Time: 2–3 hours. Purlin spacing depends on panel gauge and roof span—use manufacturer span tables. For 0.55 mm roof panels and a 3.0 m shed, typical spacing is 900–1200 mm depending on load; check supplier span tables.
Warning: Incorrect purlin spacing causes oil-canning and poor load distribution.
-
Lay roof sheets and fix with recommended fasteners
Time: 3–6 hours (roof lift assistance required). Use neoprene-sealed hex-head screws with bonded washers sized for Colorbond and follow manufacturer’s torque recommendations—do not over-torque; screws should compress the washer but not distort the panel.
Fastener pattern: fix along ribs and through flats as manufacturer indicates—typically every 300–450 mm at purlins and at eaves. Seal under ridge flashings with compatible butyl or silicone where necessary.
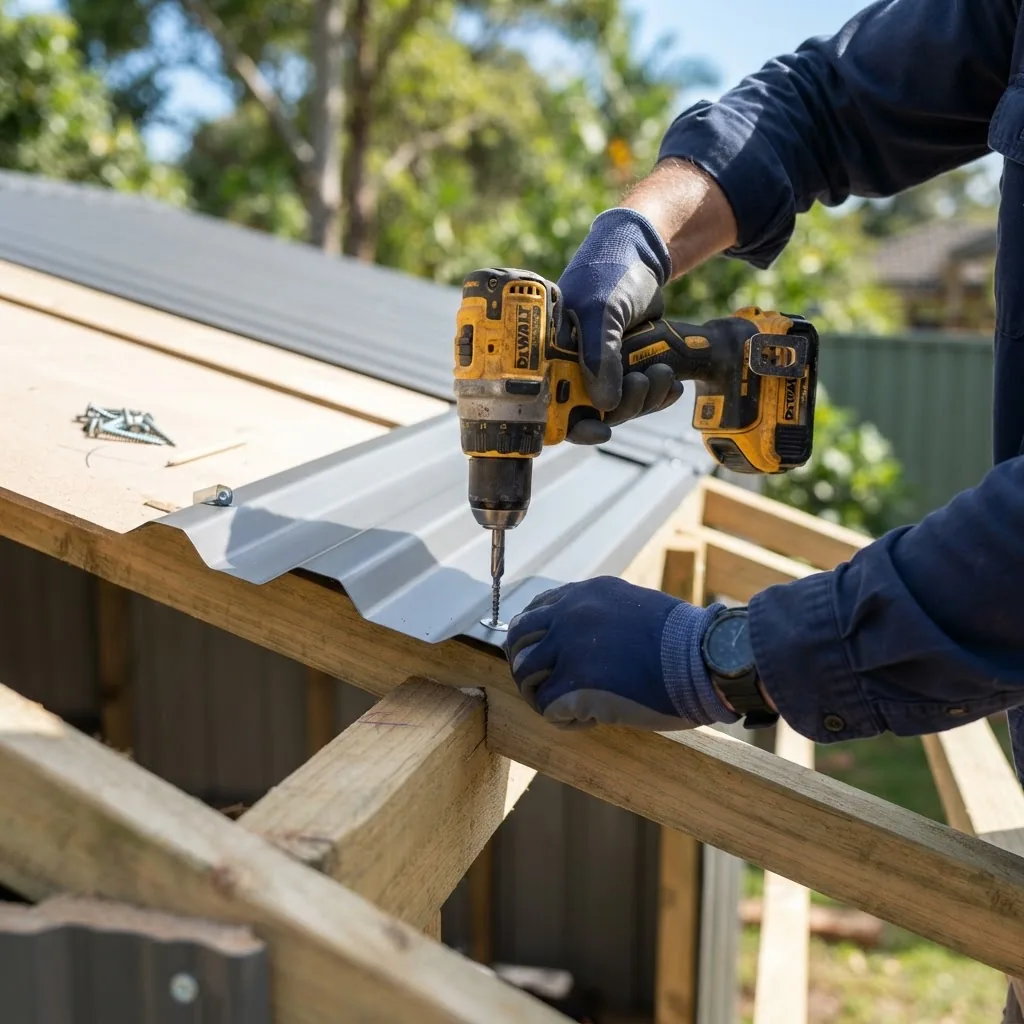
Tip: Apply a small bead of neutral-cure silicone at end laps where water entry risk is higher; avoid acid cure silicones that can affect metal coatings.
Safety: Use fall arrest harnesses on roofs above 3 m and always use PPE—gloves, eye protection and hearing protection when using power tools.
-
Attach wall cladding and trim flashings
Time: 3–5 hours. Fit wall sheets from one corner, ensuring 10–15 mm expansion clearance at ends for thermal movement. Fasten using recommended screws into framing members; dress top and base flashings to shed manufacturer details to avoid water traps.
Tip: Use an overlap of one rib on corrugated profiles or follow manufacturer’s lap guidance for concealed-fix profiles.
-
Install doors, windows and seals
Time: 1–2 hours. Frame door openings with reinforcing cleats; fit door brackets and weather seals. Check for square and smooth operation; adjust strike plates and hinges as required.
Warning: If doors rub on Surfmist panels they can scratch the coating—use rubber bumpers or felt under hinge contact points.
-
Fit internal supports, shelving and insulation (optional)
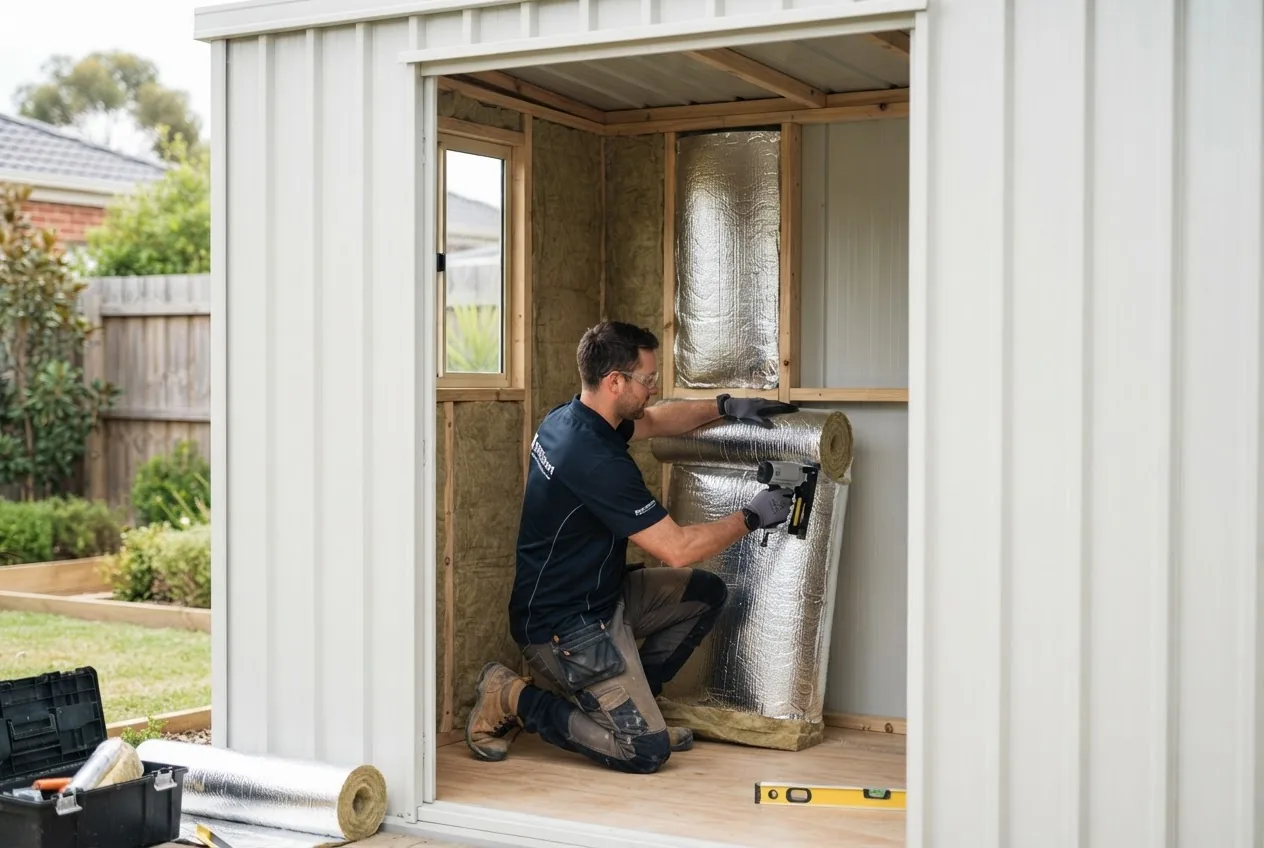
Time: 2–6 hours depending on insulation type. For condensation control pair ventilation with insulation: install a 25 mm air gap between Colorbond and closed-cell insulation; for blanket insulation use a breathable membrane and battened cavity.
For detailed insulation and condensation strategies consult the pillar guide Shed Insulation Guide with Panels and Wall Insulation Tips.
-
Install gutters, downpipes and sealing
Time: 1–2 hours. Fit gutters sloped 1:500 minimum toward downpipes. Seal flashings with manufacturer-approved sealant and install leaf guards if trees are nearby to reduce maintenance.
Tip: Use Colorbond-matched gutters where possible to avoid galvanic differences at joints.
-
Final checks and site clean-up
Time: 1–2 hours. Torque-check all fasteners, clear metal swarf (which can cause localized corrosion), touch up scratches with manufacturer repair paint, and document any defects for warranty.
Quality check: internal surfaces free of visible water entry after 10 mm simulated rain test at flashings and seal joints.
Tools and safety summary: see the dedicated section below for a complete tools list including torque settings and screw types. Remember: wear gloves, eye protection, and a dust mask when cutting; follow ladder safety standards and use harnesses on roofs above 3 m.
Transition: Below is the essential tools and materials list described in a compact reference for purchase or hire.
Tools and Materials Needed for Installing a Surfmist Colorbond Shed
- corrugated iron shed installation tools — For extended tool guidance, this sibling article lists recommended power tools and fasteners for metal shed work.
- Power drill / impact driver — 18V brushless with adjustable clutch; use 6–8 Nm torque for self-drilling screws into thin-gauge steel or follow screw manufacturer torque tables.
- Sheet metal shears & nibblers — for trimming Surfmist panels; avoid angle grinder cutting directly on coated surfaces where possible.
- Rivet gun — for non-structural flashings and trims.
- Hex-head screws with bonded washers — stainless or Class 4.8 galvanised depending on coastal exposure (use stainless in coastal situations within 1 km of salt spray).
- Silicone / butyl sealant — neutral cure, compatible with Colorbond coatings.
- Measuring tools — tape measure, laser distance, spirit level, square and chalk line.
- Protective equipment — gloves, eye protection, ear protection, dust mask, harness for roof work above 3 m.
- Fasteners & anchor bolts — M12 chemical anchors for concrete, coach bolts for timber-to-timber connections.
- Cleaning supplies — soft bristle brush, low-pressure washer and mild detergent for post-installation cleaning.
Transition: After installation, routine maintenance will preserve Surfmist’s finish and structural integrity—read on for maintenance schedules and practical tasks.
Maintenance Tips to Preserve Surfmist Colorbond Shed Colour and Integrity
Routine maintenance keeps the Surfmist Colorbond shed performing well for decades. Below are recommended tasks, frequencies and materials.
- Annual wash: Soft-bristle brush and low-pressure water with a mild non-abrasive detergent, rinse thoroughly—frequency: once yearly, or after heavy pollen/leaf seasons.
- Gutter clearing: Twice yearly in suburban Melbourne (spring and autumn); clear leaf litter to prevent standing water at eaves that accelerates corrosion.
- Inspection frequency: Visually inspect fasteners, flashings, and under eaves every 6 months; torque-check critical fasteners annually.
- Repaint / touch-up: For major scratches exposing bare metal, use manufacturer-approved touch-up paint; complete repainting typically unnecessary for 10–15 years depending on exposure—note: According to a 2024 BlueScope Steel guidance, repaint intervals vary by environment and maintenance.
- Rust prevention: Remove metal swarf immediately after cutting; touch up small rust spots with rust converter followed by matching topcoat.
- Condensation control: Maintain vents and insulation; if internal damp persists, add passive vents or a vapour barrier. For insulation choices consult insulation rolls for sheds and the pillar insulation guide.
- Vegetation control: Keep plants and trees trimmed at least 300 mm from walls to reduce moisture and scratching risk.
- Cleaning after cuts: After any on-site cutting, vacuum and wash surrounding areas to remove metallic particles.
- Winter prep: Check seals and gutters before Melbourne’s cooler months to reduce water ingress and condensation risk.
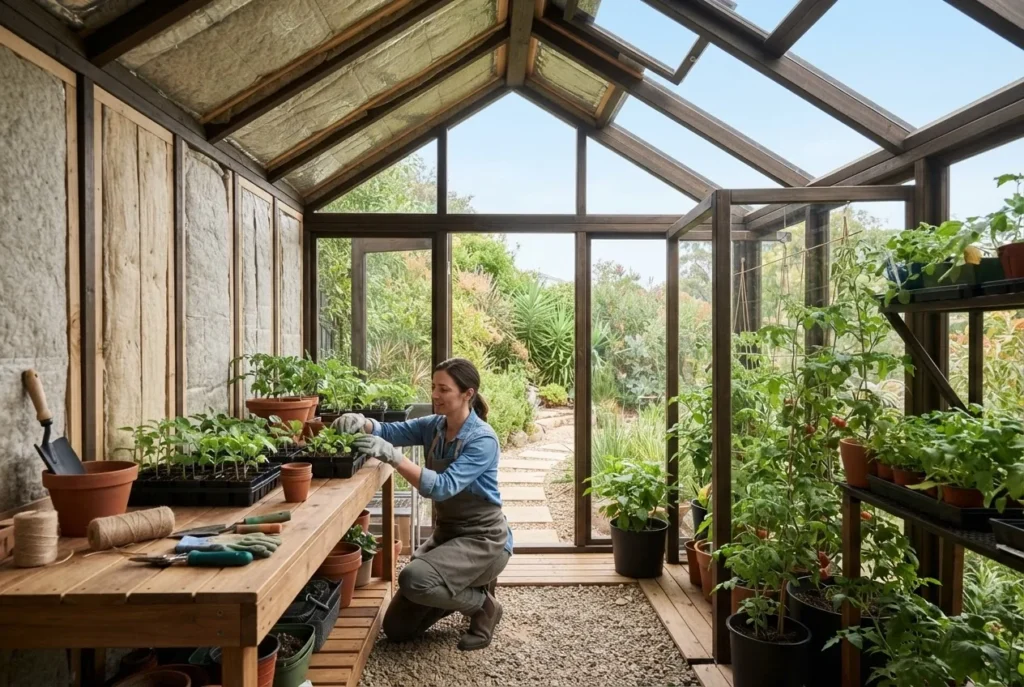
- Greenhouse adjacency planning: If the shed is used near or with gardening structures, consult garden shed greenhouse designs to reduce humidity transfer.
Transition: If you face issues, the next section answers common on-site problems and how to resolve them quickly.
Troubleshooting Common Issues with Surfmist Sheds
This Q&A-style troubleshooting covers frequent problems and fixes. For deeper insulation and condensation control information, see the pillar link below.
Shed Insulation Guide with Panels and Wall Insulation Tips
Why is condensation forming on my Surfmist shed walls?
Condensation forms when warm, humid internal air contacts cooler steel surfaces. Improve ventilation (ridge vents, eave vents) and add insulation with a vapour barrier; consult the Shed Insulation Guide with Panels and Wall Insulation Tips and consider roof vents per best roof vents for sheds.
What do I do about panel denting?
Small dents can be left or filled and repainted; replace panels with structural damage. Prevent dents by using soft timber supports when carrying panels and avoid stepping on unsupported spans.
How do I stop screws from loosening?
Use approved bonded-washer screws and torque them to manufacturer specs. Check screw torque annually and replace corroded fasteners with stainless or high-grade galvanised equivalents.
Why is the Surfmist colour fading?
All exterior coatings slowly fade; Surfmist is designed with UV-stable pigments to slow this. Expect minimal visible change within 7–12 years in suburban Melbourne if maintained; severe fade risk increases in high UV or coastal salt environments.
Where are likely leak points and how do I seal them?
Common leak points: end laps, ridge flashings, and eave intersections. Inspect sealant joints and flashings; reseal with neutral-cure silicone and ensure internal flashings are free of debris that prevents seals seating properly.
Transition: Finally, a localised case for choosing Surfmist in Melbourne and when to involve professionals.
Why Choose a Surfmist Garden Shed in Melbourne?
Melbourne presents a combination of strong summer sun, cool damp winters and variable coastal microclimates. Surfmist offers a light-reflective finish that moderates internal temperatures and pairs well with insulation strategies to manage condensation.
Supporting points:
- Local weather match: Based on Bureau of Meteorology seasonal averages for Melbourne, daytime summer temperatures and high UV exposure favour lighter external claddings to reduce peak internal heat gains (Bureau of Meteorology).
- Aesthetics and resale: Surfmist’s neutral tone blends with common Melbourne home exteriors, increasing compatibility in neighbourhoods and thereby supporting resale value.
- Design flexibility: Surfmist pairs well with both modern metal garden setups and painted trims; compare multi-material designs such as weatherboard shed design or specialised storage like firewood shed design.
- Local sourcing and installers: Choose reputable suppliers; for local options consult guides such as local shed builders and manufacturer reseller lists; review quality shed options for examples of reputable product lines.
- Planning multi-use sheds: If you plan storage plus workspace or partial living conversion, consult the shed cabin planning guidance for insulation and layout trade-offs.
When looking for a supplier in Melbourne, search current listings in local sheds for sale with garden options to compare warranty terms and included trims.
Common mistakes and how to avoid them
I’ve seen installers skip torque settings to save time; the result was loose screws and water leaks within months. I now always torque-check a sample row of screws with a torque wrench and annotate recommended settings on the job sheet. I also once accepted a non-level compacted pad—this produced frame twist and an uneven door. I now always confirm diagonal measurements within 3 mm and compact to at least 95% density.
Final checklist
- Foundation level and compacted / concrete slab cured to minimum 60% strength before anchoring.
- All panels inspected, damage documented and reported.
- Correct panel gauges used: 0.42–0.48 mm walls, 0.55 mm roofs (or supplier span table confirmed).
- Fasteners: correct bonded washers and torque settings applied; stainless or high-grade galvanised in coastal zones.
- Ventilation: ridge/eave vents installed and clear; insulation and vapour barrier installed where required.
- Gutters and flashings sealed and sloped to drains.
- Debris and swarf cleaned; touch-up paint applied to any bare metal.
When to call a professional
Call a licensed installer if: your shed exceeds 10 m² and requires council approval, the site has poor load-bearing capacity and needs engineered footings, your roof spans exceed manufacturer recommendations, or you need electrical connections. For complex insulation and condensation systems, hire a tradesperson experienced in metal-clad buildings and refer to Shed Insulation Guide with Panels and Wall Insulation Tips.
Takeaway: Surfmist Colorbond steel offers a practical balance of heat reflection, visual neutrality and compatibility with standard shed construction techniques—paired with correct foundations, fastenings and ventilation it serves Melbourne gardens reliably. Ready to start? Use the tools list above and schedule a two-person build spread across a long weekend for a 3 x 2.4 m shed.