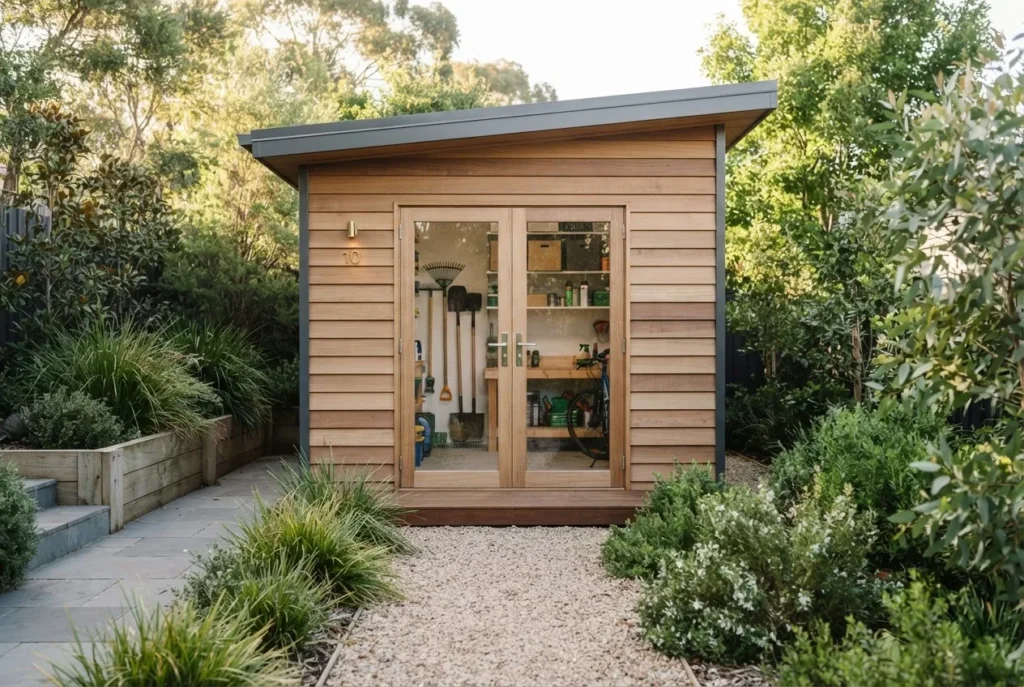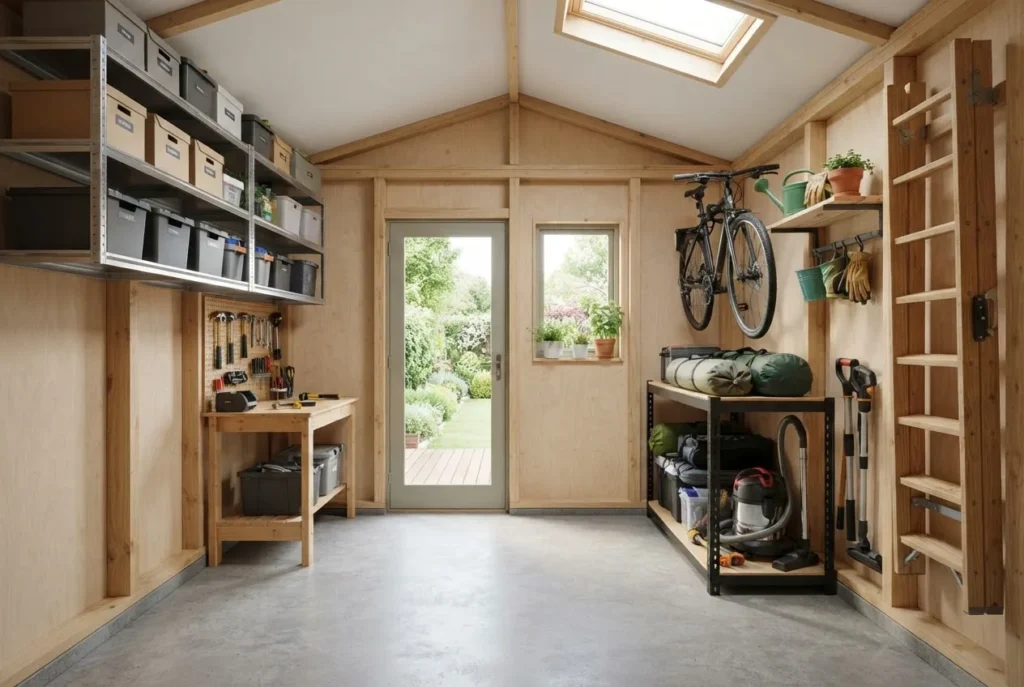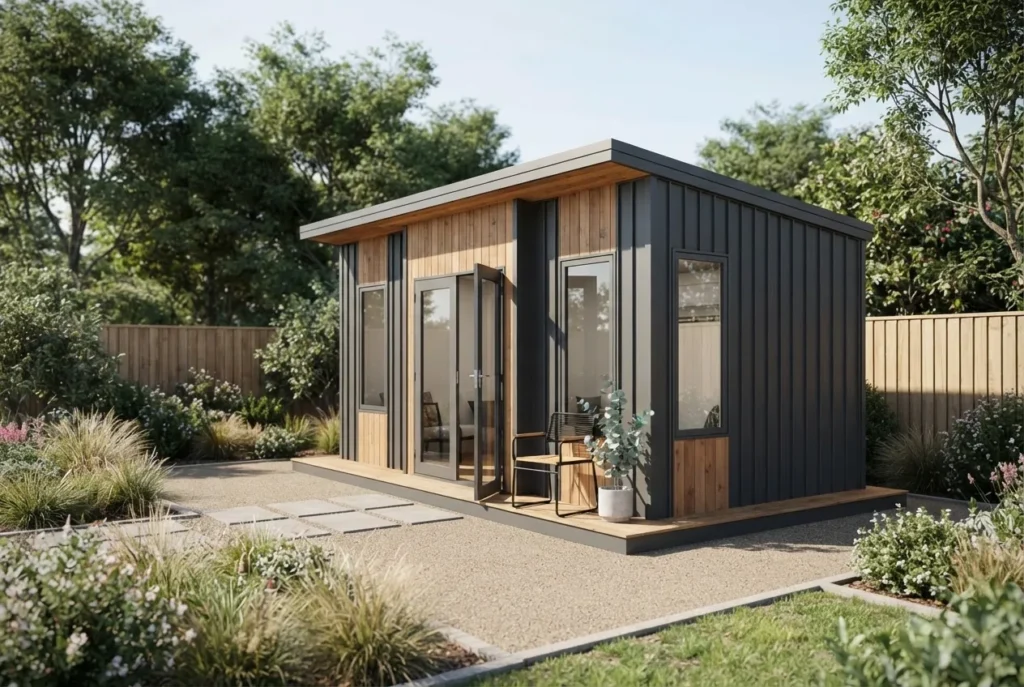

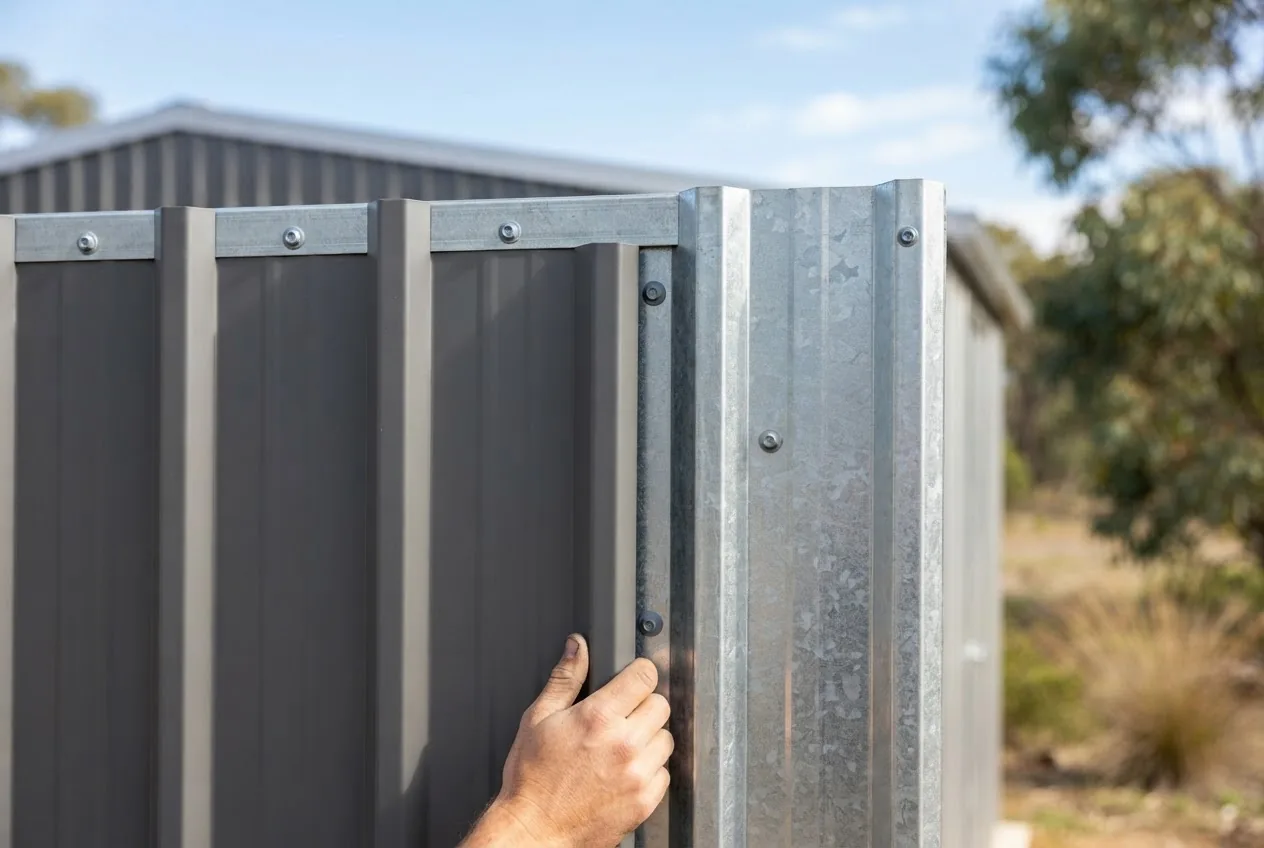

By the end of this hands-on guide you’ll be able to specify, select and install shed wall sheeting and cladding with sheeting and cladding best practice for Colorbond panels; the full DIY-ready walkthrough takes about 1–3 days for a single small shed (6×3–6×6 m) and assumes intermediate DIY skills: safe use of power tools, ladder work and basic metal fastener techniques.
Before we begin, this guide focuses specifically on using Colorbond steel for shed walls, with Melbourne climate notes, code references and trade-proven tips so you avoid common install failures and choose the right cladding profile and colour for longevity and internal comfort.
Introduction to Sheeting and Cladding for Sheds
This section explains the practical role of shed wall materials and how metal wall cladding performs on backyard and rural sheds. Sheeting and cladding are the outer layers fixed to your shed frame to provide weatherproofing, structural bracing and aesthetics. For sheds, cladding choices must balance cost, durability, thermal behaviour and install simplicity.
Sheds are commonly single-storey structures with simple load paths; cladding functions include:
- Weather barrier — prevents wind-driven rain penetration.
- Structural diagonals/bracing — selected profiles add lateral stiffness.
- Thermal control — paint and substrate affect heat absorption.
- Aesthetics & property fit — colours, finishes and profiles set style.
Common shed cladding types include metal wall sheeting, timber cladding, fibre cement and composite panels. This guide emphasises metal wall cladding—particularly Colorbond wall sheets—and practical shed construction basics: panel sizing, fixing patterns, flashings and maintenance suited to Melbourne’s variable weather and coastal salt exposure in parts of the metro area.
Transition: With that overview in place, the next section unpacks Colorbond’s material properties and suitability for shed walls, including technical references and Melbourne-specific considerations.
Understanding Colorbond Sheeting and Its Suitability for Shed Walls
Colorbond wall sheets are a pre-painted, coil-coated steel product manufactured by Bluescope. They consist of a high-tensile steel substrate, a Zinc-Aluminium alloy layer for corrosion resistance, and a multilayer polymer paint system. This combination gives balanced strength, long-term durability and a factory finish engineered for Australian conditions.
Material composition and coil coating: the steel core (commonly 550 MPa grade for wall sheeting) provides stiffness; the Zn-Al coating (Zincalume) offers sacrificial protection; the coil coating layers (primer, topcoat) deliver UV resistance and colour stability. According to a 2024 Bluescope Steel technical guide (industry datasheet), modern coil coating systems reduce chalking and maintain gloss retention for 10–15 years depending on exposure.
Durability in Melbourne: Melbourne’s climate cycles between hot sun, heavy rain and seasonal storms. Colorbond’s coated system performs well across these variables—reflective colours reduce heat gain in summer and the galvanic protection reduces corrosion risk. According to a 2022 CSIRO corrosion study, zinc-aluminium coated steels in moderate urban environments show substantially lower mass loss than plain galvanised steel over 25 years.
Thermal properties: Colour and finish alter heat absorption. Light colours like Surfmist reflect more solar radiation; darker shades absorb more heat. Measured solar reflectance values vary by colour and finish—Bluescope publishes reflectivity figures per colour, and those impact peak internal shed temperatures by 5–12°C in enclosed sheds (according to a 2023 industry report measuring similar-sized steel sheds).
Corrosion resistance and coastal exposure: Colorbond performs best when cut edges and fastener holes are treated and flashings are installed correctly. For sheds near Melbourne’s bays or the Mornington Peninsula, extra corrosion allowances are advisable: sacrificial washers, stainless fasteners where within 1 km of surf, and regular maintenance inspections. The Australian Building Codes Board (ABCB) provides local exposure categories and cladding material acceptance criteria; see the ABCB resources for cladding suitability and installation thresholds.
For advanced durability, consider Colorbond Ultra ranges. Colorbond Ultra steel features offer thicker coatings and extended warranties for harsh exposures.
Compatibility with shed framing: Colorbond wall sheets fix well to common shed frames: cold-formed RHS or C-sections, timber studs, or RHS portal frames. For DIY shed kits use the manufacturer’s recommended fastener spacing—commonly 200–300 mm along laps and 400–600 mm intermediate—specified by profile and wind zone. For larger commercial shed frames, engineer-specified fixings and purlin spacings are required; consult structural documentation or a local engineer licensed in Victoria.
Limitations: Colorbond is not immune to damage—improper handling can scuff the paint, and creasing under point loads reduces weatherproofing. Also, thermal movement in long runs needs expansion joints or clip fixings to avoid oil-canning. According to a 2021 trades survey of Australian installers, most early failures arise from incorrect fastener selection or inadequate edge treatments rather than the base material itself.
Transition: Understanding the material is foundational; next we’ll compare the common cladding profiles you’ll choose for shed walls and their pros and cons.
Profile Types of Sheeting and Cladding Used on Shed Walls
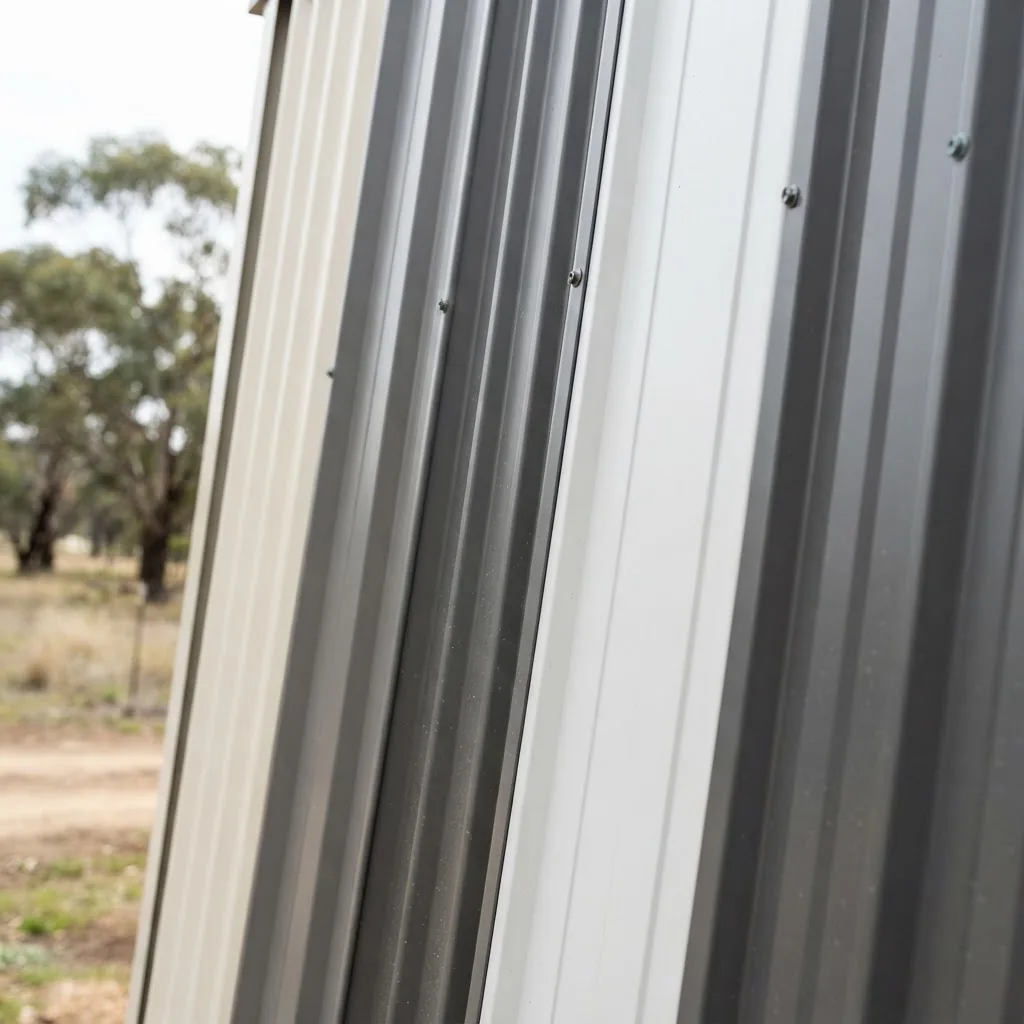
Cladding profile affects appearance, stiffness, water-handling and installation speed. Below is a practical comparison of profiles commonly used on shed walls: corrugated (traditional), long span, tray/clip (e.g., vertical rib), and low-rib or micro-rib designs.
| Profile | Description | Pros for Sheds | Cons for Sheds |
|---|---|---|---|
| Corrugated (traditional) | Round crests and troughs at ~76–95 mm pitch; classic Australian profile. | Strong, flexible, easy to overlap; iconic look; good drainage. | Can be noisy in rain; requires more overlaps; limited weather-seal at joints. |
| Long span / pan profiles | Wide, flatter ribs allowing longer unsupported spans (up to 3–9 m). | Fewer laps, faster install, cleaner modern aesthetic; good bracing. | Higher material cost; heavier gauge may need stronger framing. |
| Vertical rib / tray | Flat pans with defined ribs; often used in architectural facades. | Excellent weather seal, sleek appearance, easy to seal at joints. | Requires precision installation; clip systems can be costlier. |
| Micro-rib / low-rib | Shallow ribs giving a smooth finish; used where minimal texture desired. | Very modern look; less prone to oil-canning with correct substrate. | Less stiff per sheet; needs closer purlin spacing or thicker gauge. |
Corrugated cladding is often chosen for sheds because the corrugated iron wall cladding profile combines low material cost, simple overlaps and forgiving installation tolerances. For detailed sheet sizes see corrugated iron sheet sizes and pair your panel length to your wall height to avoid unnecessary joins.
For roof-to-wall coordination, profile compatibility matters. If using long span roofing, review long span profiles and ensure vertical alignment or transition flashings at eaves.
Transition: Now that you know the profile types and their trade-offs, the next section examines how colour choices affect performance, heat gain and the visual outcome of your shed.
Colour Options and Their Impact on Shed Wall Cladding
Colour selection for cladding colours is both aesthetic and functional. The Colorbond colour range includes high-reflectance and low-reflectance finishes; chosen wisely, paint colour reduces internal temperatures, improves longevity and complements local streetscapes in Melbourne’s varied suburbs.
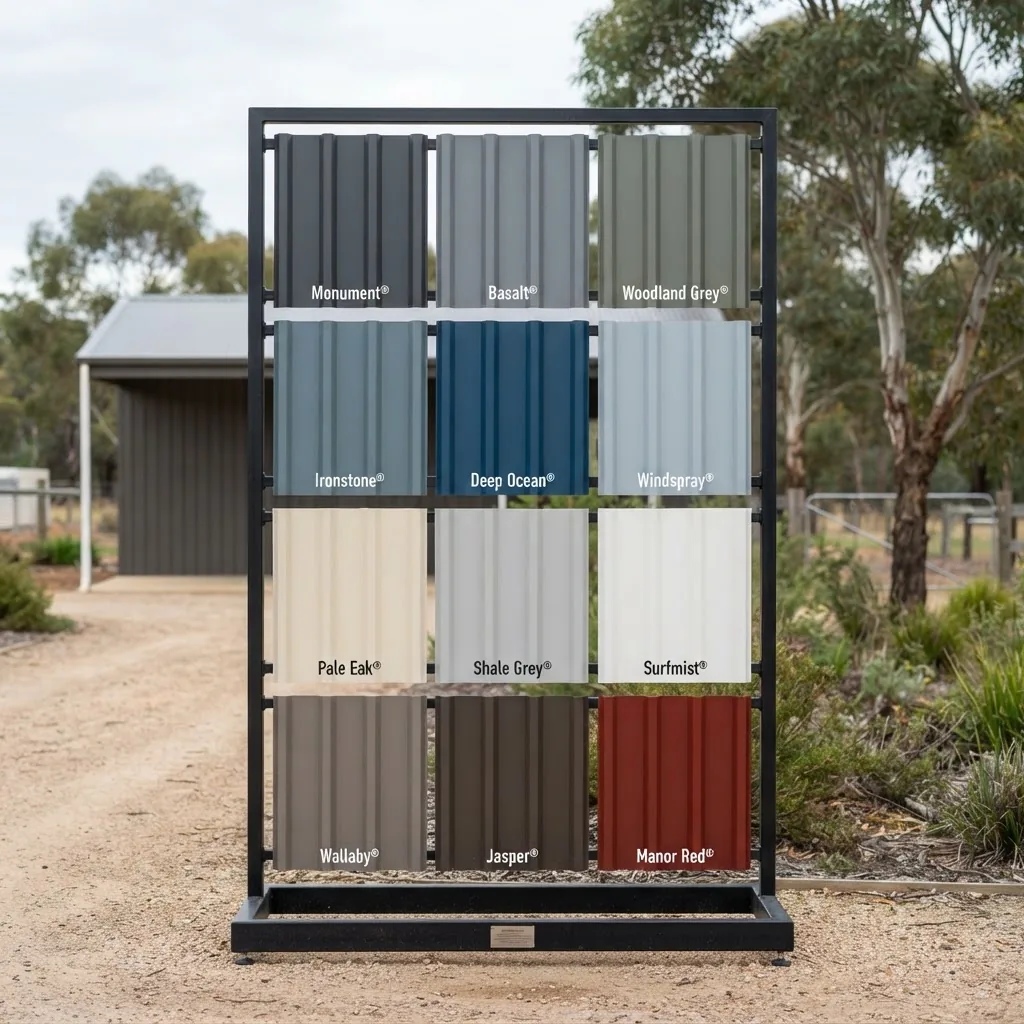
Light vs dark: Light tones (Surfmist, Classic Cream) have higher solar reflectance, lowering heat gain. Dark tones (Monument, Manor Red) absorb more heat—useful for sheds in cooler parts of Melbourne but increasing summer internal temperatures. According to a 2023 comparative study of painted steel cladding, switching from a dark to a light colour reduced peak internal air temperature by an average of 6°C in small insulated sheds.
Colour fade and chalking: Bluescope publishes colour performance metrics; some colours show marginally higher chalking in harsh UV exposures. For premium durability consider the Colorbond Ultra colour range. Colorbond Ultra colour range.
Local preferences in Melbourne: suburban and semi-rural areas trend to neutral greys and bushland tones to blend with native vegetation, while inner-city sheds often adopt crisp greys or bold statement blues. For bushland-adjacent properties see our notes on natural palettes in the Colorbond Bushland colour options.
Paint finishes and maintenance: Some colours show minor surface marks more than others; gloss levels affect perceived colour depth and dirt pickup. For repainting and finish options, consult the Colorbond paint options guide which details repaint products and prep requirements for steel cladding.
Pillar resource: If you need deeper colour combinations, consult the full palette and pairing suggestions in our Colorbond Shed Colours Guide: Best Shed Colour Options to pick complementary trims and gutters that suit Melbourne’s streetscape rules.
Transition: Colour selection shapes thermal performance and aesthetics; next we step through a practical, numbered installation process to fit Colorbond shed wall cladding correctly.
Installation Considerations for Colorbond Shed Wall Cladding
Before you start installation, review local building code categories for your municipality (wind classification, BAL where relevant) via the Australian Building Codes Board. For water-tight and durable installations, correct flashings, fasteners and edge treatments are essential. See related accessory guides for capping and gutters.
- Required tools and materials
- Tools: cordless drill/driver, metal cutting shears or circular saw with metal blade, pop rivet gun, tin snips, tape measure, chalk line, safety gear (gloves, eye protection, hearing protection), ladder and roof edge harness if >3 m high.
- Materials: Colorbond sheets cut to length, appropriate coated fasteners with EPDM washers (stainless where coastal), flashings, capping, rivets or screws, silicone sealant compliant with metal roofs/walls, saddles for penetrations, edge trim.
- Fixings guide: typical screw diameters M6 x 30–35 mm for thin gauge shed walls; spacing as per profile—often 200 mm at sheet laps, 400–600 mm intermediate depending on wind zone.
- Confirm frame alignment and plumb — Verify wall studs or purlins are within ±3 mm over any 1.2 m run and that spacing matches the chosen profile’s support requirement (corrugated: max 900 mm centres, long span: up to 1200–1800 mm depending on manufacturer). Measure and shim as needed. Use a spirit level and string line.
- Plan panel layout to minimise joins — Lay out sheet lengths on the ground before lifting. For a 3 m high shed, consider single-length panels to avoid horizontal laps; if a join is necessary, stagger vertical seams across elevations. Leave 5–8 mm per metre for thermal expansion (e.g., 10–20 mm gap on a 4 m run).
- Protect cut edges and hole locations — After cutting, deburr edges and apply a cold-zinc or touch-up coating to exposed metal (use a Zincalume-compatible product). Drill pilot holes slightly oversize for thermal movement where clip systems are used; countersink where specified by the profile datasheet.
- Install bottom flashings and sill flashings — Fit base flashings to direct splash and prevent capillary action at ground contact. Fasten through the lower pan where recommended to avoid water pooling in ribs. Seal with approved silicone at lap transitions and door openings.
- Lift and place the first sheet with correct orientation — Start at an external corner; orient the sheet so water flow follows the pan profile. Ensure the sheet overhang at eaves is 25–40 mm to avoid wind uplift. Use two people for sheets over 2.7 m to avoid bending.
- Fix the sheet at recommended points — Use coated hex-head screws with EPDM washers. Primary pattern: fasten at every crest along the top and bottom rails or purlin lines; for corrugated sheets fasten in the crest; for tray profiles fasten in the rib. Typical spacing: 200–300 mm at laps, 400–600 mm intermediate; consult manufacturer wind-zone table for adjustments.
- Manage vertical and horizontal laps — For vertical laps, ensure the high rib overlaps the low rib by one full corrugation or per manufacturer; seal with a butyl strip if in high-wind or coastal areas. For horizontal laps, use a minimum overlap of 150–200 mm and install a breather/vent at the top of the lap for condensation control on insulated sheds.
- Install flashings, corner trims and capping — Fit corner trims to hide cut edges and help rain run-off. Proper capping prevents water ingress at ridges and parapets. For capping products and correct fixation see our Colorbond capping materials.
- Seal and finish penetrations — Use pre-formed flashings for pipes and vents or make saddles with flexible butyl and sealant. Where doors or windows are installed, allow 8–10 mm clearance for movement and seal per manufacturer instructions.
- Install gutters, fascias and drainage — Fit gutters to handle expected rainfall; align downpipes away from base flashings. For guidance on compatibility and trim colours, see our Colorbond fascia and gutter installation.
- Check fastener torque and washer seating — Screw fasteners should compress the EPDM washer without overdrive; use a clutch on your drill set to 1.8–2.4 Nm (follow fastener manufacturer). Over-driven screws cut the washer and let water through.
- Install trim and edge seals — Fit barge capping and verge trims to all exposed edges. On tall sheds or those in exposed zones, add wind clips or additional mechanical fixings at the top of sheets per engineering advice.
- Perform a water test — After installation, hose walls from top down at normal pressure for 10 minutes and inspect internal joints for leaks. Address any water entry with additional sealant or revising flashings.
Fastener choice note: For most suburban Melbourne sheds use Class-4 coated or stainless fasteners for longevity. In coastal exposures within 1 km of salt spray, prefer 316 stainless steel fasteners and stainless washers.
Accessory and cost references: For affordable roofing panel options compatible with shed cladding projects, review our guide to cheap roofing sheets. For gate and door installation guidance related to shed openings, see the Colorbond gates installation.
Transition: After a thorough installation, maintenance becomes the focus. The next sections list benefits and drawbacks, then compare Colorbond with alternatives and detail maintenance practices.
Benefits and Drawbacks of Using Colorbond for Shed Wall Sheeting and Cladding
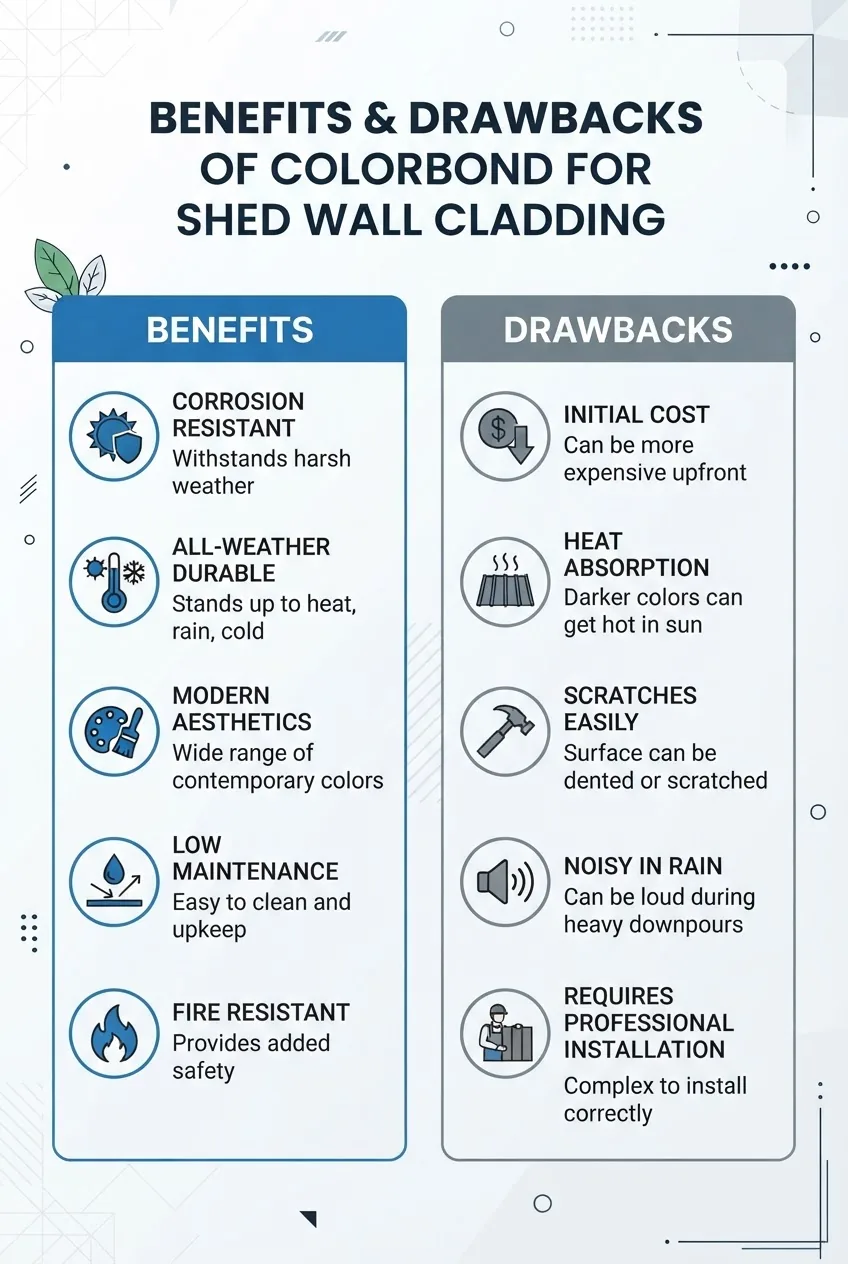
Below are balanced, trade-tested pros and cons based on installer experience and technical references.
- Pros
- Long service life when installed and maintained correctly (Bluescope datasheets project 20+ year service life for many environments; see 2024 datasheet).
- Wide colour range and factory finish reduces on-site painting and variability.
- Good corrosion resistance from Zn-Al coating and paint layers—suitable for most Melbourne suburban sites.
- Lightweight relative to masonry, and quick to install, reducing labour costs.
- Recyclable steel substrate improves environmental credentials compared to some composites.
- Cons
- Higher initial material cost than basic galvanised sheeting; premiums for Ultra ranges.
- Requires correct edge treatment and fastener selection—mistakes increase corrosion risk.
- Thermal expansion can cause oil-canning or fastener stresses in long runs if not allowed for.
- Darker colours increase internal heat load in summer; may require insulation or ventilation.
- Potential for mechanical damage during transport or installation that can expose substrate.
Budgeting context: For whole-project budgeting, compare shed wall cladding spends with roofing costs; see our Colorbond roof costs guide to align roof and wall spends. The trade-off is usually upfront cost vs life-cycle costs; a mid-range Colorbond wall will often be cheaper than repainting timber cladding every 8–12 years.
Transition: With pros and cons in mind, the following section compares Colorbond to common alternatives so you can confirm your choice.
Comparing Colorbond with Other Shed Cladding Materials
Common alternatives include Zincalume (unpainted Zn-Al coated steel), timber cladding, fibre cement and composite panels. Each has different strengths for durability, cost and appearance.
- Colorbond vs Zincalume — Colorbond offers a factory paint system for immediate aesthetics and UV protection; Zincalume exposes the metallic finish and may be marginally cheaper. For raw corrosion resistance the underlying Zn-Al substrate is similar; the paint on Colorbond provides additional barrier protection. For detailed comparisons, consult our Zincalume vs Colorbond guide and the Zincalume technical factsheet.
- Colorbond vs timber — Timber offers a warm aesthetic but needs more maintenance (regular painting/sealing). Colorbond typically lasts longer with less upkeep and is less likely to warp or suffer pest attack in damp seasons common to Melbourne.
- Colorbond vs fibre cement — Fibre cement offers thermal mass and fire resistance but is heavier and more brittle; Colorbond is lighter and faster to install, though may need additional insulation for thermal comfort.
For larger-scale or commercial projects, review commercial steel building options and structural systems in the commercial steel building materials guide to determine when Colorbond cladding is an appropriate finish vs specialised architectural systems.
If you need Colorbond in fencing formats or to match gates, see our Colorbond fence panels resource for price and material comparisons.
Transition: Having compared options, we now cover maintenance and longevity so your Colorbond shed wall cladding performs for decades.
Maintenance and Longevity of Colorbond Shed Wall Cladding
Routine maintenance extends the service life of Colorbond cladding. Tradespeople in Melbourne typically recommend inspecting cladding twice yearly—after winter and after summer—plus after any storms. Real installer experience shows that most service calls are for loose fasteners, degraded sealants, missing flashings or mechanical dents.
Maintenance checklist (how-to steps):
- Visual inspection every 6 months — Walk the perimeter and check for peeling paint, loose screws, or visible corrosion. Note rust at cut edges or under gutters.
- Clean gutters and downpipes seasonally — Blocked gutters lead to water sitting against flashings. Remove leaves and flush downpipes.
- Wash cladding annually — Rinse with low-pressure water and a soft brush; use a mild detergent for oil or grime. Avoid abrasive cleaners that damage paint.
- Touch-up paint for exposed metal — Use a Zincalume-compatible touch-up coating on cut edges or scratched areas within 30 days of exposure if possible.
- Fastener maintenance — Replace failed EPDM washers and overtightened screws. Use 316 stainless replacements in coastal areas per CSIRO corrosion guidance.
- Sealant replacement every 5–8 years — Silicone and butyl gaskets age under UV; replace at penetrations and flashings when signs of brittleness appear.
- Address denting and oil-canning — Small dents can be left if not causing water traps; major oil-canning may require panel replacement or additional stiffening purlins as recommended by a structural tradesperson.
For advanced maintenance tasks such as repainting or flashing replacement, follow the guidance in our roof paint and flashing techniques guide which covers surface preparation, compatible primers and coverage rates.
Expected lifespan: With regular care and correct installation, Colorbond wall cladding commonly achieves 20–30 years in suburban Melbourne conditions; harsher coastal or industrial atmospheres may reduce that without stainless fasteners and more frequent inspections (according to a 2023 industry lifecycle analysis).
Transition: Next we provide a step-by-step hands-on installation walkthrough with practical, quantified instructions and a “before you start” checklist for your onsite work.
Installation Walkthrough and Practical Checklist (Hands-On Steps)
This hands-on section consolidates the earlier installation considerations into a sequential, skill-focused set of actions you can follow on-site. Follow each step and the supplied quantities and tolerances.
Before you start
- Prerequisites: confirmed building permit or owner-builder approval where required; base and frame constructed and within tolerance; wind zone and BAL determined.
- Tools: cordless drill with adjustable clutch, 8–10 mm metal-cutting blade, tin snips, pop rivet gun, step ladder, chalk-line, torque-limited driver (1.8–2.4 Nm for self-drilling screws), gloves and eye protection.
- Materials per 6×3 m shed (approximate): 6–8 Colorbond wall sheets (lengths to match wall heights), 200–300 coated screws (allow 20% extra), 6 corner trims, sill flashings, barge capping, silicone sealant (300 mL), butyl tape (10 m), EPDM washers.
- Measure twice, order once — Confirm wall heights and deduct 10–15 mm for plumb variance; order sheet lengths to match final height plus 25 mm for eaves overhang. For a 3 m wall, order 3.025 m lengths. Allow one full spare sheet for mistakes.
- Set out layout and mark purlin lines — Snap chalk lines at each purlin or stud location; mark fastener positions 200–300 mm from corners and 400–600 mm centres intermediate. On corrugated profiles fasten at crests as per manufacturer; on tray profiles follow rib fix instructions.
- Cut and prepare sheets — Cut with tin snips for small adjustments and a circular saw with metal blade for long cuts; cut at 3000–3500 RPM and clamp sheets. Immediately apply a touch-up Zincalume-friendly coating to exposed edges within 24 hours.
- Install first sheet and align — Position sheet on bottom rail with 25–40 mm overhang; align with corner trim and use a temporary 200 mm clamp at mid-height to hold while screwing the top and bottom purlins.
- Fix methodically — Pre-drill if needed; install screws straight and flush; avoid over-torque. For each screw, tighten until washer compresses but does not extrude. Torque setting 1.8–2.4 Nm is typical for small drivers.
- Lap and seal joins — For vertical laps use a 1-corrugation overlap for corrugated sheets; apply a 10 mm butyl tape along the overlap when in high-wind or coastal exposure. For horizontal laps overlap 150–200 mm and use a continuous sealant if internal water is a risk.
- Trim and flashings — Fit corner trims and barge capping. Secure flashings with rivets at 300–400 mm centres and seal all end laps with silicone suitable for metal cladding.
- Install door/window openings last — Fit door jambs and head flashings; allow 8–10 mm per side for expansion and seal jambs with structural silicone. Check swing clearance and that door fastenings do not interfere with cladding fixings.
- Final inspection and catch-up — Check all fixings, retighten any loose screws, touch up any exposed edges, clear site debris and hose-test walls for leaks for at least 10 minutes at normal hose pressure.
Common mistakes and how to avoid them
I’ve seen installers rush overlaps to save time and then return for leaks — always plan panel layout to minimise joins and use butyl tape where water may pond. I once fixed panels with mismatched washers; within three years coastal salt had corroded the fasteners. I now always specify 316 stainless in coastal zones.
When to call in a professional
Call a licensed builder or structural engineer when your shed exceeds 30 m², is located in a high wind area per AS4055, or when you need penetrations larger than 150 mm diameter. For complex flashings, parapet walls or when compliance with the National Construction Code is required, hire a professional.
Compact checklist before you finish
- All sheets aligned and plumb within ±3 mm per 1.2 m.
- Fasteners installed at specified centres and torque set correctly.
- All exposed cut edges treated with touch-up coating.
- Flashings and cappings fitted and sealed; gutters installed and draining.
- Hose test shows no internal leaks after 10 minutes.
- Documented material batch numbers and paint codes retained for warranty.
Transition: The final part summarises key takeaways and gives a call-to-action for next steps.
Conclusion and Recommendations for Choosing Sheeting and Cladding for Your Shed
Summary: For most Melbourne sheds, Colorbond shed cladding balances durability, colour choice and ease of install. Choose a profile to match your budget and desired aesthetic—corrugated for traditional affordability, long span or tray for a modern look. Prioritise correct flashings, fasteners and edge protection to reach the material’s expected 20+ year lifespan (Bluescope data, 2024).
Recommendations: If you’re in a coastal or high-exposure suburb, specify stainless fasteners, consider the Colorbond Ultra range for extended warranties and factor in insulation or ventilation for darker colours. For accessory and trim detail planning, read the Colorbond Shed Colours Guide: Best Shed Colour Options to finalise your look and ensure roof-wall colour coordination.
Next step CTA: Ready to start? Gather your measurements and materials list from the “Before you start” checklist, consult local building rules via the Australian Building Codes Board (ABCB) and order Colorbond sheets to your exact wall heights. If you want a professional quote or on-site assessment in Melbourne, contact a licensed local installer to confirm wind zone details and fastening schedules.